Showing posts with label July Upcycled Crafting Challenge. Show all posts

Monday, July 23, 2012

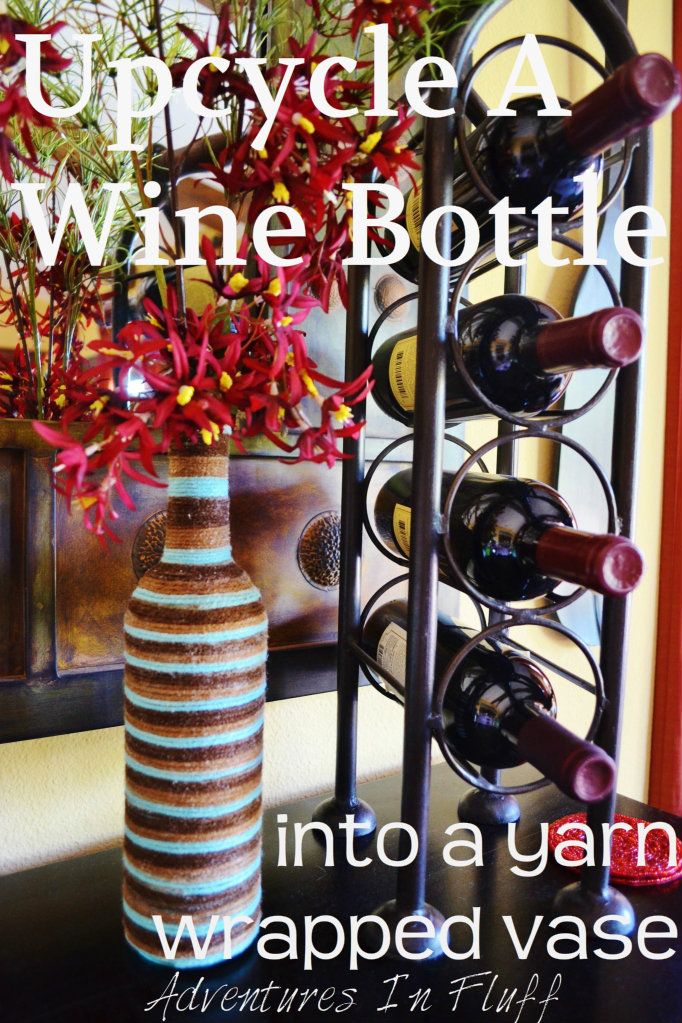
How To: Upcycle a Wine Bottle into a Yarn Wrapped Vase #freefromtrash

Upcycle a Wine Bottle into a Yarn Wrapped Vase

We’re almost to the end of our month long series of Upcycled Crafting Projects. Boooo! Aren’t you sad? I know my girls are. I guess we’ll just have to continue on and keep making treasures from trash in our household. Will you? Today we’re going to be creating beautiful yarn covered vases from wine bottles. You could also use beer bottles or even glass root beer bottles if that’s what you drink in your household. My daughter had such a good time creating her vase and loves showing it to everyone that comes over to our house. It’s now sitting on her craft table in her room and I have to say that it really brightens up the space. Check out my tutorial video below to see how to create your very own yarn wrapped vase. Ok, I really should call it Riley’s tutorial video since she’s the one that did it for me. This is my favorite video by far. She cracks me up! Don’t you just love kids on film? 

What You Will Need:

Wine Bottle (or any other glass bottle)

Yarn (or rope, twine, etc.)

Glue

Scissors

Live or Fake Flowers For Your Vase

Step By Step:


Voila!!!! You’ve just created your own work of art. Use different bottle sizes and/or yarn colors to create a wonderful vase grouping. I just love how easy this project is for anyone to do and the results are so beautiful. Riley can’t wait to make her next vase. Guess it’s time to drink another bottle of wine. Haha!

Riley is proud of her yarn wrapped vase project

*This post is part of the Upcycled Crafting Challenge (#freefromtrash) hosted by Calley, The Eco Chic, and is part of a one month challenge to create from trash.  This challenge will hopefully open your eyes to the number of items that we still end up trashing every day that could be used by ourselves or our kids to create fun and useful items.  To find out more about the challenge and to see other projects click on over to Calley’s announcement post.*

Check out some of the other great posts from today below and be sure to link up your projects today too!!!  Just link to your blog post, Pinterest picture, Photobucket Picture, etc.  I'd love to see your wine bottle projects.


Saturday, July 21, 2012

How To Upcycle Tin Cans into an Old Fashioned Telephone


It’s Day 20 of the Upcycled Crafting Challenge and I’m still hanging in there crafting away.  Today’s project was decided on by both my girls.  I have a huge bag of items to upcycle and they picked the tin cans.  Originally I really wanted to turn the tin cans into candle holders with designs poked out in the can (kind of like a jack-o-lantern), but the girls were quite insistent that we make some old fashioned tin can telephones.  How can you resist those sweet faces when they’re so excited for a project???  I know I can’t.  So old fashioned tin can telephones it was.

To make our old fashioned tin can telephones I first removed the labels.  If your can still has some sticky glue on the outside then you can re-wrap the cans with some pretty wrapping paper and glue or tape it closed.  Next, take a nail and hammer a hole in the center of the bottom of the can.  Take some yarn, rope, or twine (I used super thin nylon rope) and cut to the length you want your kids to be able to stand apart with their phones.  I made mine pretty long so they could be in different rooms (about 10-12 feet).  Poke one end of your yarn into one of the cans through the hole you just poked.  Tie a knot inside the can so that the yarn can’t pull out.  Do the same with the other end of the yarn on your other can.  Voila!  You have an old fashioned telephone.  Ok, I’m sure you could have figured that out on your own, but you never know.  I’m not sure that these old phones actually work, but the kids have a blast with them and they swear that they work.  Have fun!

*This post is part of the Upcycled Crafting Challenge (#freefromtrash) hosted by Calley, The Eco Chic, and is part of a one month challenge to create from trash.  This challenge will hopefully open your eyes to the number of items that we still end up trashing every day that could be used by ourselves or our kids to create fun and useful items.  To find out more about the challenge and to see other projects click on over to Calley’s announcement post.*

Check out some of the other great posts from today below and be sure to link up your projects today too!!!  Just link to your blog post, Pinterest picture, Photobucket Picture, etc.  I'd love to see your tin can projects.

Wednesday, July 18, 2012

How To: Upcycle Plastic Baby Food Containers into Snack Packs

Upcycle a Platic Baby Food Container into a Snack Pack
Ok, it's Day 19 of the Upcycled Crafting Challenge and I'm back with another crafting project.  Ok, it's not really a crafting project, but it's an awesome upcycled project.  This is actually my favorite and easiest project that I will present this whole month.  I've been all over this project since I started it.  Ok, so what is it you ask?  Well it's really quite simple.  I'm upcycling my plastic baby food containers into little snack containers.  No brainer right???

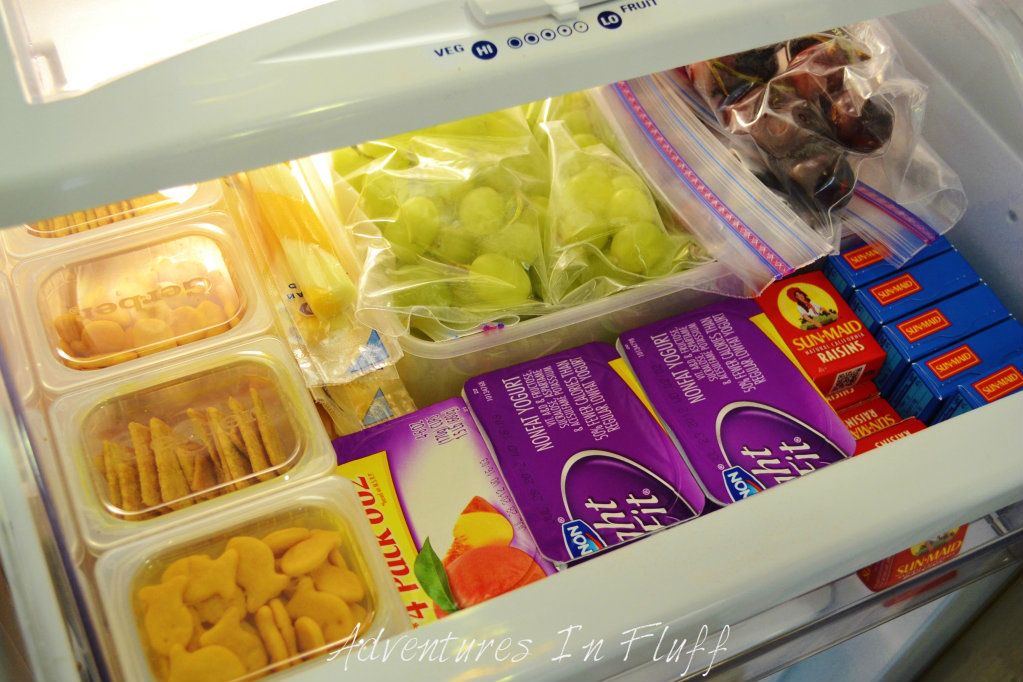
Yes, I hate when my girls ask me a million times a day what they can have as a snack.  I've been meaning to make a snack drawer FOREVER.  I just keep putting it off.  Then I got this great idea to use Linc's used plastic baby food containers as snack containers.  I can fill them with just about anything.  I can fill them with cheese, crackers, grapes, carrots, raisins, and more!  Currently I store them in my refrigerator drawer, but when school starts I can use these little containers for snacks in their school lunches.  I won't be wasting Ziploc bags everyday.  Now I've thought about making or buying re-usable snack bags (and probably still will), but the great thing about these little upcycled snack containers is that I really don't care if my girls accidentally throw them away.  After all Linc will be eating more baby food the next day so I can keep collecting these things for quite awhile.  What will you fill your snack containers with?

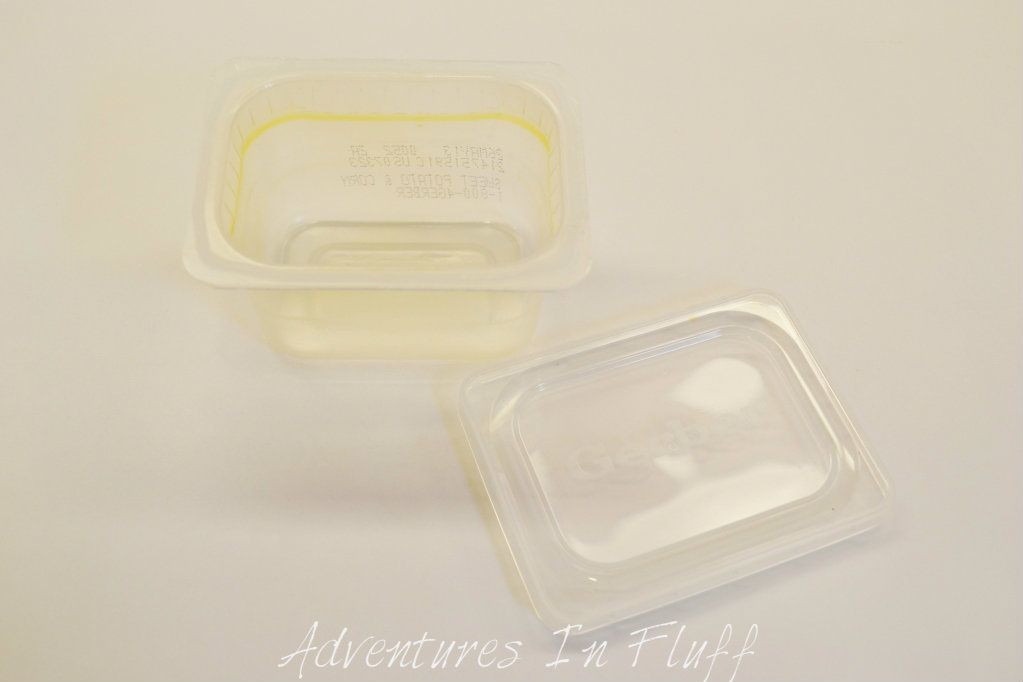
Empty Plastic Baby Food Container

Clean Plastic Baby Food Container

Fill Plastic Baby Food Container With Snacks

Put Snack Containers In Fridge, Cabinet, or School Lunch Bag
*This post is part of the Upcycled Crafting Challenge (#freefromtrash) hosted by Calley, The Eco Chic, and is part of a one month challenge to create from trash.  This challenge will hopefully open your eyes to the number of items that we still end up trashing every day that could be used by ourselves or our kids to create fun and useful items.  To find out more about the challenge and to see other projects click on over to Calley’s announcement post.*

Check out some of the other great posts from today below and be sure to link up your projects today too!!!  Just link to your blog post, Pinterest picture, Photobucket Picture, etc.  I'd love to see your upcycled plastic jar/container projects.


Tuesday, July 17, 2012

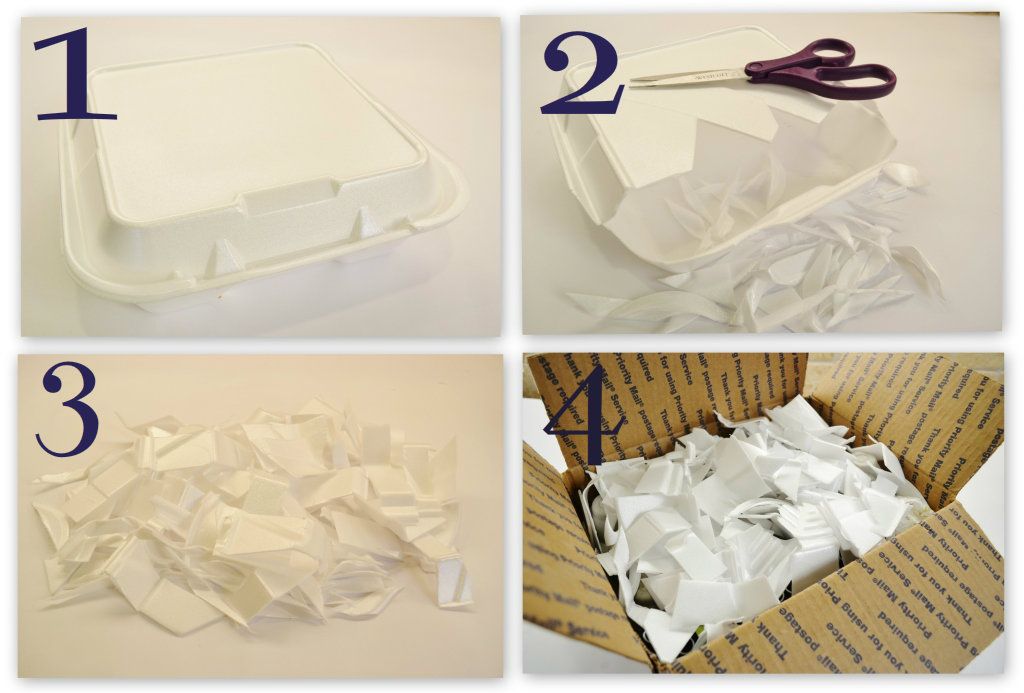
How To: Upcycle Take-Out Boxes into Packing Material

Take Out Box turned into Packing Material
Ok, I know I missed a day, but I'm back to redeem myself with Day 17 of the Upcycled Crafting Challenge.   Well, this isn't really a crafting project, but if you ship things all the time then this project will really save you some time and money.  What do you usually do when you ship a delicate item?  Do you buy packing peanuts?  Do you use newspaper?  Do you just cross your fingers and hope that nobody drops your package and breaks what's inside?  I normally use newspaper or plastic grocery bags, but as I was looking at the Upcycled Challenge list I got to thinking... what if...

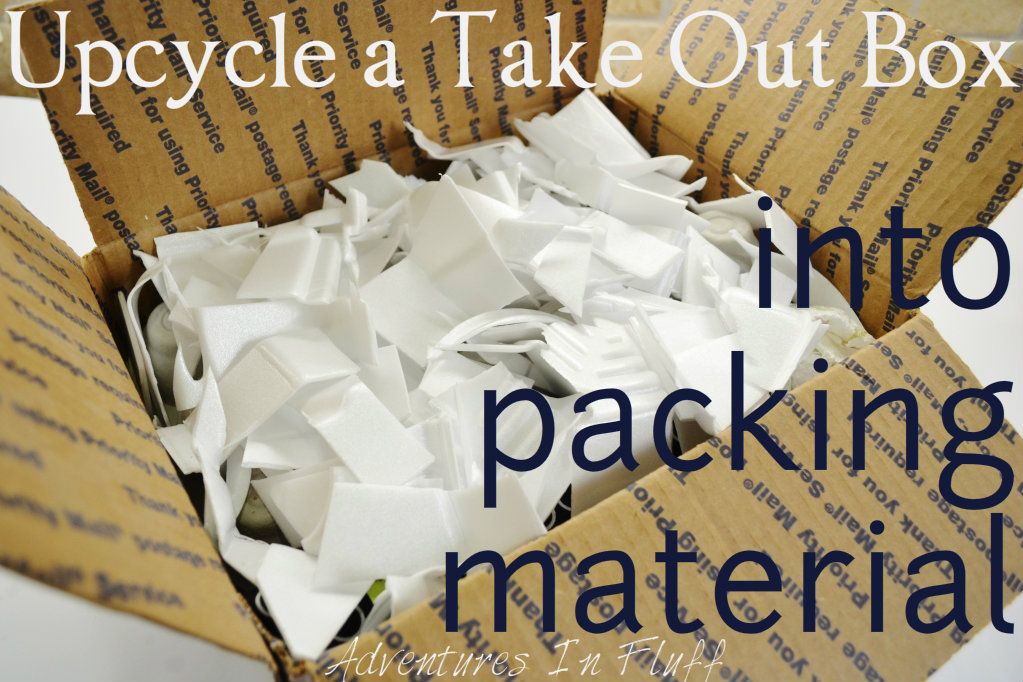
What if I used Styrofoam take-out boxes and turned them into shipping peanuts?  It's actually such an easy concept that I'm not even going to write my usual tutorial post.  All you need to do is clean out your take out box, cut it up into whatever size packing material that you want, and shove it in your shipping box.  If you do this for every take out box that you accumulate and just save the cut up shipping material in a bag, then you'll always have packing material ready to go whenever you need it.  How easy is that????

How To: Upcycle a Take Out Box into Packing Material

*This post is part of the Upcycled Crafting Challenge (#freefromtrash) hosted by Calley, The Eco Chic, and is part of a one month challenge to create from trash.  This challenge will hopefully open your eyes to the number of items that we still end up trashing every day that could be used by ourselves or our kids to create fun and useful items.  To find out more about the challenge and to see other projects click on over to Calley’s announcement post.*

Check out some of the other great posts from today below and be sure to link up your projects today too!!!  Just link to your blog post, Pinterest picture, Photobucket Picture, etc.  I'd love to see your upcycled take out box projects.

Friday, July 13, 2012

How To: Upcycle a Baby Food Jar into a Gift Container

Upcycle a Baby Food Jar into a Gift Container
It's Day 13 of the Upcycled Crafting Challenge and I'm trying to keep up. Wow! This is a whole lot of crafting even for a girl like me who LOVES crafts. My daughter Riley is still going strong though and each morning she asks what we're going to make. Well today I decided to keep it sweet and simple since today is Friday the 13th. I don't want any freak accidents happening. We'll be working with baby food jars today. At first I was going to make little herb garden planters, but ended up using our jars to create little luxury gift containers. You could fill your jars with anything, but we decided to fill ours with a soothing salt & sugar scrub infused with scents of lavender and lemon. Both the girls got to mix their scrubs and fill their jars themselves. I hope their grandparents like their little gifts. Read on below to see how you can make your own little gift jars.

What You Will Need:

Baby Food Jar
Water
Cooking Oil
Filling for jar (body scrub, lotion, deodorant, toothpaste, facewash, scalp treatment, lip balm, etc. )
Spray Paint
Ribbon

Step By Step:

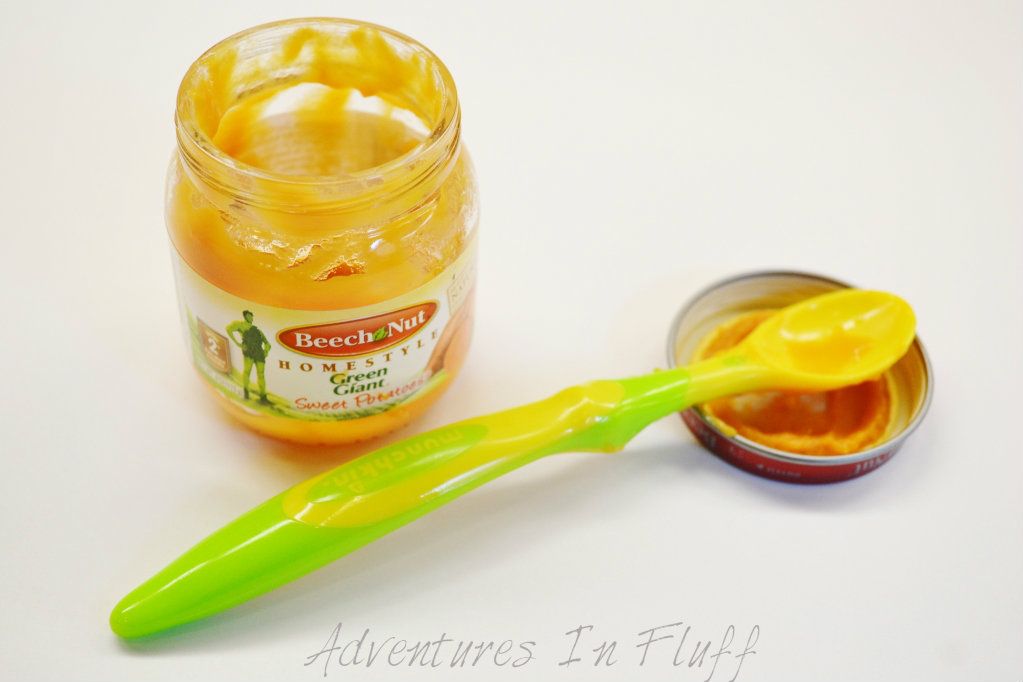
Baby food jar

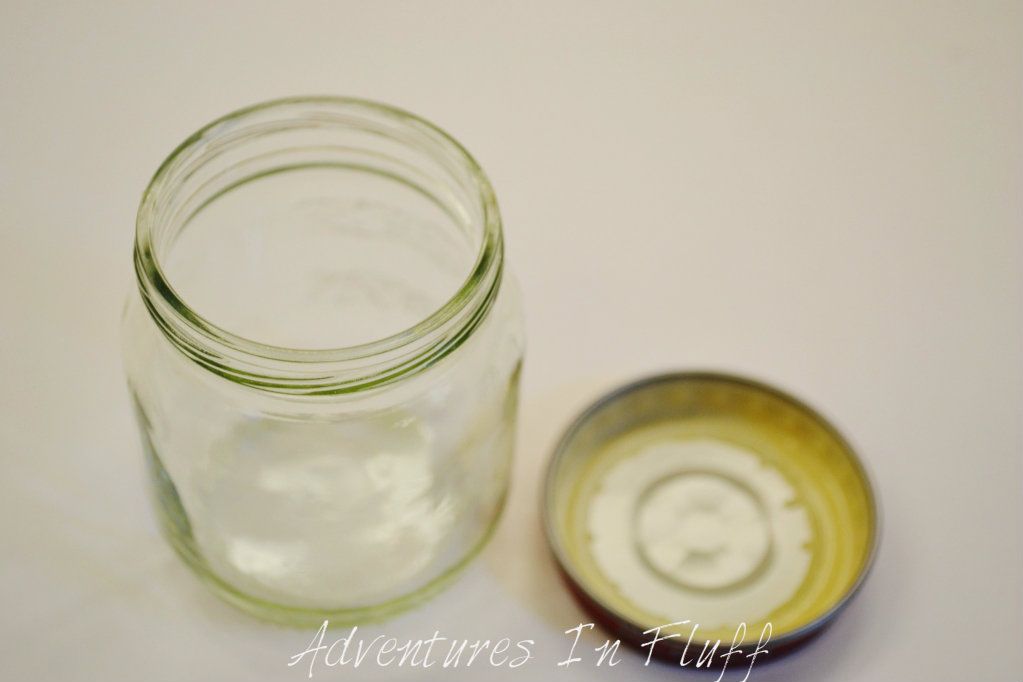
Empty Baby Food Jar
Empty baby food jar

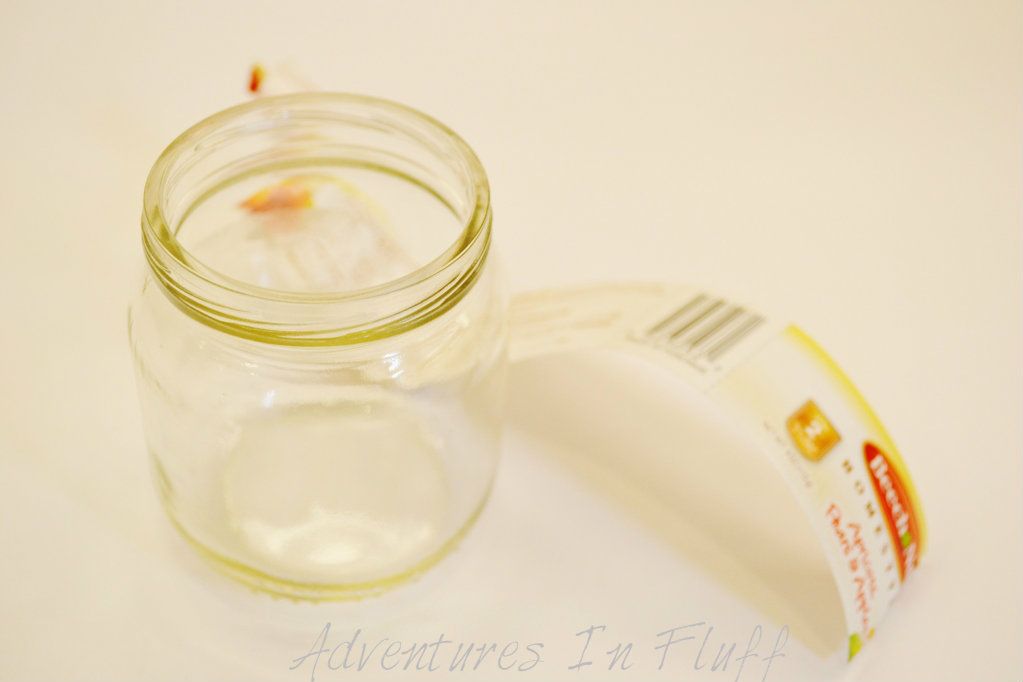
Label off of Baby Food Jar
Rinse out baby food jar and remove label

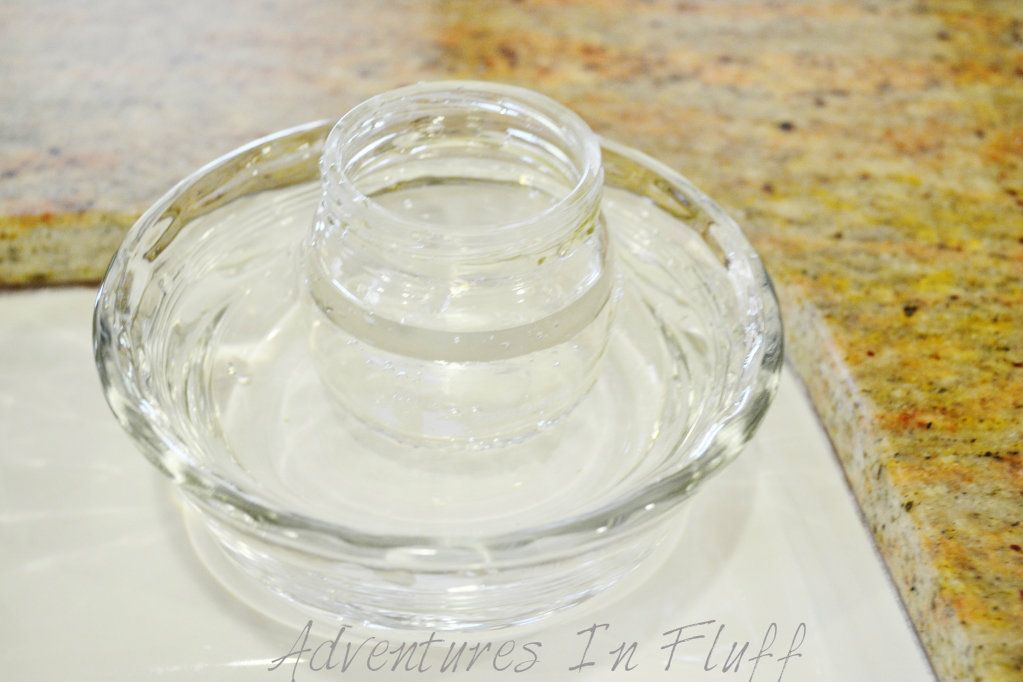
Baby Food Jar in Water
Soak jar in water to soften glue overnight
Take jar out of water and dry jar
Spray softened glue with cooking oil & let sit an hour

Empty Baby Food Jar Clean
Clean exterior of jar

Baby Food Jar with Sugar Scrub
Fill jar with desired filling (I filled mine with a sugar scrub)

Painted Baby Food Jar Lid
Spray paint lid

Baby Food Jar Gift Container
Place lid on jar and add ribbon

Voila!!!  You've just created a super cute gift super fast and for super cheap!  You can fill these with just about anything and decorate them as much or as little as you want.  I went pretty simple on mine, but the girls dressed theirs up with fabric and glitter ribbon.  Have fun and make someone's day with a cute homemade gift.


*This post is part of the Upcycled Crafting Challenge (#freefromtrash) hosted by Calley, The Eco Chic, and is part of a one month challenge to create from trash.  This challenge will hopefully open your eyes to the number of items that we still end up trashing every day that could be used by ourselves or our kids to create fun and useful items.  To find out more about the challenge and to see other projects click on over to Calley’s announcement post.*

Check out some of the other great posts from today below and be sure to link up your projects today too!!!  Just link to your blog post, Pinterest picture, Photobucket Picture, etc.  I'd love to see your upcycled glass jar projects.

Wednesday, July 11, 2012

How To: Upcycle a Magazine into a Game of Pick Up Sticks #freefromtrash

Upcycle magazines into a game of pick up sticks
Well it's day 11 of the Upcycled Crafting Challenge and I'm still going strong.  Today I'm going a bit off track though.  Although today's item is technically a soda can, I've decided to create today's project with a magazine since I skipped that day.  My daughter was really excited about this project.  She's all gung ho about magazine crafts.  Normally she'll to collages with them, but today we've decided to do something a bit different.  Today we're going to create a game of Pick Up Sticks using pages of a magazine.  This one was a double bonus, because not only does my daughter really love craft projects, but she also loves games.

What You Will Need:

Magazine
Water
Cookie Sheet
Glue Paste (I just mixed water and glue 50/50)
Paint Brush
Smooth Worksurface

Step By Step:


Voila!  You've just created a super fun game that will create hours of fun for your kids.  I know Riley and I were busy for quite awhile after our sticks dried.  Now it's been years since I played this game so I had to Google how to play it.  Check out the rules below if you've forgotten too and have fun!    


This is a game for two or more players. The object of the game is to pick up the most sticks.

To begin the game, a bundle of sticks are somewhat randomly distributed so that they end up in a tangled pile. The more tangled the resulting (dis)array, the more challenging the game. In some versions of the game, any isolated sticks, or sticks lying alone, are removed.

The first player attempts to remove a single stick, without moving any other stick. In some versions of the game, player uses a tool to move the stick away from the pile; this "tool" may be one of the sticks, held aside before the game begins. In other versions, players must pick up the sticks by hand. In either case, players must not move any other sticks while attempting to remove the chosen stick; if any other stick moves, his or her turn ends immediately. Players who successfully pick up a stick can then have another turn; the player keeps removing sticks until he or she causes a secondary stick to move.

The game is over when the last stick is removed. The winner is the player with the highest number of sticks picked up.

In some versions of the game, different-coloured sticks are worth different number of points, and the winner is the person with the highest score.


*This post is part of the Upcycled Crafting Challenge (#freefromtrash) hosted by Calley, The Eco Chic, and is part of a one month challenge to create from trash.  This challenge will hopefully open your eyes to the number of items that we still end up trashing every day that could be used by ourselves or our kids to create fun and useful items.  To find out more about the challenge and to see other projects click on over to Calley’s announcement post.*

Check out some of the other great posts from today below and be sure to link up your projects today too!!!  Just link to your blog post, Pinterest picture, Photobucket Picture, etc.  I'd love to see your upcycled magazine projects.
Monday, July 9, 2012

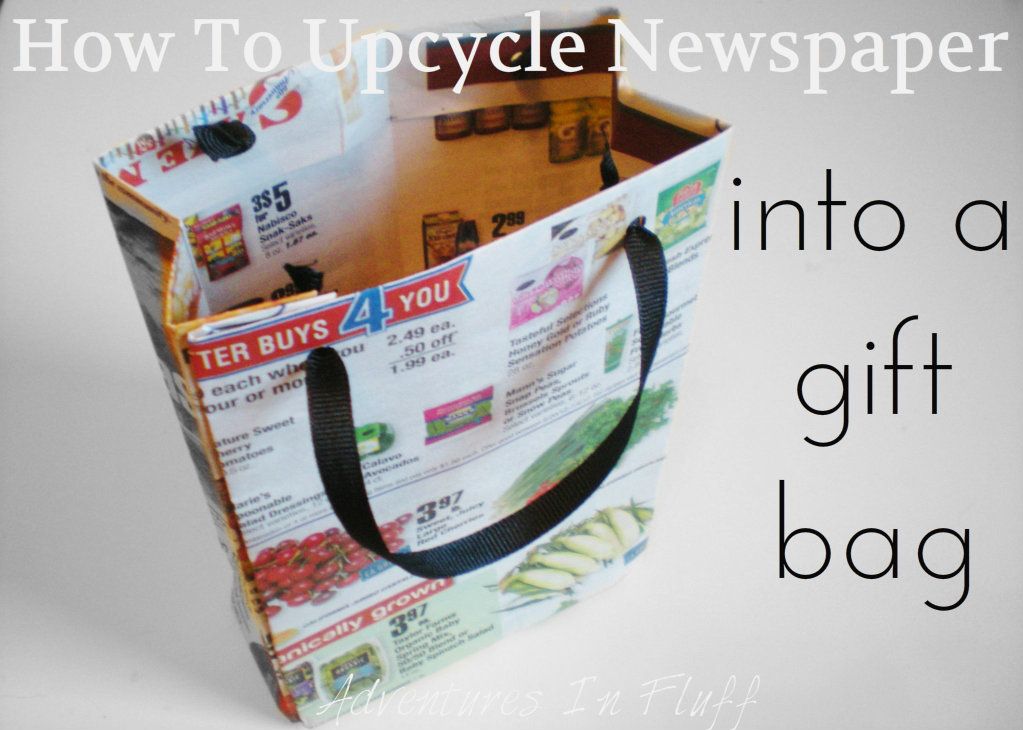
How To: Upcycle a Newspaper into a Gift Bag #freefromtrash

We're still crafting around here.  It's Day 9 of the July Upcycled Crafting Challenge and today we're working with newspaper.  There's so many great things you can do with newspaper.  Did you know that if you lay wet newspaper under mulch in your garden that weeds will not grow through it?  Did you also know that newspaper helps to absorb stinky odors?  Try shoving some crumpled newspaper in those stinky shoes of yours.  ... OR ... you could make gift bags with your extra newspaper like we did.  Ok, we didn't actually use newspaper.  I'm not much of a news person and my husband reads the news on his iPhone, but I do get ads in the mail that are very similar to newspaper so that's what I ended up using.  So if you have some extra newspaper (or ads from the mail) laying around, then get your crafting supplies ready so you to can make one of these cute little bags.

What You Will Need:

Newspaper (2 sheets)
Box (Same size that you would like your gift bag)
Scissors
Glue
Hole Punch
Ribbon

Step By Step:


Voila!  You've just created a super cute and economical gift bag that if decorated properly can fit just about any occasion.  I actually like just the basic look of newspaper though.  I usually have on had a pretty sizable collection of pre-used gift bags, but they are mostly baby or kids themed.  It's nice to have a hip option to use for adult gifts that I can make in minutes at home.  I hope you have fun creating your newspaper gift bags and the gift recipient finds the quirky, unique look as fun as I do.


*This post is part of the Upcycled Crafting Challenge (#freefromtrash) hosted by Calley, The Eco Chic, and is part of a one month challenge to create from trash.  This challenge will hopefully open your eyes to the number of items that we still end up trashing every day that could be used by ourselves or our kids to create fun and useful items.  To find out more about the challenge and to see other projects click on over to Calley’s announcement post.*

Check out some of the other great posts from today below and be sure to link up your projects today too!!!  Just link to your blog post, Pinterest picture, Photobucket Picture, etc.  I'd love to see your upcycled newspaper projects.
Saturday, July 7, 2012

How To: Upcycle a Drinking Straw into a Travel Size Condiment Tube

How To Upcycle your Straws into Travel Size Condiment Tubes

It’s Day 7 of the 2012 July Upcycled Crafting Challenge. Who’s having fun? We are! Today we’re going to be working with straws. I found so many cute projects for straws. You could make a light fixture, you can make place mats, or you can do like we’ve done and make handy little travel condiment tubes. Why buy travel packets of ketchup, mustard, salt, and pepper, when you can make your own. The options are endless when it comes to travel tubes. You can even make your own pixie stix using this method. Travel size tubes are great for lunch boxes, camping, your diaper bag, airplane trips, etc. Just make sure that whatever you put in your travel tube is ok to be in the conditions you leave it (heat, sun, not-refrigerated, etc.). Let’s get started! 

What You Will Need: 

Straw
Lighter (or candle)
Pliers (or some other item that clamps closed... I used some cooking tongs)
Scissors (optional if you want shorter travel tubes)
Binder Clip or Paper Clip (optional if you want them easy to open without scissors)
Condiment of Choice 

Step By Step:


- Fill your straw with your condiment of choice.  Either squeeze it straight into the straw or if needed fill a medicine syringe with your condiment of choice and squirt into the straw. (*You can wait to fill your tube after you seal the end if your filling is really thin or loose)
- Tap the end of your straw so the condiment moves away from the end of the tube.  You can use your tongs or pliers to squeeze the condiment down.  
- Squeeze the end of the straw with your pliers leaving a little bit of the straw sticking out of the end.
- Using your lighter melt the end of the straw.
- Quickly clamp the melted end of the straw closed with your pliers creating a tight seal.  It should only take a few seconds for the end of the straw to seal closed.
- If you want a completely sealed tube then repeat the sealing process on the other side of the straw.
- If you want a semi sealed tube that is easy for kids to open then fold the other end of the straw closed.  Hold the straw end closed with a paper clip or binder clip   

Voila! You’re done.  If you have several tubes with similar looking fillings or if you have solid colored straws you can use shipping labels or masking tape to label your condiment tubes. What will you fill your travel tubes with?


*This post is part of the Upcycled Crafting Challenge (#freefromtrash) hosted by Calley, The Eco Chic, and is part of a one month challenge to create from trash.  This challenge will hopefully open your eyes to the number of items that we still end up trashing every day that could be used by ourselves or our kids to create fun and useful items.  To find out more about the challenge and to see other projects click on over to Calley’s announcement post.*

Check out some of the other great posts from today below and be sure to link up your projects today too!!!  Just link to your blog post, Pinterest picture, Photobucket Picture, etc.  I'd love to see your upcycled straw projects.
Thursday, July 5, 2012

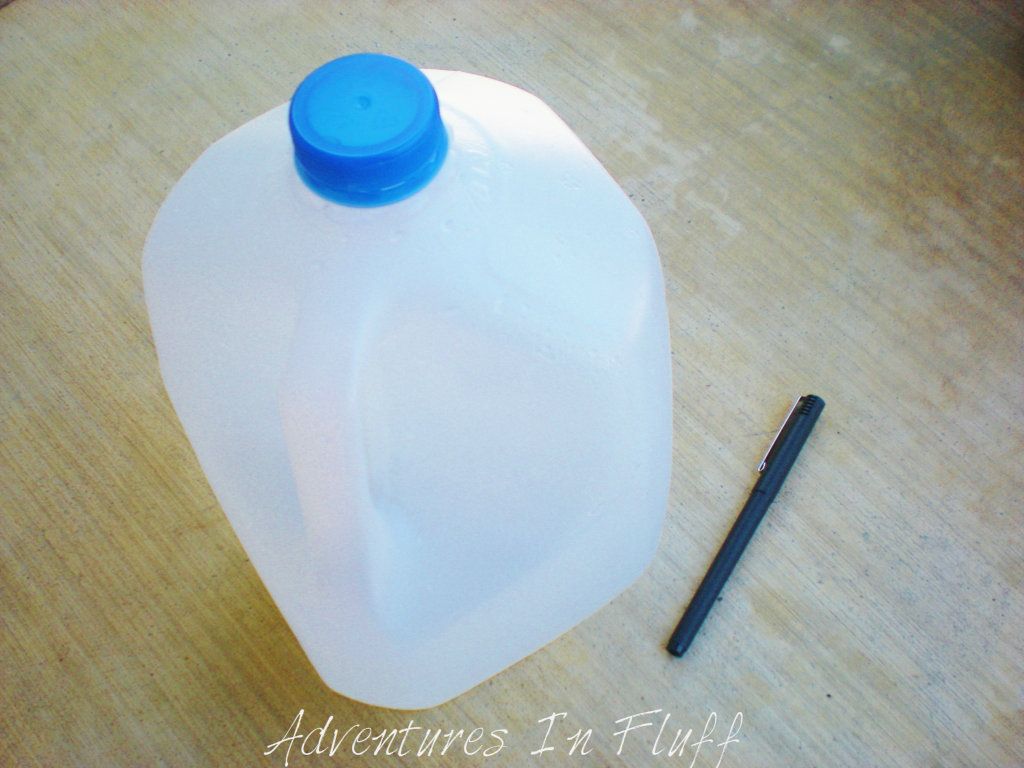
How To: Upcycle a Milk Jug into a Watering Can

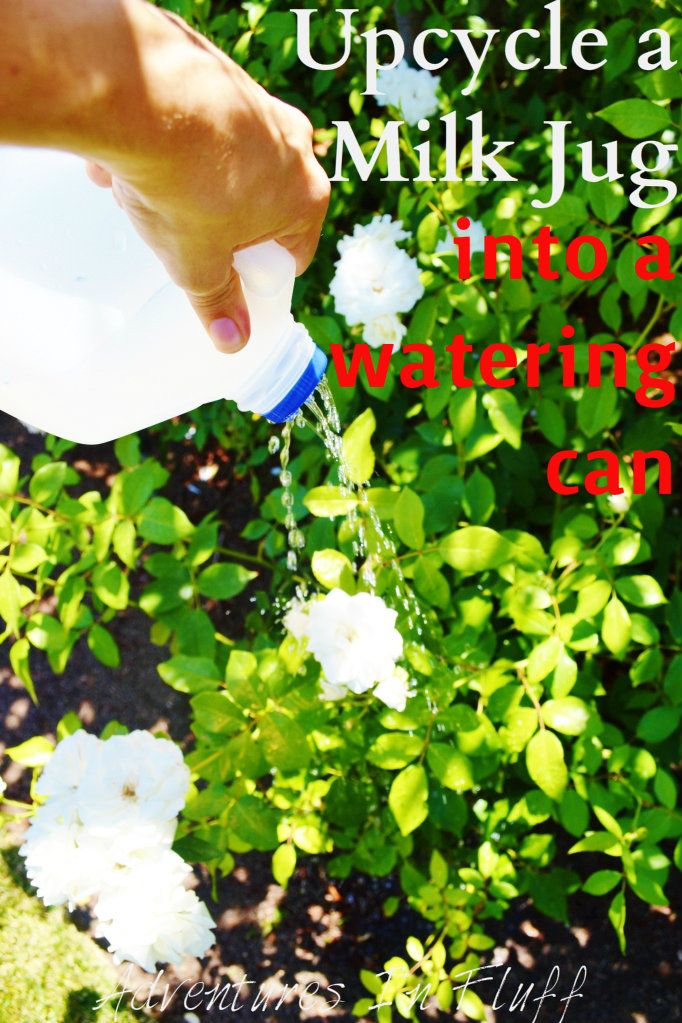
Upcycle a milk jug into a watering can

It’s Day 5 of the 2012 July Upcycled Crafting Challenge.  In case you’re just tuning in, I’ll be joining The Eco Chic by creating tons of crafty projects using items that we would normally call trash.  This is a great way to have fun with the kids and teach them about using the resources that we already have at hand instead of just throwing them away.  Today we’ll be working with milk jugs.  Our family is addicted to milk.  I’m trying to cut it out, but till then we go through a gallon of milk in just a couple days.  Why throw all those jugs away when you can create fun projects with them?  I’ve seen some cute gift boxes that you can make with milk jugs, but since its summer and my girls LOVE to water plants (and themselves), I’ve decided to upcycle our milk jugs into watering cans.  Check out the tutorial below so you can make some too.  This one is super fast and easy!


What You Will Need:

Milk Jug
Sharp Object (Drill bit, Thumb Tack, Nail, Ink Pen, etc.)
Water

Step By Step:
What you will need: Milk jug & Pen

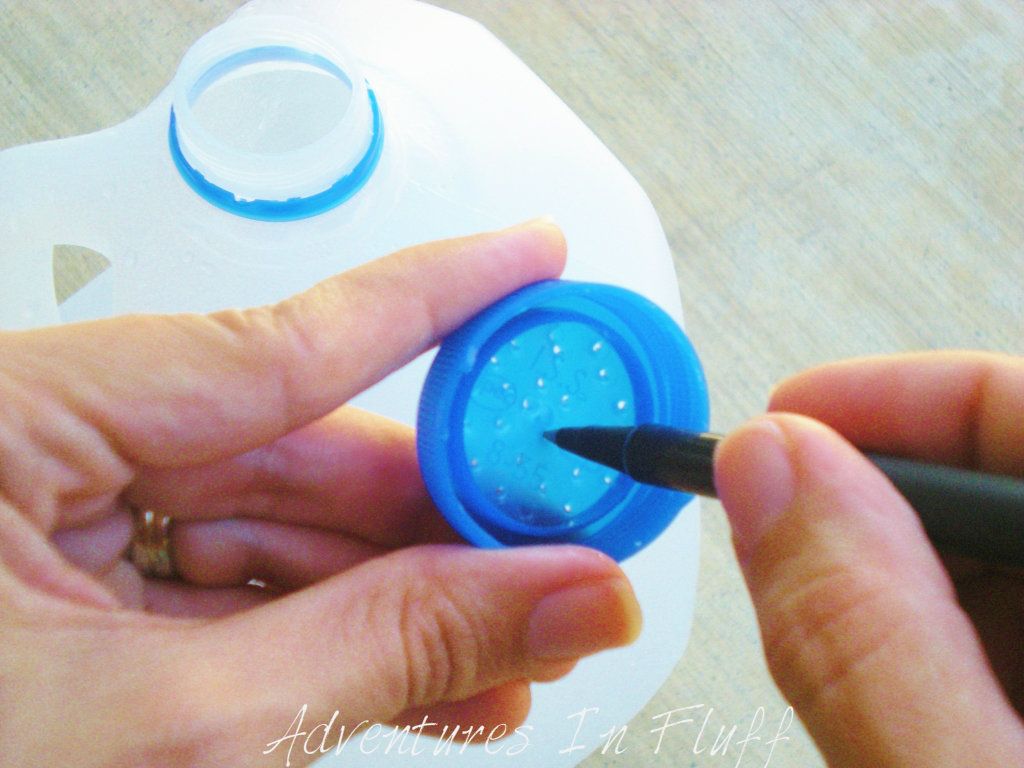
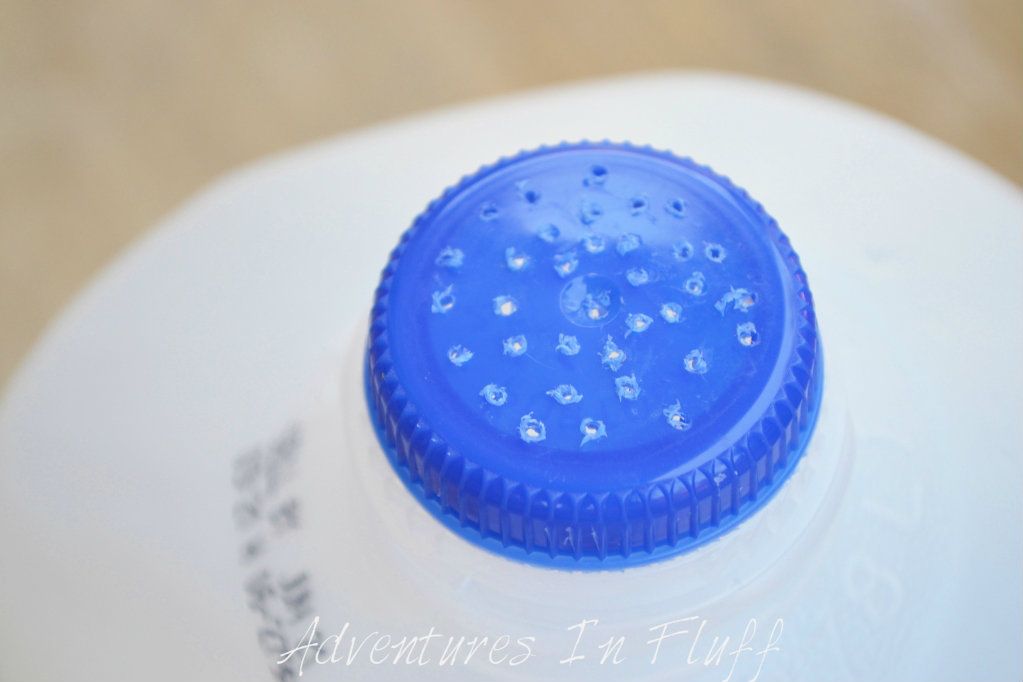
Poke holes in your milk jug lid

Milk jug watering can is complete

- Use your sharp object to poke several holes in your milk jug lid.  I found that an ink pen works well and is easily on hand.  Make sure to poke your holes from the back side of the lid.  If you poke the holes from the top of the lid, then the water will not pour very smoothly.
- Fill your jug with water.
- Screw the lid back on your newly made watering can.

Voila!  You have a super duper watering can that costs next to nothing to make and takes only seconds to transform.  I also love the extra added bonus that these hold a ton of water.  My girls can water plants for quite awhile before they ask me to re-fill their jug.  If you want to give your watering jugs a little extra touch then let your kids go at them with stickers, markers, paint, and glitter glue.  Happy Watering!

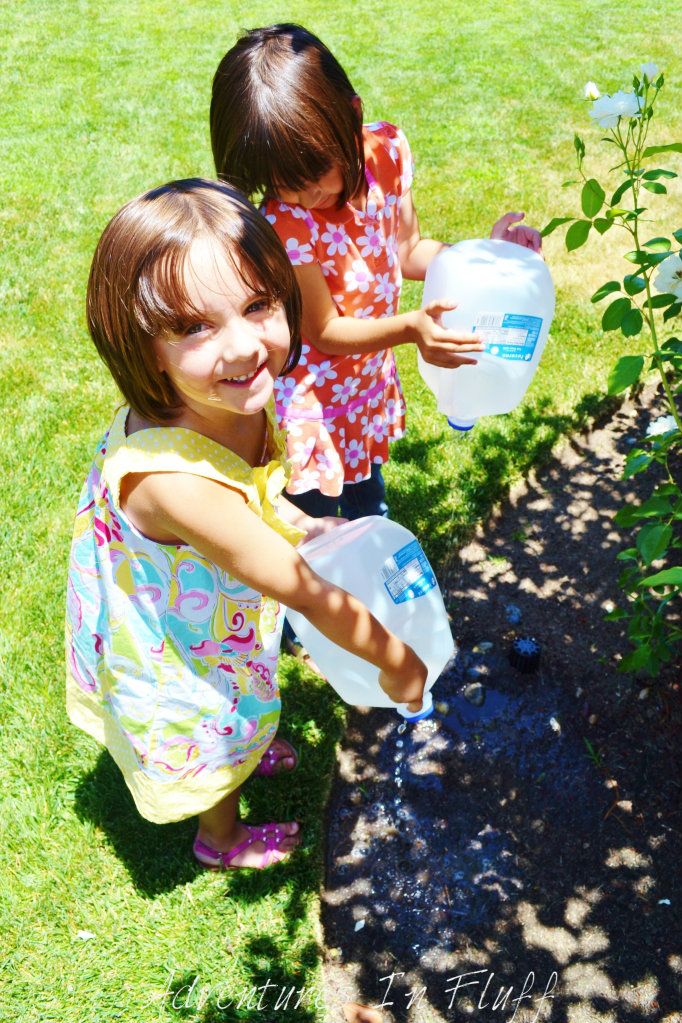
The girls watering plants with their milk jug watering can

*This post is part of the Upcycled Crafting Challenge (#freefromtrash) hosted by Calley, The Eco Chic, and is part of a one month challenge to create from trash.  This challenge will hopefully open your eyes to the number of items that we still end up trashing every day that could be used by ourselves or our kids to create fun and useful items.  To find out more about the challenge and to see other projects click on over to Calley’s announcement post.*

Check out some of the other great posts from today below and be sure to link up your projects today too!!!  Just link to your blog post, Pinterest picture, Photobucket Picture, etc.  I'd love to see your upcycled milk jug projects.

Tuesday, July 3, 2012

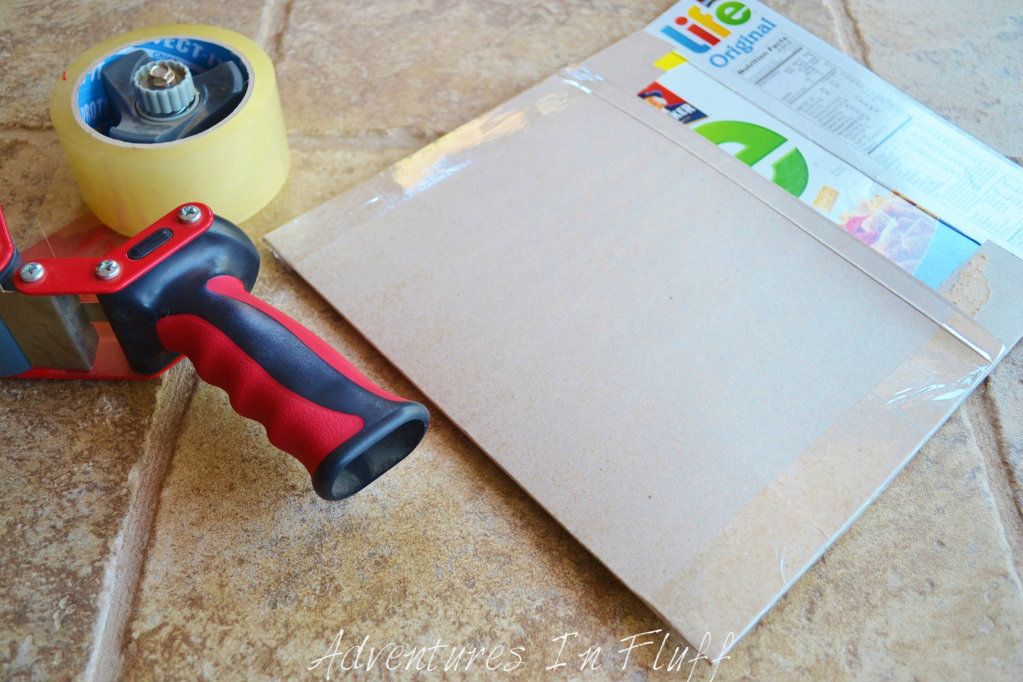
How To: Upcycle a Cereal Box into a Shipping Evelope

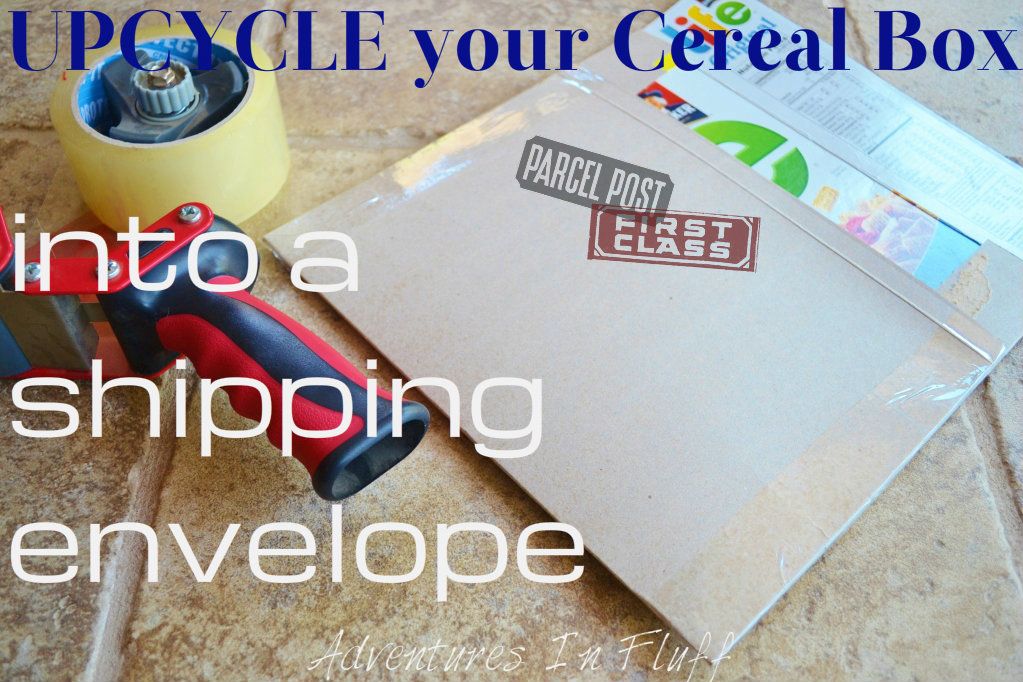
Upcycle your cereal box into a shipping envelope
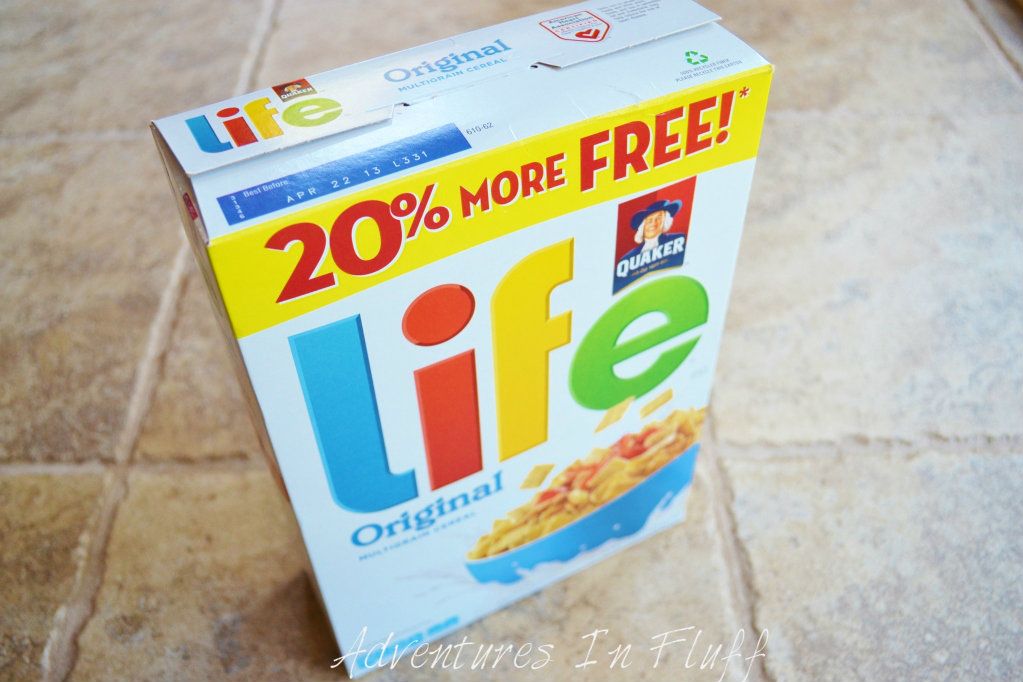
Well it's Day 3 of the 2012 July Upcycled Crafting Challenge and the girls and I are having so much fun!  Today we're going to be working with cereal boxes.  Now I had a hard time choosing what I wanted to make today.  I thought that cereal boxes would be awesome to use as canvases on the wall.  Just spray paint them white, let your kids do the artwork, and hang them on the wall.  Then I thought they would be great gift bags.  Just paper wrap, add some ribbon for handles, and fill with your gift and tissue.  How about organizer boxes?  Slice them open at a diagonal, decorate with paper, and fill with magazines or mail.  So many ideas!!!!  So what did I settle on?  I've decided to make shipping envelopes.  I personally HATE to spend the money on shipping envelopes.  I'm the type of person that saves all the envelopes and bags that I get in the mail so that when I need to ship something I already have packaging on hand.  There are times when I run out of shipping materials though and that's when this awesome tutorial comes in handy.  I ALWAYS have tons of cereal in our pantry (duh!  I have 3 kids) which means tons of cereal boxes.  Check out this tutorial on HOW TO UPCYCLE A CEREAL BOX INTO A SHIPPING ENVELOPE!


Upcycle a cereal box into a shipping envelope - cereal box

What You Will Need:

Cereal Box
Scissors
Shipping Tape

Step By Step:

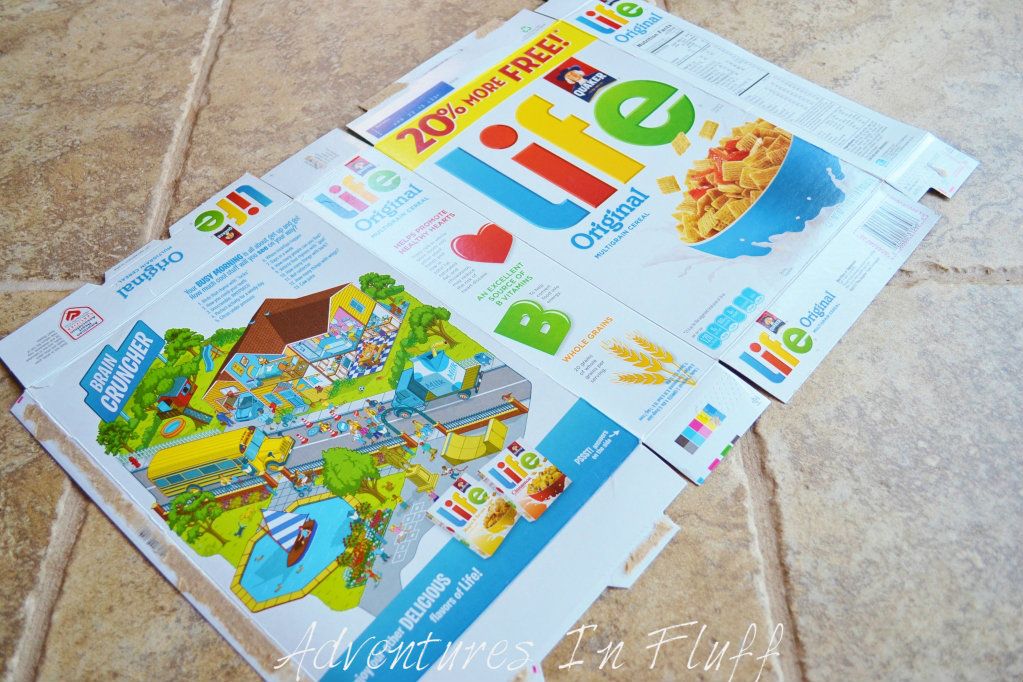
Upcycle a cereal box into a shipping envelope - Lay Flat

1 - Disassemble your cereal box making sure not to rip the box.
2 - Lay your box flat so you're looking at the printed side of the box.

Upcycle a cereal box into a shipping envelope - Fold in flaps

3 - Fold all the flaps in except for the two flaps on the very end.
4 - Cut off the two small flaps on the end.

Upcycle a cereal box into a shipping envelope - Fold in half

5 - Fold the box in half making sure that all the small flaps stay folded in.

Upcycle a cereal box into a shipping envelope - Tape Sides

6 - Tape the sides of the envelope closed. **At this point you can store the envelope away till you need it.

Upcycle a cereal box into a shipping envelope - Fill Envelope

7 - Fill your envelope with whatever you need to ship (It needs to be fairly flat)

Upcycle a cereal box into a shipping envelope - Tape Closed

8 - Fold the top flap down and tape it closed.
9 - Add your shipping label and postage to the front.

Voila!!!  You've just created a shipping envelope for practically no cost at all in about 2 minutes.  How awesome is that!?!?  I've already created a ton of these and set them aside for the next time I ship something out.  Next time I'll wait till the cereal is gone.  I got some pretty odd looks when my husband when to get some cereal and saw a whole bunch of cereal bags with no boxes.  Hehe!

*This post is part of the Upcycled Crafting Challenge (#freefromtrash) hosted by Calley, The Eco Chic, and is part of a one month challenge to create from trash.  This challenge will hopefully open your eyes to the number of items that we still end up trashing every day that could be used by ourselves or our kids to create fun and useful items.  To find out more about the challenge and to see other projects click on over to Calley’s announcement post.*


Check out some of the other great posts from today below and be sure to link up your projects today too!!!  Just link to your blog post, Pinterest picture, Photobucket Picture, etc.  I'd love to see your upcycled cereal box projects.
Sunday, July 1, 2012

How To: Upcycle Your T-Shirt into a Tote Bag

How To: Upcycle Your T-Shirt Into A Tote Bag
Well, it's day one of the Upcycled Crafting Challenge!  Are you psyched!?!?  I know my girls and I are.  If you haven't heard already, I've joined up with Calley, The Eco Chic, in her July Upcycled Crafting Challenge.  Each day in the month of July I've committed to creating a craft project that utilizes items that I would normally throw away.  I love that I'm not only having fun with my girls while they're out of school, but also teaching them to be more eco-conscious by using what we have on hand and wasting less.  Such a great way to think out of the box!

Today we're going to be working with old t-shirts.  I know my girls grow out of t-shirts faster than I can blink my  eyes, and I personally have quite a few t-shirts that I could wear before I was pregnant that no longer fit quite right.  Then there's my husband who buys new clothes more often than any girl I know.  Haha!  Ok, not that bad, but I'm sure he has quite a few shirts he no longer needs.  Today I'm going to be putting all those old shirts to good use.  Check out this great tutorial below on how to make your own re-usable tote bag using your old shirts.

What You Will Need:

Old T-Shirt
Scissors
Sewing Pins 
Sewing Machine
Plate (optional)
Marking Pen (optional)


Step By Step:

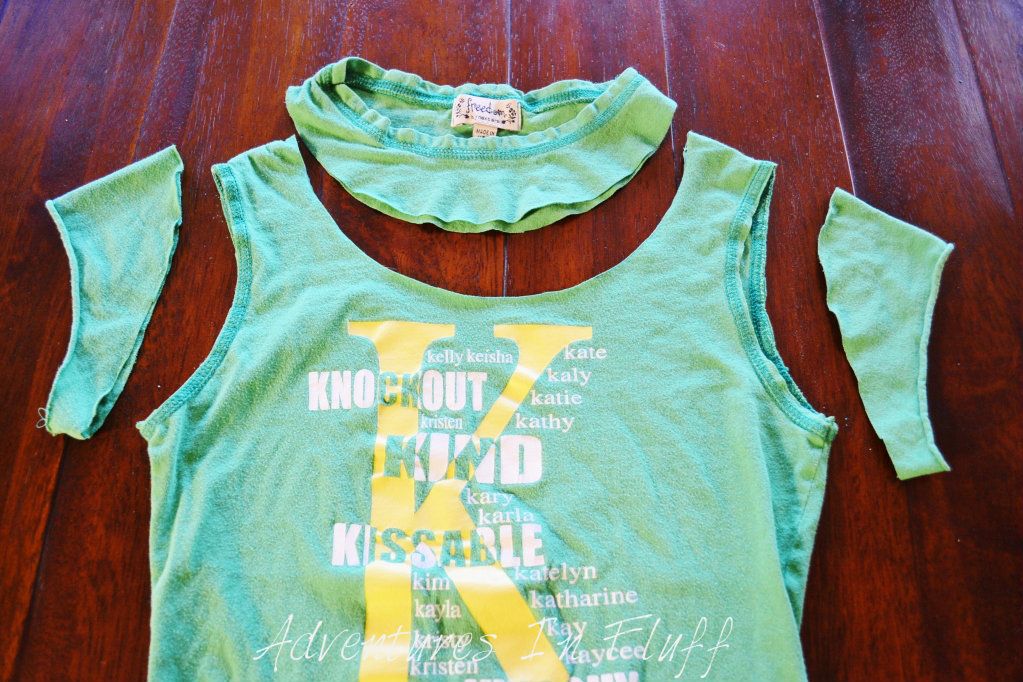
Remove arms and neckline from shirt

1 - Lay your shirt flat on the table.  Smooth out all creases and folds.  If you're using a tank top then skip to step 5.
2 - Trace your plate around the neckline of your shirt.  Make sure it's wide enough so the opening of your tote will be large enough to put things in, but not so large that your handles become super skinny.
3 - Cut out the neckline of your t-shirt along the line your just drew.  Make sure to cut through both sides of the shirt.
4 - Cut off the sleeves.  Cut close the the arm seam, but make sure to leave the arm seam on the shirt.  The seams give the handles more strength.
5 - Turn your shirt inside out.

Pin shirt bottom closed

6 - Smooth out all creases and folds.  Make sure the shirt is nice and straight.  Pin the bottom of the shirt closed making sure it is nicely lined up.

Sew bottom of shirt

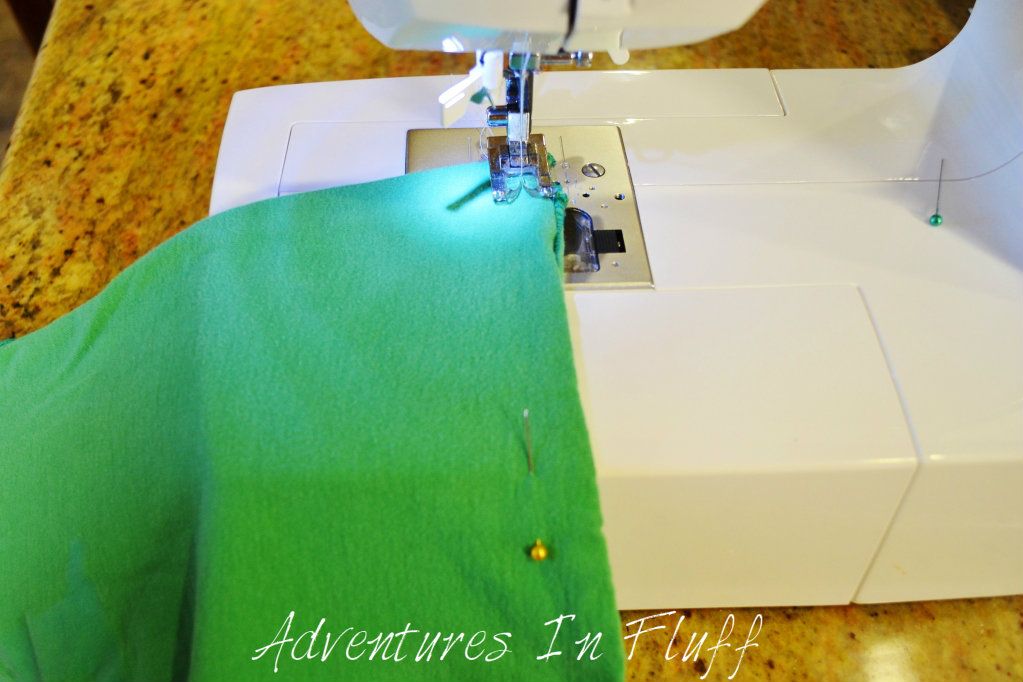
7 - Sew the bottom of the shirt closed along the shirt's bottom seam.  You can use a straight stitch and go over it twice to make it really strong, or you can use a stronger stitch such as a double overlock stitch and go over it only once.  Make sure to back stitch at the beginning and end of your stitch.  Trim your threads.
8 - Turn your shirt right side out.

Upcycled T-Shirt Tote Bags

Voila!!!  You're done.  You've just upcycled your old t-shirt into a super awesome re-usable tote bag!  I was so excited by this project that the girls and I have already made 5 of them.  They love their little bags and use them to bring toys over to Grandma & PaPa's house.  I throw mine in the back of my car so I have them on hand for shopping.  What will you use your bags for?


*This post is part of the Upcycled Crafting Challenge (#freefromtrash) hosted by Calley, The Eco Chic, and is part of a one month challenge to create from trash.  This challenge will hopefully open your eyes to the number of items that we still end up trashing every day that could be used by ourselves or our kids to create fun and useful items.  To find out more about the challenge and to see other projects click on over to Calley’s announcement post.*


Check out some of the other great posts from today below and be sure to link up your projects today too!!!  Just link to your blog post, Pinterest picture, Photobucket Picture, etc.  I'd love to see your upcycled t-shirt projects.

Friday, June 15, 2012

The July Upcycled Crafting Challenge #freefromtrash


Items In Trash Can We Can UpcycleThose of you that have been reading my blog awhile now already know that I'm a craft project freak. On top of that, you might know that I've raised two little craft project freaks. I guess you could say that Riley, Reagan, and I are a crazy crafting trio. That's my girls! Well I just heard this week that Calley, The Eco Chic, will be  hosting the Upcycled Crafting Challenge for the month of July. For each day in the month of July she will be creating a craft project that utilizes an item that would normally go in her trash and she's inviting others to do the same. Not only does this create an opportunity for the girls and I to get down and crafty, but it also gives me the chance to teach the girls how to be eco conscious and reuse the things we already have in our possession instead of adding to our earth's ever accumulating waste.  Bonus!  This is just what the girls and I need to bring us together while they're out of school for the summer!  Yay for mommy / daughter bonding time!

So what does this all mean?  Well I'll be taking a bit of a break from my usual cloth diapering posts for the month of July and bringing you all a whole lot of crafting projects instead.  Check out the list below to get a sneak peak at the items I'll be using in the upcoming DIY projects.  I might change out a few items that fit better into what I personally have in my trash, but for the most part the items will remain the same as scheduled.  Let's have fun together and get the kids involved too!  So dust the cobwebs off your sewing machine, break out the glue gun, and gather up all those things that you now call trash.  You're in for a whole lot of crafty fun!  Come join us and sign up for the Upcycled Crafting Challenge too!!!!  If you want to sign up just visit The Eco Chic's post (link below).  I'm still working on getting a list of those participating and will add it to this post later.


*This post is part of the Upcycled Crafting Challenge (#freefromtrash) hosted by Calley, The Eco Chic, and is part of a one month challenge to create from trash.  This challenge will hopefully open your eyes to the number of items that we still end up trashing every day that could be used by ourselves or our kids to create fun and useful items.  To find out more about the challenge and to see other projects click on over to Calley’s announcement post.*