Showing posts with label Fluffy Tips. Show all posts

Thursday, October 11, 2012

The Key To A Bulletproof Nighttime Diapering Solution

Bulletproof Nighttime Cloth Diaper Cover
Well September is over and we just got done reviewing tons of fitted diapers.  That got me to thinking... what is the key to success with fitted diapers?  I should clarify.  What is the key to success at night with fitted diapers?  Yes, some fitted diapers are more absorbent than others and a great absorbent diaper is definitely a key ingredient, but that's not what I found to be "THE Key Ingredient".  I could use almost any of the diapers I reviewed for the September Fitted Diaper Event at night and get no leaks (yes, there were a few that I could not).  So what was the key ingredient?  Should I tell you?  Ok, I guess that's the whole point of this post...

The key ingredient to a bulletproof nighttime diapering solution is all in the cover.  Yep, that's right.  If you have the right cover and you put it on correctly then you should have a leak free night provided your fitted diaper (or prefold, or flat for that matter) is somewhat decent in absorbency.  Now I've tried several covers and I keep going back to the same three brands.  Not to say that these three brands are the only ones you could use, but they do have some key features that you want to look for in a nighttime diaper cover.


KEY FEATURES TO LOOK FOR IN A NIGHTTIME DIAPER COVER:
  • SIZE - It's got to be big!  Fitted diapers, flats, and prefolds are usually not too trim when it comes to nighttime solutions.  Some are, but most are fairly bulky.  That said, you're going to want a diaper cover that can cover your diaper completely.
  • INTERIOR GUSSETS - I've used covers both with and without gussets, and have found that those with gussets seem to create a better seal than those that do not have them.
  • STRETCH - Covers that stretch tend to fit your baby better, creating a nice seal.
  • SUPERIOR ADJUSTABILITY - Whether it be snaps or hook & loop closures, you're going to want a cover that will give you the best adjustability.  This is all about fit.  You want a good seal around your baby's waist and legs to keep that moisture in.
  • PUL/TPU/POLY ONLY - You don't want any natural fibers on your cover.  What I'm mainly getting at here is that you don't want a hidden layer of PUL or TPU with a cotton layer over it.  It never fails that the moisture inside will find a way to that cotton exterior before the night is up.  This goes for any cover that has a natural fiber on the outside such as bamboo... but it's usually cotton.
MY NIGHTTIME DIAPER COVERS:
Ok, I want to state again that these are not the only covers that will work at night, but they are the ones in my stash that I use exclusively for nights and rarely fail me.  Oh, and yes these are affiliate links so if you want to buy any of these covers and want to help support this blog then please use these links.  Thanks!!!

Ok, so you have your diaper cover.  Now what do you do?  Just having an awesome diaper cover that meets all of the features above will not guarantee you a bulletproof solution.  It's all about how you use the diaper cover.  I'm sure we all know that you put on your absorbent diaper, be it a fitted, prefold, or flat, and then you put the cover on over it, but do you really put your cover on correctly?  Maybe you're really tired.  Maybe your baby is really wiggly.  Maybe your baby is really cranky and you just want to get them to bed fast.  Maybe you just didn't realize how to put a cover on correctly.  Whatever the reason, you're still getting leaks.  Well there's a checklist I go over when putting on a nighttime diaper cover every night.

THE NIGHTTIME DIAPER COVER CHECKLIST:
  • Put on your absorbent diaper (fitted, prefold, flat).
  • Put your diaper cover on over your absorbent diaper snugly but not so tight that it cuts into their skin.  You just want to make sure that the edges are completely touching your baby's skin, but not digging in.
  • Check the leg openings to make sure that none of the absorbent diaper is sticking out.  If it is then tug on the diaper cover and poke your absorbent diaper in till you no longer see it.  There should be a nice seal on the legs and you shouldn't see any of your absorbent diaper.  Pay special attention to the top of the legs.  You shouldn't see your absorbent diaper ANYWHERE!  If you can't get the cover to stretch over the diaper fully with a little wiggle room then you need a bigger cover.
  • Check the top of the diaper (front and back).  Can your see your absorbent diaper?  You shouldn't be able to.  If you do then tug your diaper cover up over it and poke your absorbent diaper in.  You should have a nice seal around the top of your diaper.  Not tight... but a nice seal.
  • If you use hook and loop closures on your covers then be sure to put pants over the cover.  You don't want your baby to accidentally loosen the hook and loop closures over night.  Even babies that don't pull on their diapers might loosen the closures just by rolling around if the hooks get attached to a blanket or doll.
So there you have it!  That's my bulletproof nighttime diapering solution.  It's all in the cover!  Yes, like I said before, there are a few diapers that I can't use at night, but overall, if I use a good cover and I put it on correctly then I usually have a leak free night.  It never fails that the one night I put on a cover that doesn't meet my requirement, or I don't check the diaper cover application list, is the night I wake up next to a puddle.  Ewwww!  I hope this helps you too and nighttime diaper leaking becomes a thing of the past.  Good Luck!!!

**Please Note!!!:  I'm not saying that these are the only covers that will work or that PUL is your only option.  I do know that wool is a great option.  I just haven't really used it much yet to talk enough about it. **

Tuesday, July 31, 2012

Travel With Cloth Like A Pro - #beachbash

How To Travel With Cloth Diapers
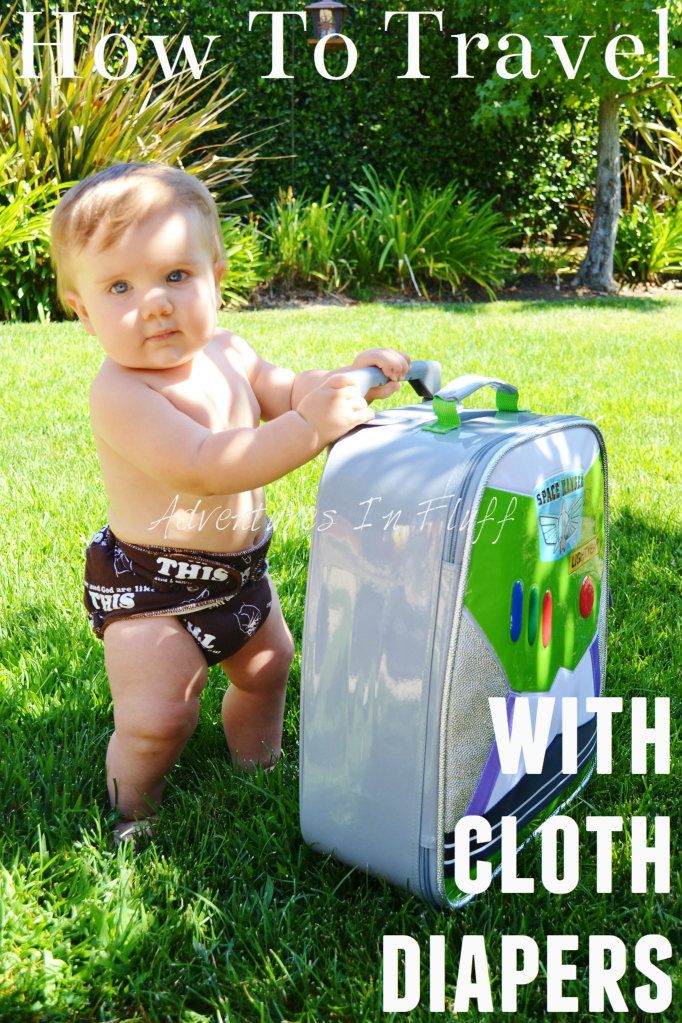
Summer is in full swing and I’m so excited to be selected as one of the participating bloggers in the Kelly's Closet Blogger Beach Bash. All participating bloggers will be sharing fun summer posts and giving away a $15 gift certificate to Kelly’s Closet in addition to the awesome Beach Bash Prize Package that Kelly's Closet is giving away on their site for a swim diaper, sunscreen, & medium wetbag.  Have you gotten your entries in yet??? Well, I thought long and hard about what I wanted to write about for my Blogger Beach Bash post. What does summer mean to me? More importantly what does summer mean to me when it comes to cloth diapering? After thinking on this awhile it hit me! I’m sure you've realized that we are out of town… A LOT. I think we’ve only been home about two weekends this whole summer. So what does this mean for me? It means that I’m packing up diapers for trips all the time. After a little trial and error I have traveling with diapers down to an art form and I’m here to share with you my diaper traveling tips. Check out my travel packing lists below as well as a few tried and true cloth diapering travel tips that are sure to make your days away from home go a little more smoothly. 


The Weekend Packing List (1-3 nights) 


Disposable Diaper Liners – Linc only poops once a week so I only bring these if it’s getting close to pooping day, but if your wee one poops a lot (and it’s solid enough for liners) then I would highly recommend them so you can avoid stowing away super poopy diapers till you get home or having to swish them while out and about. Don’t bring the whole roll. Just bring what you need and store them in a travel wipes case. 

All-In-Two Diaper Shells – All In Two diapers seem to take up the least space when packing since I can use each shell a few times. I figure that I’ll be using each shell about three times before tossing it in my wet bag. When figuring how many shells to bring I use the following calculation: 

((Avg # of diaper changes in a day + 1)*(# of days you’ll be away)) / 3 = # of Diaper Shells To Pack 

All-In-Two Diaper Inserts – Pack 3 inserts for every diaper shell. Sometimes I’ll throw an extra insert or two in for good measure. 

Nighttime Diapers – This will depend on how heavy of a wetter your child is. I can use an All In Two diaper with two inserts or a fitted diaper with a cover. I pack one nighttime diaper option for each night away. I do not re-use diaper shells or covers used at night due to the amount of pee that gets soaked into them. 

Swim Diaper – I like to pack two just in case Linc poops while in his swim diaper. I want to have a back up. 

Cloth Wipes (single ply) – Like I said. Linc doesn’t poop much so I only use one wiper per change. That means I pack the same number of wipes as diaper inserts plus one just in case. The reason I say single ply is because they take up less space in my suitcase than my double sided wipes. 


Small Wet Bag – I usually bring two small wet bags (one for the drive to my destination and one for the drive home), but you can also get away with one. Just empty the wetbag into your larger wetbag and reuse. Wipe the wet bag out and let dry if needed. 


The Extended Stay Packing List (with washing facilities)


My extended stay with washing facilities packing list is pretty much the same as my weekend trip packing list. I just pack enough shells, inserts, nighttime diapers, & wipes for 3 days and 3 nights. I also pack enough cloth diaper safe detergent for my entire trip along with a measuring scoop and two large wet bags instead of one.  This is based on washing every other day.


The Extended Stay Packing List (without washing facilities) 


My extended stay without washing facilities packing list is a bit different. I still pack everything I do for a weekend trip with a few tweaks to accommodate hand washing EVERY DAY. Instead of All In Two diapers, I use covers and flats. The reason for this is because they are much easier when it comes to hand washing and drying. 


Disposable Diaper Liners – These are especially helpful when it comes to hand washing. The less poop the better. Just pack the quantity you will need while away and put them in a disposable wipes travel container. 

Diaper Covers – When it comes to traveling I find that PUL (no interior liner) is the easiest to clean, the fastest to dry, and takes up the least amount of space in your luggage.  Figuring that I'm going to wash every day, I pack enough diaper covers for two days plus 1 just in case.  I personally like to rotate between two covers each day and have one as a backup.

Flat Cloth Diapers – Pack enough flats for two days.  I pack one per change, but you might need two per change if you have a heavy wetter. Sometimes I’ll throw an extra flat or two in for good measure. I find that birdseye cotton flats are the easiest to hand wash and dry the fastest as well. 

Diaper Closure Device – You will not need these if you are just padfolding your flats and laying them in the diaper, but if you will be fastening your flats to your baby, make sure to pack two sets in case one gets lost (snappy, boingo, pins, etc) 

Nighttime Diapers – If at all possible I would stick with flats for nighttime diapering since they will be the easiest to hand wash. This might be the time you want to pack 1 wool cover or dare I say disposables, but I use a PUL cover? If you do use disposables I would just buy them at your destination to save on luggage space. 

Swim Diaper – I like to pack two just in case Linc poops while in his swim diaper. I want to have a back up. 

Cloth Wipes (single ply) – You definitely want to go with single ply when hand washing. They will clean so much better than double sided wipes. Pack enough for 3 days of diaper changes. 


Large Wet Bag - Ok, this one is optional.  If you are able to bring a bucket to wash in then I would use that to store your dirty diapers instead of a wet bag.  If you do not have a bucket then a wet bag might be necessary.  I would recommend a bag that does not have a cotton exterior so is easier to clean and faster to dry.

Small Wet Bag – I usually bring two small wet bags (one for the drive to my destination and one for the drive home). You’ll probably need to use these during your trip for day use as well. In that case I would pack a small wet bag that doesn’t have a cotton exterior so that it’s easier to clean and faster to dry. 

Cloth Diaper Safe Detergent - Pack enough in a zip lock bag for your entire trip and a measuring spoon.


Washing System - Now this part depends on where you're going and how you're getting there.  If you're driving you can bring a bucket and plunger for a camp style washer.  If you're flying you could just pack the plunger (in a plastic bag) and clean your diapers in a bathtub.  You could also pack a washboard if that's easier since it's flat or go really basic and just scrub, scrub, scrub with your hands.  If you go the hands route then be sure to pack some gloves too.  Check out my post on handwashing to see how I wash my flats.  You can also check out my camping post to see some fun pics of us roughing it with cloth.


So there you have it!  That's my tried and true method for traveling with cloth.  How do you travel with cloth?


Click HERE for a chance to win a $15 Gift Certificate to Kelly's Closet

Click HERE for a chance to win a Beach Bash Prize Package


For more great Blogger Beach Bash posts, visit the Kelly's Closet Blog for a complete list of participating bloggers.


Kelly's Closet Blogger Beach Bash


**Kelly's Closet sent me a Tots Bots S-T-R-E-T-C-H Bamboozle for my participation in this campaign.  Be sure to check back during my September Fitted Diaper Event for a full review of this diaper!!!

Friday, June 29, 2012

Fluffy Tip #3 – Sunning Isn’t Just For Diapers

Sunning is great for getting out stains
Ok, I know almost all of you know that laying your diapers out in the sun will take away the stains. Most of you probably even know that adding lemon juice to these stains will help even the toughest stains come out. What you might not have thought about is that this basic principal goes way beyond diapers. Next time you get a stain on your clothes, sheets, or towels, try sunning them out! Just make sure you don’t leave colored fabric out in the sun for too long. You don’t want them to start fading. 

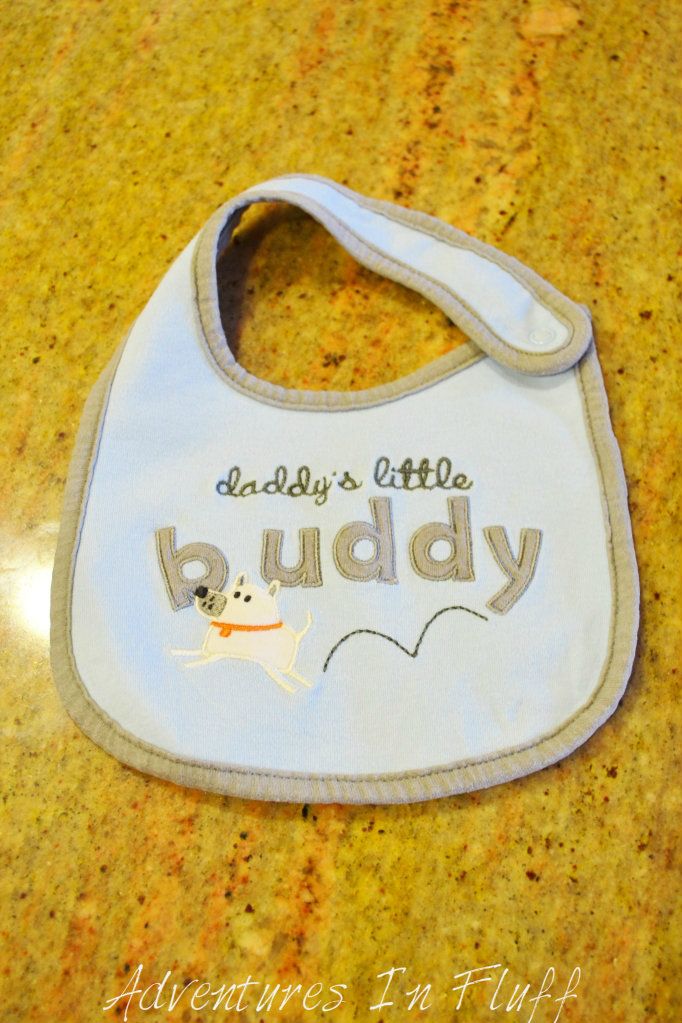
So how do you do this? Just take your wet piece of clothing (or whatever else you are sunning), and hang or lay it out in the sun. The item needs to be wet to work effectively. You can also try adding lemon juice to really tough stains, but I would test this out in a small area first if you’re doing this on a colored or delicate fabric. This method won’t work on all stains, but I’ve had a lot where it worked like a charm!  Check out this bib that I only had in the sun for about 30 minutes.


Stained Bib BEFORE Sunning

Stained Bib AFTER Sunning


Monday, June 18, 2012

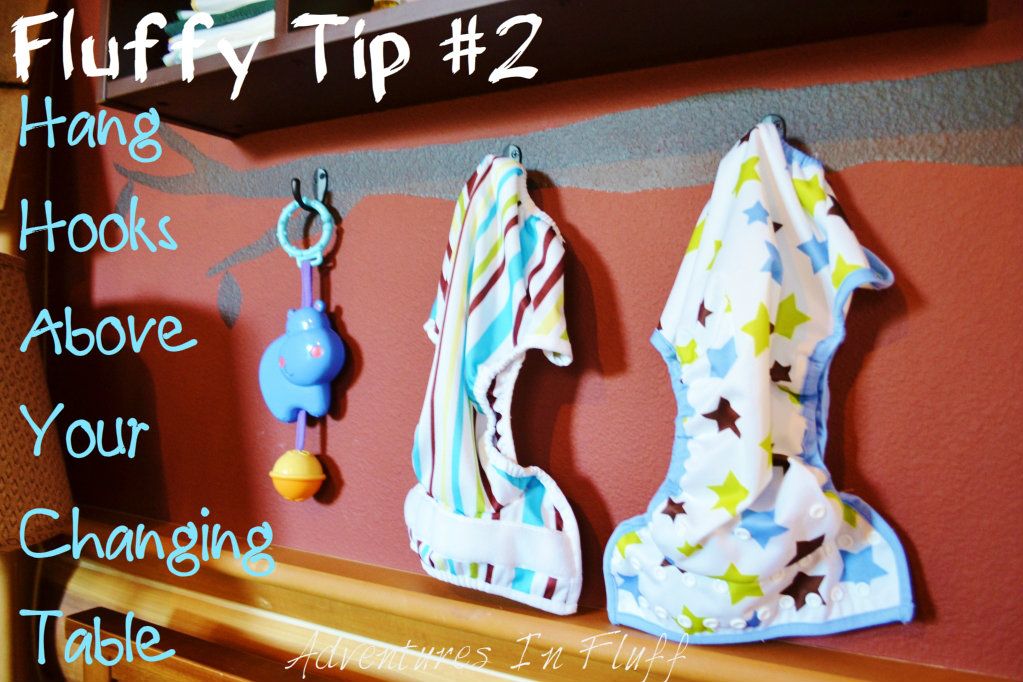
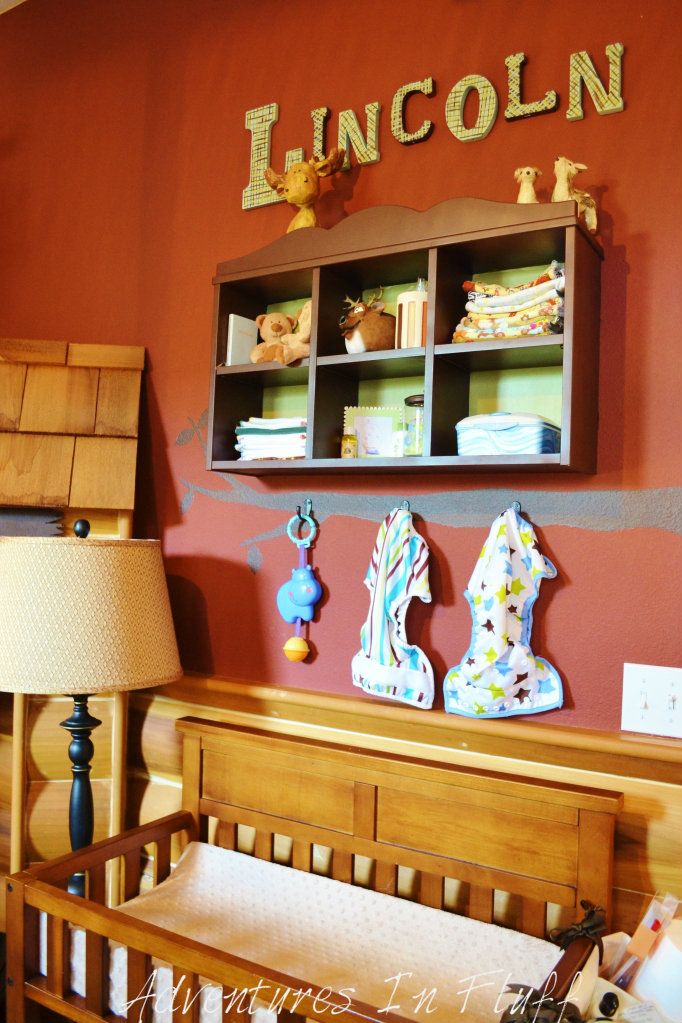
Fluffy Tips #2 - Hang Wall Hooks Above Your Changing Table


One of the most used features I have at Lincoln’s diaper changing station are the hooks I attached to the wall just above the changing table. This is the perfect spot to hang three or four hooks to hang your diaper covers on while they are drying in between changes. Hooks are also great to hang pajamas or an extra outfit so you don’t have to leave your child un-attended on the table. I also keep a toy or two hanging on a hook for Linc to play with while I change his diapers. 

You can get hooks in all sorts of shapes, colors, and sizes. I got nickel ones for my first daughter’s modern nursery. I got ones in the shape of anchors for my second daughter’s under the sea nursery. I got bronze rustic ones for Linc’s woodsy cabin nursery. The options are endless. It’s a very inexpensive addition with a whole lot of function.


Monday, June 11, 2012

Fluffy Tips #1 – How To Keep Your GroVia H&L Looking New


Fluffy Tips #1 – How To Keep Your GroVia H&L Looking New

I LOVE my GroVia AI2 hook and loop diapers.  They’re actually one of my top diapers at the moment.  Well you could imagine my confusion when I hear so many people talk about their dislike of GroVia hook and loop closures.  I heard complaints of curling and cracking the most, so I thought I’d share some tips with you all on how I keep my hook and loop closures looking perfect wash after wash.


First off, you need to make sure to secure your hook and loop closures properly before putting your diapers into the washing machine.  GroVia details how to do this on their site, but I’m sure most of you haven’t even seen it.  You know those little loops of fabric that go over the laundry tabs?  They are there for a reason.  You need to secure your hook closures to the laundry tabs UNDER the loops.  Make sure that your tabs are laying nice and flat on the laundry tabs before throwing your diapers in the wash.  Watch my video to see how to do this.  Why is this so important?  As you can see in my video, putting the tabs under the loops is the key feature to making sure that your tabs stay secure in the wash and do not stick to anything else.

The second step to keeping your hook and loop closures looking nice is to smooth them out before laying them out to dry.  This tip I learned over time on my own.  I realized that if I just hang my diaper covers straight out of the washing machine then the wing tabs would curl.  To solve this problem I make sure to completely smooth out both wing tabs before hanging my diapers to dry.  Watch my video to see how to do this.  Why is this so important?  If your wing tabs are curling then they won’t secure to your diaper as well as when flat, they will be more prone to cracking, and they will look aesthetically unpleasing. 

So there you have it!  I hope this helps with any woes you’ve had with GroVia hook and loop closures, or any other diaper company that uses touch tape.  Who knows… these tips might just make touch tape your new favorite closure.

If you would like to purchase any of these diapers for your little one, then please visit GroVia's website or help support this blog by visiting one of my affiliate stores: Kelly's ClosetSweetbottoms Baby Boutique or Diaper Junction.


**I purchased the above diapers and I was not paid or compensated in any way for this post.   This post is comprised completely of my own opinions  and was not influenced by any other outside source.**