Thursday, May 31, 2012

itti.bitti Minkee Blankee - Review

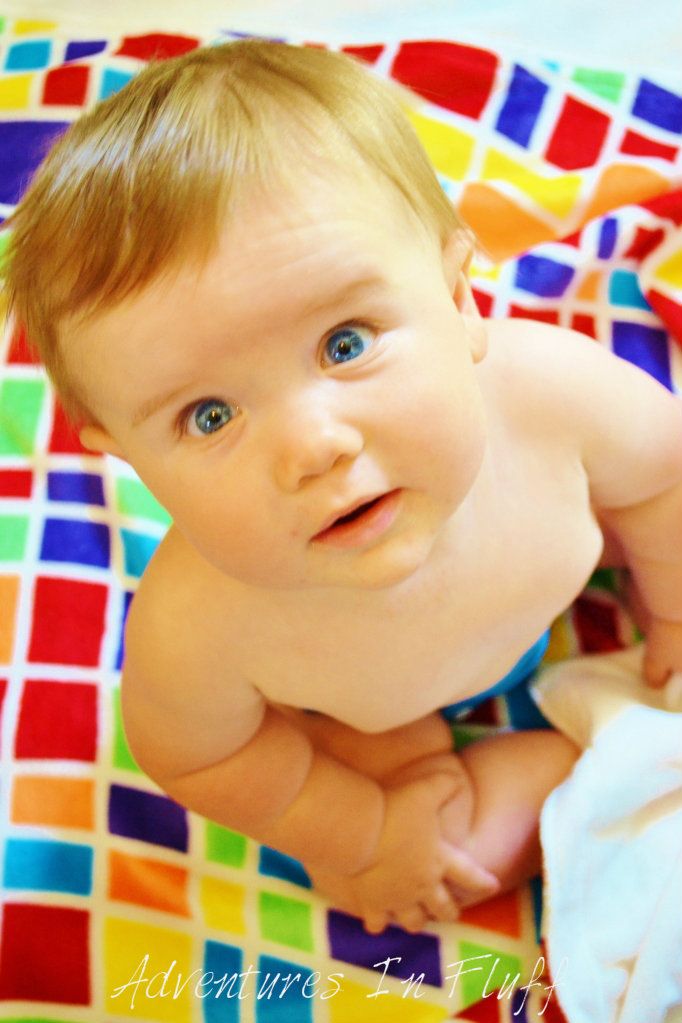
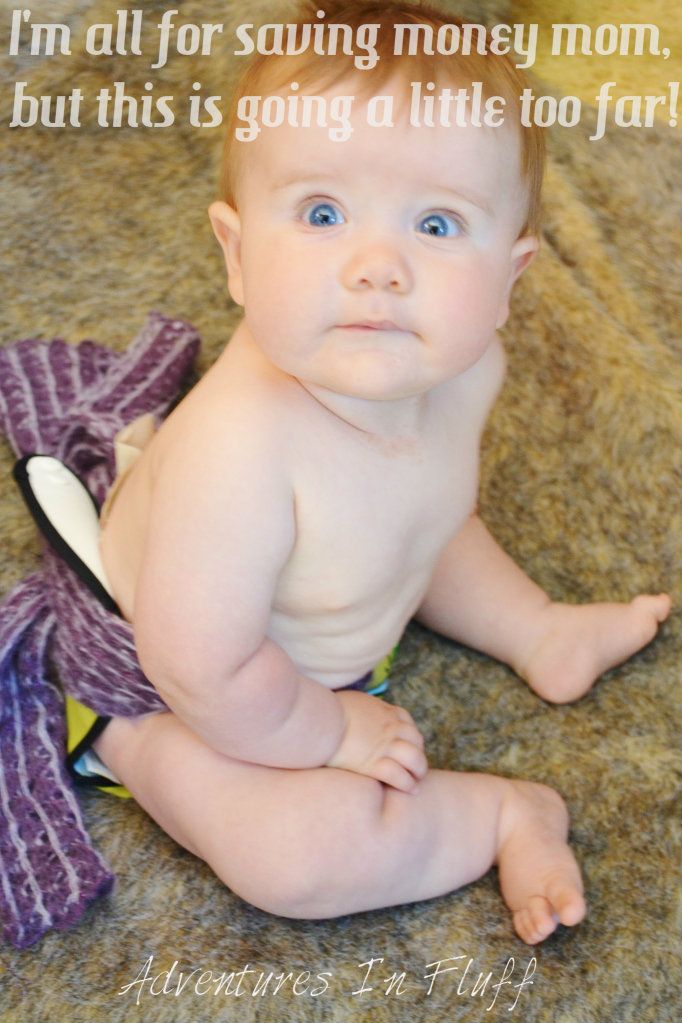
Lincoln with his itti bitti Minkee Blankee
As you all my know I have three kids.  My oldest, Riley, is 6 years old.  My middle child, Reagan, is 4 years old.  My youngest, Lincoln, is 7 months old.  Riley was a pacifier girl.  Until the age of two she had to have a pacifier at all times.  Reagan on the other hand was a blankee and bear type of girl.  To this day she still has to have her blankee and bear (yes she's sitting on the couch watching cartoons with them right now) with her at nap-time and bedtime.  I think it is soooooo cute because I too was a blankee and doll type of girl when I was little.  I love to watch how she strokes the fabric feeling it's texture, or smells her blankee without even knowing she's doing it.  I too did the same things.  Now that Linc is here I wonder what type of comfort items he will go for.  He does use a pacifier, but not as often as Riley used to.  Being the blankee & doll kid that I was I hope that he will adopt a blankee and bear like his sister.  Since he was born I've been trying to find the perfect blankee and stuffed animal.  They keep changing as I'm always finding a better one.  I think I've went through about four or five blankets already looking for the perfect one.  In the end I guess it isn't really up to me, but I can't help it.  I have a blankee addiction.

That being said I was very intrigued when I was asked to review the itti bitti Minkee Blankee.  I didn't even know that itti bitti made blankees.  All I knew was that I LOVE the feel of my itti bitti tutto diaper and I hoped that the blankee was just as nice.  When I got it in the mail I was instantly in love!  The feel of the Minkee Blankee is to die for!  Yes, I know I'm a blankee aholic so I'm slightly strange like that, but seriously this blanket is so soft.  They should make these in a bigger size that I can wrap around myself.  I'd be up for one.

Product Features:

Materials: Super soft minkee on both sides

Size: 39" x 29.5" (mine is actually 38.5" x 30" if you want to get technical)

Colors/Prints: There are 8 different colors/prints to choose from.  Each blanket has a print on one side with a small accent solid color strip.  On the other side of the blanket there is a solid color with an accent strip of the print.

Price: $39.97

What I Like:

I LOVE the feel of this blanket of course!!!  The minute I touched it I fell in love.  How could you not love it?  It's even softer than Linc's Taggies blankets and they're pretty soft.  The minkee is soft in all directions instead of just one direction and seemed to get even softer after the first wash.  Sometimes minkee is stiffer in one direction.  If you have one of the itti bitti diapers you know what I mean though.  Sooooo soft!

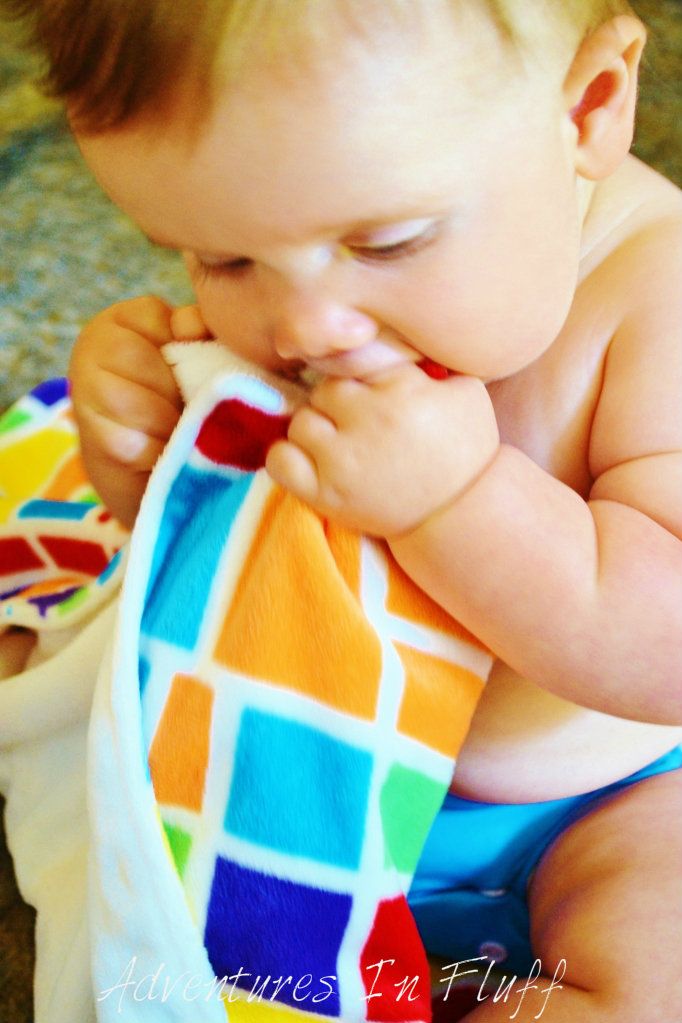
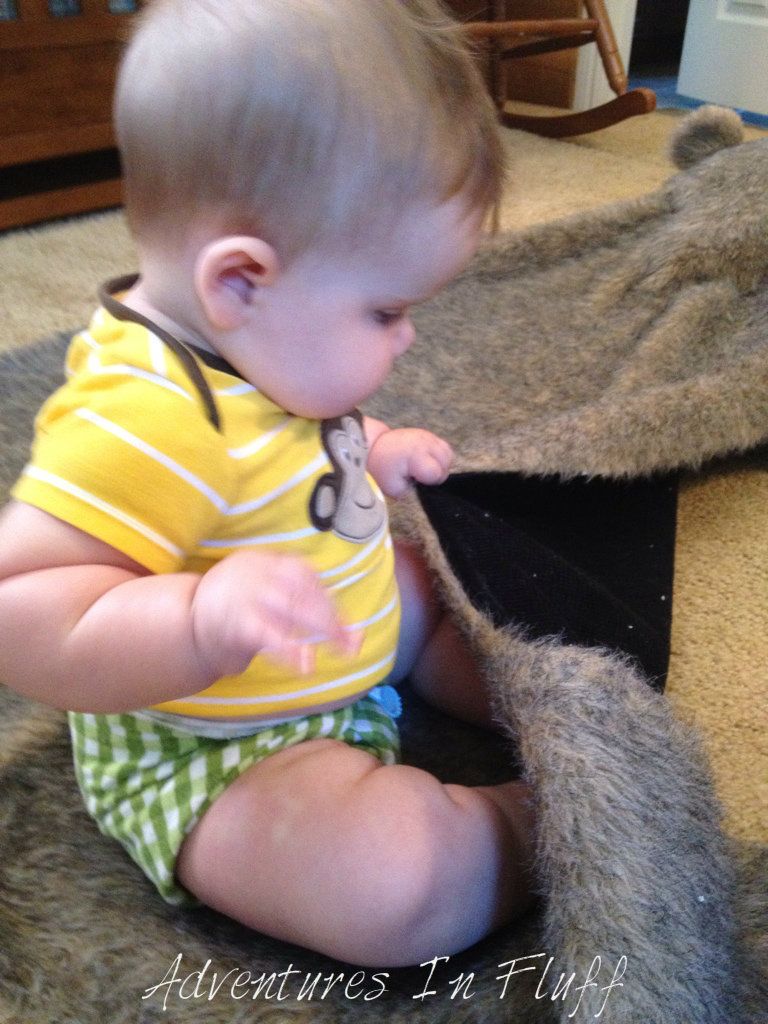
Lincoln eating his itti bitti Minkee Blankee
I love the size of the blanket.  It's just big enough that I can wrap him up in it to keep him nice and cozy, but not so big that I have to carry around this huge blanket.  These blankets are the perfect size for a carseat, stroller, baby carrier, or just wrapping them up in.  It's even big enough to use as a blanket when you convert their crib to a toddler bed.  It's just perfect.  I also like that it's a good size to lay on the ground for them to sit on, although it's so nice I'd never do that outside.  I'm sure it would wash up fine, but I don't want to chance it.

I love the weight and thickness (more like the lack of thickness) of the itti bitti Minkee Blankee.  It's only two layers of minkee (no filler layer in between) so it's very light and thin.  This is great when you want to fold it up to take on the go.  I can easily fit it in my diaper bag... as long as I don't have it overstuffed with too many diapers.  This also means it won't take up much storage in his closet, but I'm sure we'll have it out all the time so no need to store it.

I love that it's great for the winter AND the summer!  Minkee seems to have a feel to it that keeps you both warm in the winter, yet cool in the summer.  I don't know how it does it, but it does.  All the rest of Linc's blankets are designated summer or winter, but this one swings both ways.

What I Would Change:

The itti bitti tag is not so itti bitti.  Haha!  It's kind of big actually.  I know I could just cut it off, but it's such a nice looking tag that I feel bad cutting it off.  I just wish it was a little smaller.  I'm all for branding, but this tag is a bit much.

I'd come out with some new prints.  itti bitti seems to be hit and miss with their prints.  Some are SUPER cute, but some I just don't know why they picked it.  I'm not sure if it's because they're an Austrailian company and they have different tastes than Americans do or what, but I'm not loving all the prints.  Yes, it could just be me.  That being said I do love most of the prints so I guess you could say it's more a plus than a negative... I'm just picky with prints.  I can't wait to see what their next batch of prints will be!

I would make a bigger size so that us mommies (and daddies) can have a minkee blankee for ourselves.  Haha!  Maybe I should say so us blankee aholics can have one for ourselves.

In Conclusion:

I'm in LOVE with the itti bitti Minkee Blankee and I hope that Linc picks it for his favorite blankee.  Right now I use it while he's breastfeeding, napping next to me, sitting in his car seat, or just about anything else, so I'm sure it's going to stick with him for a good while.  I would totally recommend this blanket to anyone stocking up for their next baby... or even those that already have a baby or toddler.  It's a great addition and I'm tempted to say necessity for any child.  

blankee ayannahblankee carnivale
blankee ponderblankee zeebra
blankee daquiriblankee eton
blankee gerryblankee wobott
_________________________________________________________________________________
** Please note that while I aim to provide the most thorough and honest reviews possible, this review is based on my own preferences and experiences.  Each baby is different and each parent has different likes and dislikes.  What works for one may not work for another, so keep that in mind while doing your research.**

If you would like to purchase one of these blankets for your little one, then please visit the itti bitti US website to find a retailer near you or help support this blog by visiting my affiliate store Kelly's Closet.  You can also get the latest info by "Liking" itti bitti on Facebook or "Following" itti bitti on Twitter.


**Just a heads up.  itti bitti is sponsoring an awesome prize for the Fluffy Butts Cloth Diapering Giveaway Hop.  Check back here from June 4th - June 15th for your chance to win.**

**This product was given to me for the purpose of a review, but the review is comprised completely of my own opinions  and was not influenced by any other outside source.**

Wednesday, May 30, 2012

Wordless Wednesday - Linc's 7 Months!!!

Sunday, May 27, 2012

DAY 7 - DDL Flats & Handwashing Challenge -

Well it's DAY 7 of the DDL Flats & Handwashing Challenge.  Did you ever think this day would get here?  For those of you that have not been following my recent journey... you a bit too late now.  Haha!  I'm just kidding.  You can totally catch up... or just read the end of the book right here.  I'm currently taking part in the Second Annual Flats and Handwashing Challenge hosted by Dirty Diaper Laundry.  For 7 days I have been using only flat cloth diapers and handwashing them in an effort to prove that cloth diapering can be affordable and accessible to all. You can learn more about the rules and why this challenge was started by visiting the announcement post.

Well here we are at the end of the Flats & Handwashing Challenge. It's been a great experience and has opened my eyes to different possibilities. Am I going to switch over to a full time supply of flats? Probably not. I do like the option of flats while traveling though. They're easy, they're compact, and if one or all go missing or get ruined I won't cry over it. I also know that I have a plan if my washer and/or dryer ever goes out. The biggest thing I've gotten out of this challenge is the knowledge that cloth diapering is a great option for those with little to no money. I can now say I've done it myself and it is possible!

That being said, I am so happy to break out my fluff stash again! Yay for modern cloth diapering. Oh how I've missed you. In honor of Day 7 of the challenge, I've done a cartoon timeline of the emotional changes that one goes through during this challenge. I had hoped to do a 7 day cartoon, but time constraints while camping have left me with a 4 day cartoon. Enjoy! I know I'll be sipping some champaign with my modern cloth diapers at midnight. Will you? Sorry. No flats allowed.


Saturday, May 26, 2012

Super Sunday Giveaway Linky - May 27th

Super Sunday Giveaway Linky
I know we all love a good bargain, and how much better of a bargain can you get than FREE!!!  Every Sunday I'll post a Linky so that fellow bloggers can post their giveaways below and readers can check out those giveaways and enter for a chance to win some great prizes.  I hope you all have good luck in all your entries and this link up helps make your giveaway search a bit easier.  Be sure to check back all week because new links are added all the time.


If you are hosting a giveaway or found a really great giveaway online that we should know about, I hope you’ll leave it here.  You can leave them all week long.  I will delete them as they expire.

Here is an example of how to post links:

Your Name:  Blog Name - Giveaway Title (End Date)
Example: Adventures In Fluff - Football Cocoon (10/21)

Your URL: Post a direct link to the giveaway.  Do not link to your home page, facebook page, or twitter page.  Links that are not posted correctly will be removed.  Thanks!

ADVENTURES IN FLUFF
CURRENT GIVEAWAYS


GIVEAWAY LINKY


THE GREAT GIVEAWAY LINKY LIST
I've went a step further and created a list of all the places I list my giveaways.  Feel free to bookmark this page for easy reference of where you too can post your giveaways.  It's also fun to just go down the list to find great giveaways to enter.  Click HERE for my list.

DAY 6 - DDL Flats & Handwashing Challenge - Camping With Flats

Well, It's Day 6 of the DDL Flats & Handwashing Challenge. I can't believe it's almost over. For those of you that have not been following my recent journey, I'm currently taking part in the Second Annual Flats and Handwashing Challenge hosted by Dirty Diaper Laundry.  For 7 days I will be using only flat cloth diapers and handwashing them in an effort to prove that cloth diapering can be affordable and accessible to all. You can learn more about the rules and why this challenge was started by visiting the announcement post.  This year there are over 450 participants from all over the world!

Well the rest of this challenge I'm camping and writing blog posts isn't that easy. For that reason I thought I'd do a camping photo montage. Yes I know we're in a trailer and this isn't really camping, but it's about as rustic as my husband gets. The girls and I had a lot of fun doing diaper laundry today. This is actually the first time they've helped me do diaper laundry and the best time I've had doing it. It was so nice to be out in nature and doing something together as a family. Even Linc got in on the action for a bit. My husband on the other hand sat in a chair and sulked that we have one day left of the challenge. Mind you he hasn't changed one diaper or done one load of laundry. Doesn't make sense to me. So with the exception of my husband we're having fun on day 6. Check out our pictures below.

Camping in Coarsegold, CA
Linc and I camping in Coarsegold, CA

Kids handwashing diaper laundry while camping
Riley & Reagan doing the diaper laundry

Kids handwashing diaper laundry while camping
Reagan would rather entertain than clean

Cloth diapers drying outside our camper
Diapers drying outside


Friday, May 25, 2012

DAY 5 - DDL Flats & Handwashing Challenge - Fun With Flats

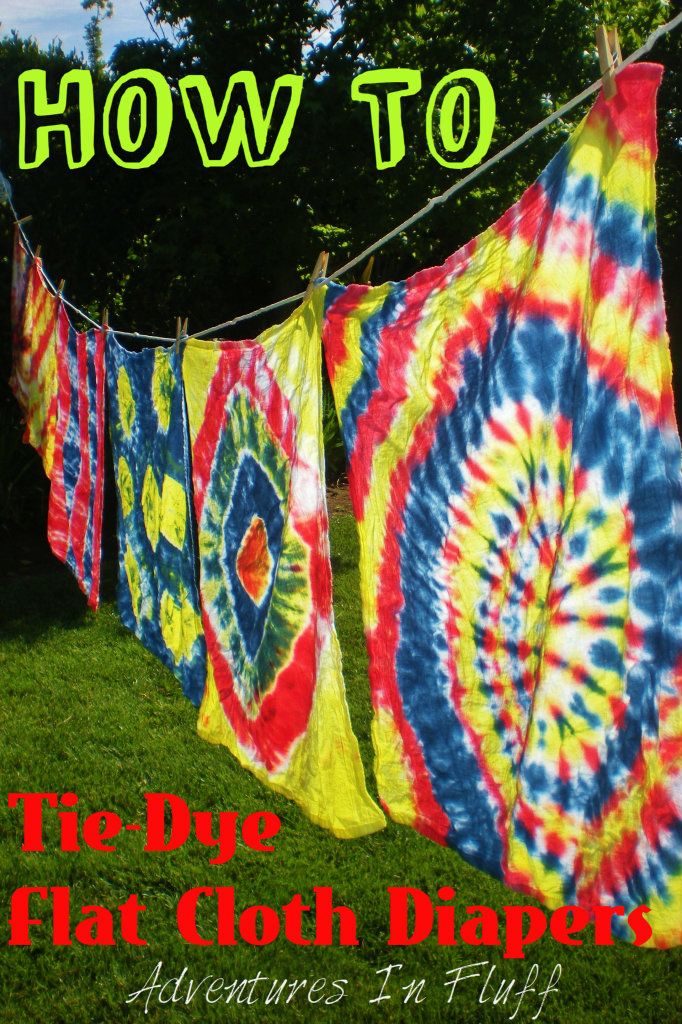
How To Tie Dye Flat Cloth Diapers
It's Day 5 of the DDL Flats & Handwashing Challenge and I thought we'd have some fun today.  Ok, I actually had fun last week, but I thought I'd tell you about it.  For those of you that have not been following my recent journey, I'm currently taking part in the Second Annual Flats and Handwashing Challenge hosted by Dirty Diaper Laundry.  For 7 days I will be using only flat cloth diapers and handwashing them in an effort to prove that cloth diapering can be affordable and accessible to all. You can learn more about the rules and why this challenge was started by visiting the announcement post.


Last week I decided to get my butt in gear and tie dye some of my flats. With just under three dozen flats I was left feeling bland staring at mounds of white and cream. My flats were screaming for some color. They literally said "I'm tired of living in a black and white old school episode of I Love Lucy. Bring me to the world of color!!!"  With that said I marched out to get a tie dye kit and got to work. I'd never tie dyed before, but there's always a first for everything and crafty projects are my deal. This was going to be fun! So pop The Wizard Of OZ into your DVD player, crank up Pink Floyd's Dark Side Of The Moon, and get ready to enter the psychedelic world of color. We're about to get a little funky!

What You Will Need:
  • Tie Dye Kit (I used the Tulip kit.  It includes 2 sets of gloves, 3 bottles of dye (red, blue, yellow), rubber bands, and a users guide)
  • Flat Cloth Diapers (I used Target flour sack towels)
  • Trash Bag
  • Plastic Wrap
  • Scissors
  • Water
Step By Step:


PART 1
- Start with prepped, wet (but not dripping) flat cloth diapers.
- Using rubber bands, configure your wet flat cloth diapers as desired. Click on Part 1 of my video tutorial to see how to configure your flats into a Bullseye, Swirl, Starburst, or Folded pattern. Try your own configurations too and just have fun!
- Lay out the trash bag where you will be dying your flats to protect the surface.
- Put on your plastic gloves.
- Add warm water to the dye bottles up to the fill line. With the cap on, shake the bottles till the powder dye is fully mixed in. Be sure to use your dyes within 45 minutes of mixing them.

PART 2
- Lay a piece of plastic wrap out on your trash bag. Make sure it is slightly larger than the item you are about to dye.
- Place your first configured flat onto the plastic wrap.
- Squirt your dyes onto the configured flat. There is no right or wrong way to do this. Click on Part 2 of my video tutorial for examples of how to apply dye to a Bullseye, Swirl, Sunburst, or Folded configuration.

*Tie Dye Application Tips*

  • Squirt two or more colors into the same location to create new colors. Red and yellow make orange. Yellow and blue make green. Blue and red make purple.
  • Don't be afraid to leave white space.
  • Dilute your dyes with even more water in your bottles to get lighter colors.
  • Have fun! You can't go wrong with tie dye.

- When you are finished adding dye to your configured flat then wrap the flat up in the plastic wrap so that it does't dry out.
- Repeat the dying process with each of the configured flats making sure to wrap each one separately in plastic wrap.
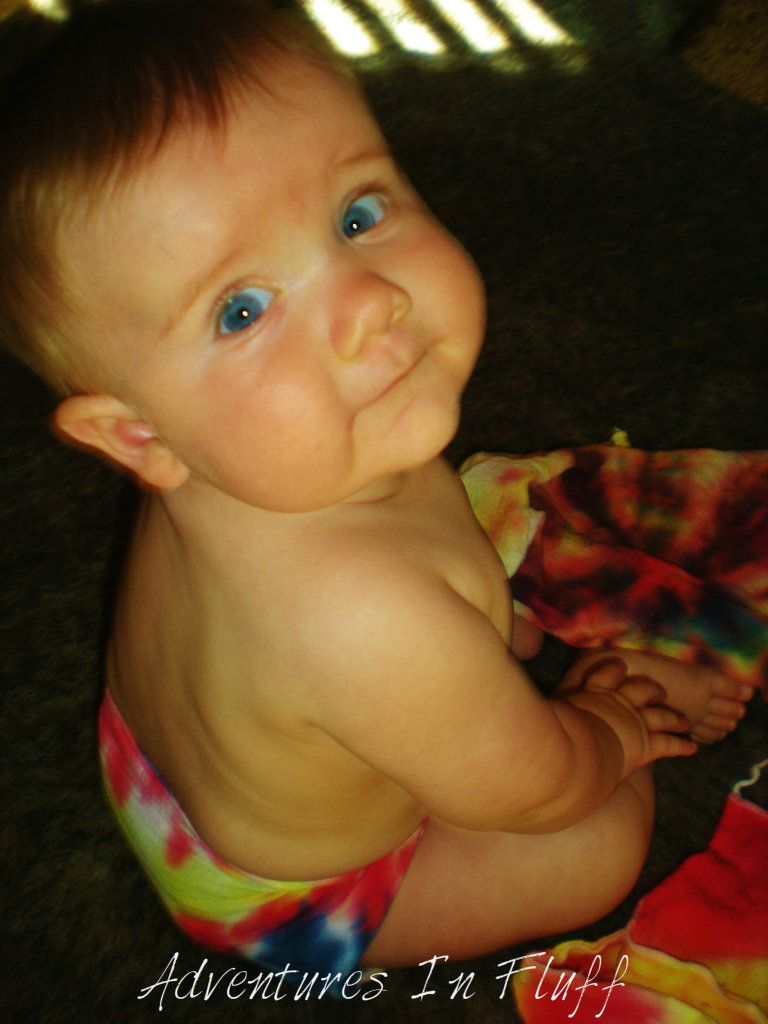
Tie Dye Flat Cloth Diaper
Tie Dyed Target Flour Sack Towel (Origami)
- Let your dyed flats sit at least 6-8 hours to let the dye soak in and set. (I let mine sit about 20 hours overnight).
- When they are finished setting put your gloves back on and unwrap each flat on top of your garbage bag.
- Carefully cut off the rubber bands.
- Spread your flats out on the lawn and spray off as much of the excess dye as you can with the hose. Do not do this on concrete or any other porous surface as it can stain. You can optionally rinse each one off separate in the sink. (This step is optional, but I feel safer doing this before putting them in my washing machine so the dye doesn't bleed and ruin the bright colors).
- Throw all the flats in the washer on the highest water level and run a hot wash with a small amount of detergent (about half of what you normally wash diapers with). Run an extra rinse.
- Throw the diapers in the dryer on hot for about 40 minutes to set the dye in. You can also line dry instead and set the dye in afterwards with a hot iron.

Voila! You're done. You've officially pimped your flats with tie dye. No more boring white flats for your baby's bum. I had so much fun with this project and I know you will too. I'm officially addicted and already trying to think of what else I can dye.

DAY 5 NOTES:
- Wow!  I am sooooo amazed!  I used nothing but a T-Shirt and a Blueberry coverall and I had absolutely no leaks!  I totally expected to wake up in a puddle of pee.  No the true test.  How long does it take for a t-shirt to dry on the line.  I have it drying right now.  I'll let you know tomorrow.
- I worried all week about Linc pooping in flats and the day finally came.  So how was it?  Easy Peasy!!!  Linc was wearing a Target Flour Sack Towel padfolded in a Blueberry coverall.  This was his first actual solid poo!  I just rolled it off in the toilet and easily rinsed off the residue.  I never thought I'd be so excited about poop, but oh yes, it was quite exciting.  : )
- I'm starting to miss my AIO diapers.  Is that bad?  Don't get me wrong.  I really like the flats, but I like variety.  I also miss my washing machine and dryer.  I don't mind doing the hand washing and drying, I just miss the super fluffy feel of my machine washed and dried fluff.
- Linc is becoming quite the wiggly guy.  These flat folds are getting more and more difficult.  I'm loving the padfold more and more.

If you want to read more great posts from other bloggers that are taking the same challenge then please feel free to visit the links below.

Thursday, May 24, 2012

DAY 4 - DDL Flats & Handwashing Challenge - My Handwashing Routine

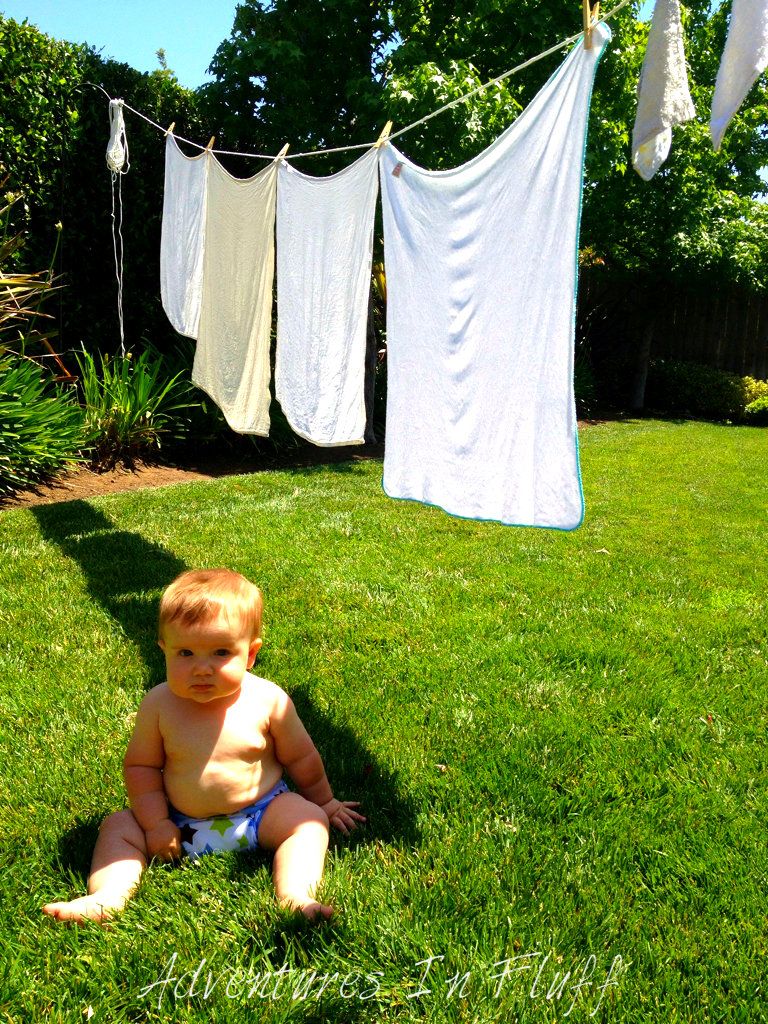
Flat Cloth Diapers On The Clothes Line
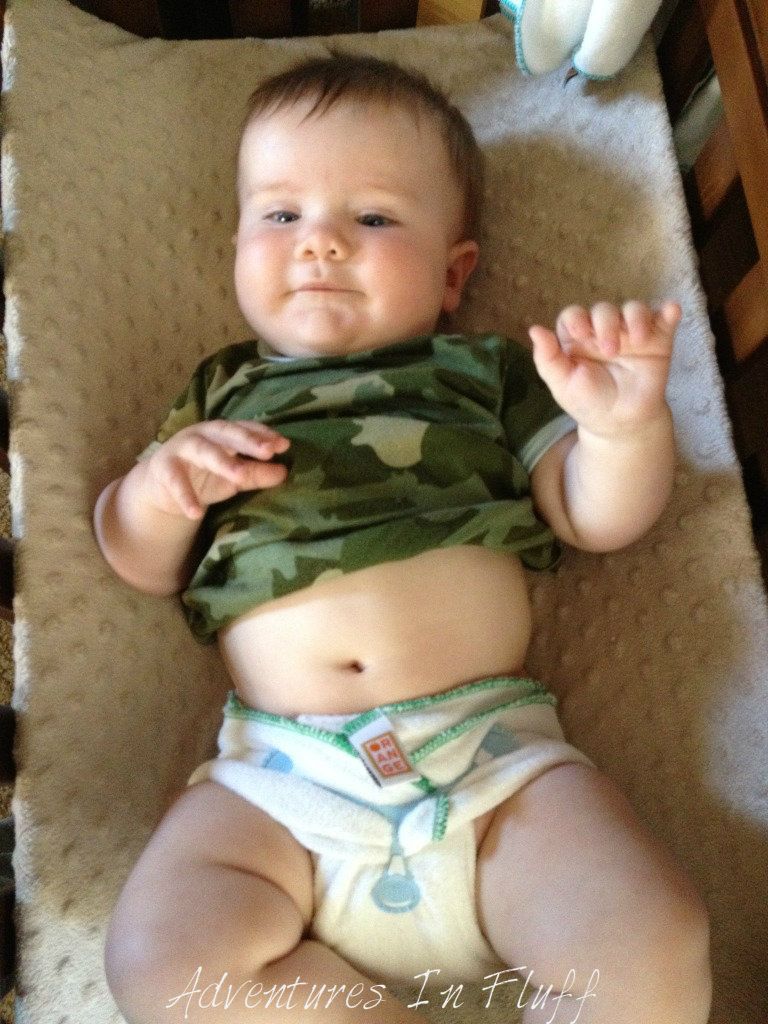
Padfolded Flat in a Blueberry Coverall
It's Day 4 of the Flats and Handwashing Challenge!  We're officially over the hump.  For those of you that have not been following my recent journey, I'm currently taking part in the Second Annual Flats and Handwashing Challenge hosted by Dirty Diaper Laundry.  For 7 days I will be using only flat cloth diapers and handwashing them in an effort to prove that cloth diapering can be affordable and accessible to all. You can learn more about the rules and why this challenge was started by visiting the announcement post.  This year there are over 450 participants from all over the world!

I'm so proud of myself for making it this far.  I'll admit I was a bit scared of the hand washing before I got started, but now that I've got the routine down it just seems like a regular part of my day.  I'll admit it would be a LOT easier if Linc wasn't so attached right now.  It takes me quite awhile to get a load done because I have to take quite a few breaks to entertain Linc (who is not entertained by diaper laundry), but I eventually get it done.  Now that I think about it, I actually get diaper laundry done a lot faster than I do when I wash it in the machine.  That's a crazy thought.

So what am I doing you ask?  Ok, even if you didn't ask I'm still going to tell you.  LOL!  That's the perk (or problem) with blogging.  I'm kind of just talking to myself.  Anyways, back to my handwashing routine.  It's been quite the evolution through the week and who knows, it might just change again.  I'm liking my current routine though, so I feel good about letting you in on my secret.  {wink} {wink}

My Cloth Diaper Handwashing Routine:


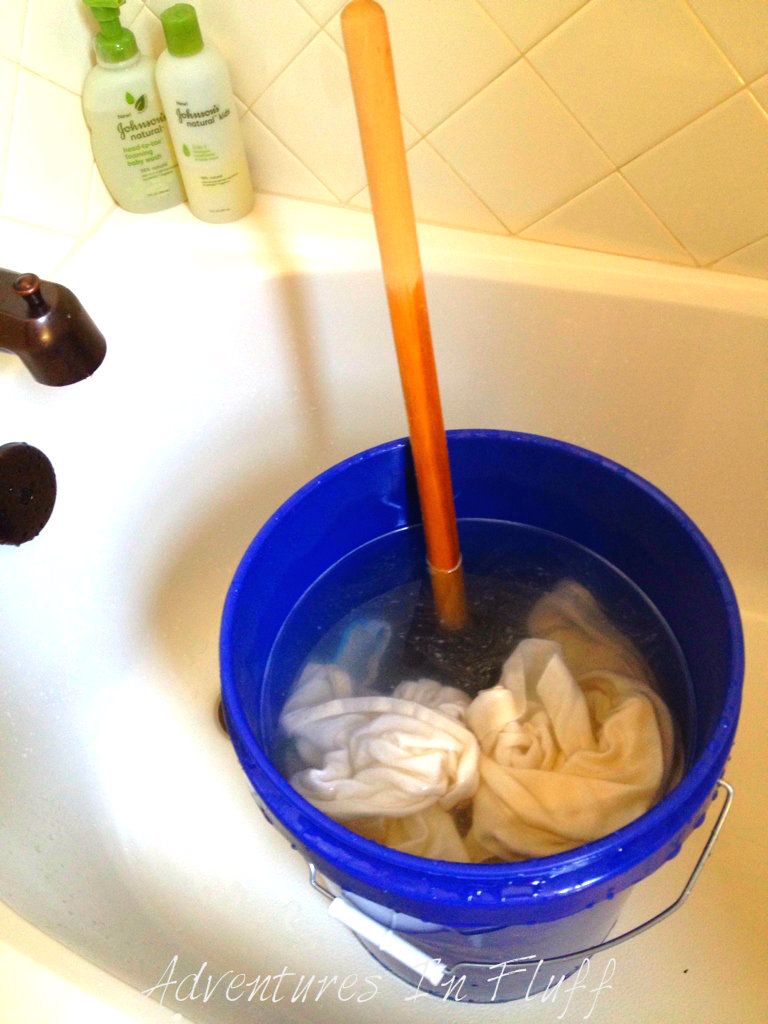
  • After each diaper change I rinse all pee and poop off of the diapers and throw it in my 5 gallon washing bucket.  I keep the bucket in the bathtub.  It's an ideal location since I rinse all my pee diapers in the tub faucet and spray all my poopy diapers in the toilet next to the tub.  This way I don't have to carry wet diapers that far.
  • I wash dirty diapers each morning.  This gives me the entire day for drying and gets my most potent diaper (the nighttime diaper) in the wash ASAP.  I usually have anywhere from 4-7 flat diapers per load plus about 5 wipes and 2-3 covers.
  • I fill my bucket with room temperature water a little over 3/4 full.  I then take my plunger (with holes drilled in it) and agitate the diapers using a full up and down motion.  I make sure to bring the plunger up out of the water with each stroke so that the air pressure works the mess out of the diapers.  I also make sure to agitate all around the entire bucket and not just in one spot.  I do this for about 5 minutes.
  • I then let the diapers soak for about 30 minutes.
  • I drain the water while pressing the diapers with my plunger to get out as much water as possible.
  • I fill my bucket with hot water a little over 3/4 full then add 1tbs of detergent (I've been using Eco Sprout, but I'm going to try Tide today).  I then agitate the diapers for another 5 minutes.
  • I drain the water while pressing the diapers with my plunger to get out as much water as possible.
  • I fill my bucket with room temperature water a little over 3/4 full.  I then agitate the diapers for another 5 minutes.  (I'd repeat this step if suds, smell, or mucky water is still present).
  • I dump out the whole bucket into the tub and run each diaper, wipe, and cover under running water individually.  After each item is squeezed out then I throw the item in the bucket.
  • I then line dry everything outside.  Birdseye flats take about 1 hour to dry.  Bamboo and hemp flats  take about 2 hours to dry.  Wipes and covers take about 3 hours to dry (I think because they aren't big enough to be blown around by the wind).
  • Once the laundry is dry I take each item off the line and shake them out and beat them against my leg.  This helps to soften them up a bit.  They're not as soft as the dryer, but they aren't crispy anymore.
  • I fold and put away.
Washing Cloth Diapers In A Bucket

There you have it!  That's my current handwashing & drying routine.  So far it's working great!  Sure, it's not as great as my machine washing routine, but it works.  Not to mention I get the extra added bonus of a workout without the gym.


DAY 4 NOTES:
- Last night I used my Orange Diaper Company Toddler size Bamboo Square with a washcloth and a Swaddlebees Capri Cover.  No leaks!  I did have his wool longies over just in case but took them off halfway through the night.  It was too hot.
- I've noticed that my flats are getting off square from hanging them on the clothes line.  I hope that they get back to a more regular shape after I dry them in the dryer again.  Maybe I should try using a third clothes pin in the center of each flat.
- I'm liking the padfold more and more everyday.  It's just so easy.  I'm going to continue using it after this challenge.
- Oh how I LOVE Tide!  Today was my first day using it in my wash and it works soooooo much better than Eco Sprout.  Oh how I never should have doubted you for handwashing Tide.  I should have been using you all along.

Wednesday, May 23, 2012

DAY 3 - DDL Flats & Handwashing Challenge - My Favorite Folds

Orange Diaper Company Bamboo Square (Size: Toddler)
Orange Diaper Company Bamboo Flat (Toddler)
Well it's Day 3 of the Dirty Diaper Laundry Second Annual Flats and Handwashing Challenge.  Did you all think I would make it this long?  I know my husband didn't think so... or at least he hoped I wouldn't.  For those of you that have not been following my recent journey, I'm currently taking part in the Second Annual Flats and Handwashing Challenge hosted by Dirty Diaper Laundry.  For 7 days I will be using only flat cloth diapers and handwashing them in an effort to prove that cloth diapering can be affordable and accessible to all. You can learn more about the rules and why this challenge was started by visiting the announcement post.  This year there are over 450 participants from all over the world!

Well for the past couple of days ... and a few prep weeks before the challenge started I've been testing out some of the various flat diaper folds.  Let me tell you, there are a lot of folding options out there and I haven't tried them all, but I can bet there's a fold out there for everyone.  Personally I like the basic easy folds.  My reason for this?  Well, Linc is going through quite the cranky stage and taking time to do crazy folds is just not an option right now.  If I did have the time though I'd be all about doing crazy folds. I actually find folding quite relaxing and fun. I love the perfect order and the crisp lines. I've even been trying to come up with my own folds but have yet to perfect one. That being said, I've been sticking to the basic folds. I've listed them below in the order that I use them the most.

My Favorite Flat Folds:

The Padfold
The padfold is the easiest of all the folds and this is why I use it the most.  As soon as the flats come off the clothes line I fold them all into the padfold so that they are ready to lay into a diaper cover.  I also get all the layers right where I need them (in the pee zone).  Because Linc rarely poops (about twice a week) I don't have to worry about messes getting all over the cover.


The Origami Fold
The origami fold is my second favorite fold.  I do it just about as much as I do the padfold.  I love that I can get lots of layers in the pee zone, yet also get a full booty fit so that if Linc does decide to poo, it will be contained.  I also love the art of folding and putting on the origami fold.  It feels like true flat folding to me.  I will say though that if your little one is cranky then they might not wait for you to put on one of these more complicated folds.  It's also very difficult to do this on a changing table.  It can be done, but I usually assemble it on the floor and then put it on him on the table.


The Kite Fold
I've only recently started using this fold, but it's growing on me pretty quick.  I don't get quite as many layers in the pee zone as the origami fold, but I can definitely see how it will fit longer than the origami fold will since I can adjust the rise a lot higher.  Of course Linc is pretty chunky around the waist and legs though so if he keeps getting bigger this fold might not work anymore either.  I do a slightly modified version of the original kite fold so I get another layer in the pee zone.


The Triangle Fold
This fold is great for my Orange Diaper Company Infant Flat.  The flat is really too small to do any of the other folds except the padfold.  So if I want a full booty fold then I do the Triangle Fold.  It doesn't give many layers in the pee zone, but since the Orange Diaper Company Bamboo Flats are so thick it doesn't matter.  This fold is also extremely easy to do so I can do it on the changing table and put it on in seconds.


The Airplane Fold
This is the newest fold I've been using but I find it very comparable to the Kite Fold. If you've ever made paper airplanes before then you can easily do this fold.  I love how adjustable this fold is.  It's easy to adjust both the rise of this diaper as well as the wing span.  You also get a tremendous amount of absorbency up in the front so it's a great fold for boys.


DAY 3 NOTES:
- Last night's diaper was a success.  I used a receiving blanket origami folded with an Ikea kitchen towel padfolded in. No leaks at all.  For this fold I used a Thirsties Duo Wrap on top.  I'm really excited because this fold wasn't that bulky at all and it costs way less than my other night diapering options.
- My girls have started complaining that the nursery stinks.  I've been just placing the dirty flats (all pee) in my wash pail in there, but now I'm putting the lid (with a hole in the top) on the bucket to keep away some of the stink.  Hopefully this will solve the stink issue.
- I tried out several different diaper folds yesterday and I had a lot of fun!  If I get some time I'm going to test out a few more folds today.
- I'm so thankful I live in California.  The weather here is perfect for drying diapers outside!  On the other hand I was quite freaked out when I went to fold up a washcloth and saw a bee sitting on it.  Ack!!!!
- I've noticed that the Hemp Babies flats do not keep their square shape.  They also get quite small so I find that they only way that you can use these is to padfold them.  


Tuesday, May 22, 2012

DAY 2 - DDL Flats & Handwashing Challenge - What I'm Using

Linc watching the diapers dry in his duck bath
Yay! It's Day 2 of the DDL Flats and Handwashing Challenge! I've got my diaper laundry going and I'm still having fun.  For those of you that have not been following my recent journey, I'm currently taking part in the Second Annual Flats and Handwashing Challenge hosted by Dirty Diaper Laundry.  For 7 days I will be using only flat cloth diapers and handwashing them in an effort to prove that cloth diapering can be affordable and accessible to all.  You can learn more about the rules and why this challenge was started by visiting the announcement post.  This year there are over 450 participants from all over the world!  


 Today I've decided to share with you all what I'm using for this challenge. I've got way more than I need since I wanted to test several options, but better too much than too little. Here's a list of what we're using.


MY FLATS CHALLENGE SUPPLIES:

Diapers:
6 - Green Mountain Diapers Cloth-eez Flats (Small
4 - Green Mountain Diapers Cloth-eez Flats (Large)
4 - OsoCozy Unbleached Flats
2 - Hemp Babies Flat Weeds
1 - Orange Diaper Company Bamboo Terry Square (Infant)
1 - Orange Diaper Company Bamboo Terry Square (Toddler)
4 - Target Flour Sack Towels
12 - Gerber Flats
1 - T-Shirt
3 - Receiving Blankets

Covers:
Thirsties Duo Wrap (size 2)
Blueberry Coverall
SwaddleBees Capri (size 2)
Gen-Y Universal Cover (size small)
Gro-Via Shell
SoftBums Echo Cover
Baby BeeHinds Wool Wrap (size medium)
Disana Wool Soaker
Homemade Wool Longies

Accessories:
2 - Snappis
4 - Pins
Various Cloth Wipes

Cleaning Supplies:
Diaper Sprayer
5 Gallon Bucket
Lid For Bucket (broke after first wash)
Plunger w/ Holes Drilled In
Various Detergents (Tide, Eco Sprout, Rockin' Green)
Clothes Line
Clothes Pins

DAY 2 NOTES:
- Last night went really well.  I used two of the Hemp Babies Flat Weeds folded up into an origami fold.  They were soaked in the morning, but absolutely no leaks!  Oh, and I used a Blueberry Coverall on top.
- Washing yesterday went well.  I washed 5 flats, 2 washcloths, and 3 diaper covers (some of these were from the weekend).  They all washed up very nicely.  The birdseye flats dried the fastest (1hr).  The hemp and bamboo terry flats took 2 hours.  The covers and wipes (double sided wipes) took three hours.  Just for reference I live in CA with a dry temp of about 95 degrees.
- Today I plan on trying some different folds.  I need to try more than just the padfold and the Origami fold.

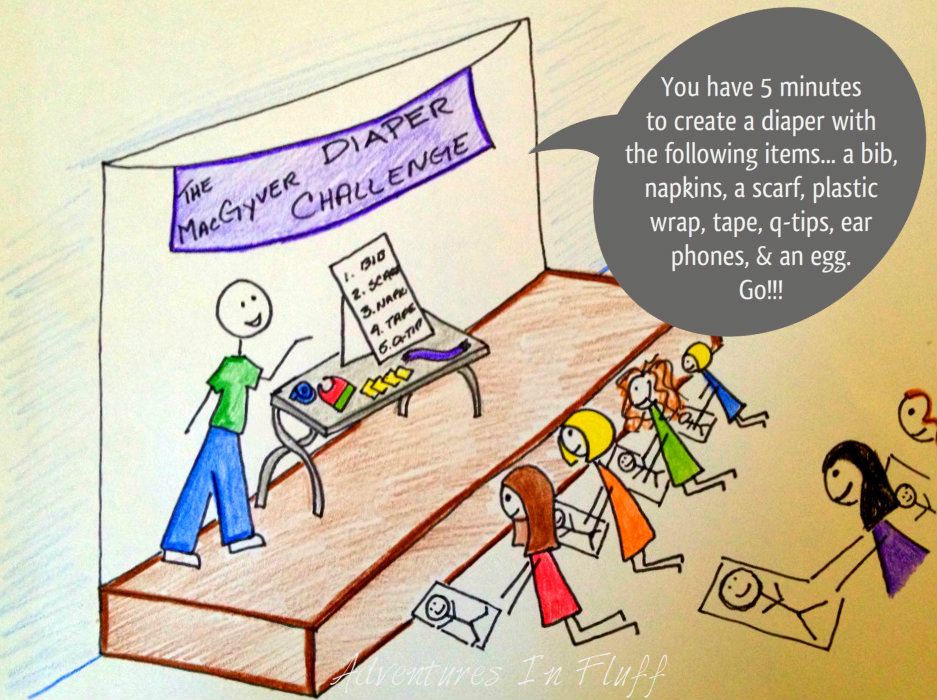
A LITTLE DIAPER HUMOR FOR THE DAY:


The MacGyver Diaper Challenge Cartoon

And the winning diaper is...

The MacGyver Diaper Challenge Winner
Created with a bib, scarf, & napkins.

Crazy Quick Fix Diaper


Want to read more great posts from other bloggers taking the same challenge.  Check out the links below.

Monday, May 21, 2012

DAY 1 - DDL Flats & Handwashing Challenge - Why Am I Doing It???

Receiving Blanket Cloth Diaper
Ikea Receiving Blanket in Origami Fold
It's officially started!!!  Today is Day 1 of the Dirty Diaper Laundry Second Annual Flats & Handwashing Challenge and I'm pretty psyched.  So what is the Flats and Handwashing Challenge?  Well I (along with several other cloth diapering parents) have vowed to used only flat cloth diapers and forgo my use of the washer and dryer so that I can hand wash all of Linc's dirty diaper laundry.  Ok, you can ask the question now.  I'm sure you're all dying to ask.  My husband's asked me a million times already.  "Why on earth would you want to do that?!?!"  Well I'll tell you why.

I've been cloth diapering for over six months now and have known I wanted to cloth diaper for over a year.  Being a part of the middle-upper class I've gone crazy with my cloth diaper purchases and have made cloth diapering more of a collection hobby than a bare bones necessity.  Yes, I know I could save a lot of money cloth diapering, but I choose not to.  Now at the same time I blog about cloth diapering.  I talk about how great it is and how much money you can save over disposables.  There in lies the problem though.  I don't practice what I preach and how can I really influence those that are striving to save money if I'm telling you all that the best cloth diapers will cost you around $35 each???  The simple answer is that I can't.  That being said, I found this challenge to be just what I needed to get back to the basics and practice what I preach ... saving money!  

My goals with this challenge are the following:

  • Show that with a limited supply of money (as little as $50), you can cloth diaper your child till potty training.
  • Research several different flat cloth diaper options and see which ones work the best.
  • Test out several different flat folds and see which ones work the best.
  • Show that even bare bones cloth diapering can be fun (Whoot!  Love tie-dye!).
  • Build up some awesomely toned arms.
  • Open my eyes to a whole different world of cloth diapering that I didn't think I'd ever try.
Day 1 notes:
- Last night I put Linc in a Orange Diaper Company toddler size bamboo terry flat origami folded with a Hemp Babies flat padfolded in.  Over that I put a Thirsties size 2 hook and loop diaper cover.  There were no leaks and he could have went even longer since the diaper wasn't fully saturated.
- This morning I had Linc in a padfolded Green Mountain Diapers Cloth-eez Flat size small.  Over that I put a Flip hook and loop diaper cover.  I'm realizing just how easy it is to padfold a flat cloth diaper.  Why mess with all the crazy folds when you can padfold in about 2 seconds.
- Right now I have Linc in an Ikea receiving blanket origami folded with a Thirsties size 2 hook and loop cover.  I love that I can get cute prints when using a receiving blanket!

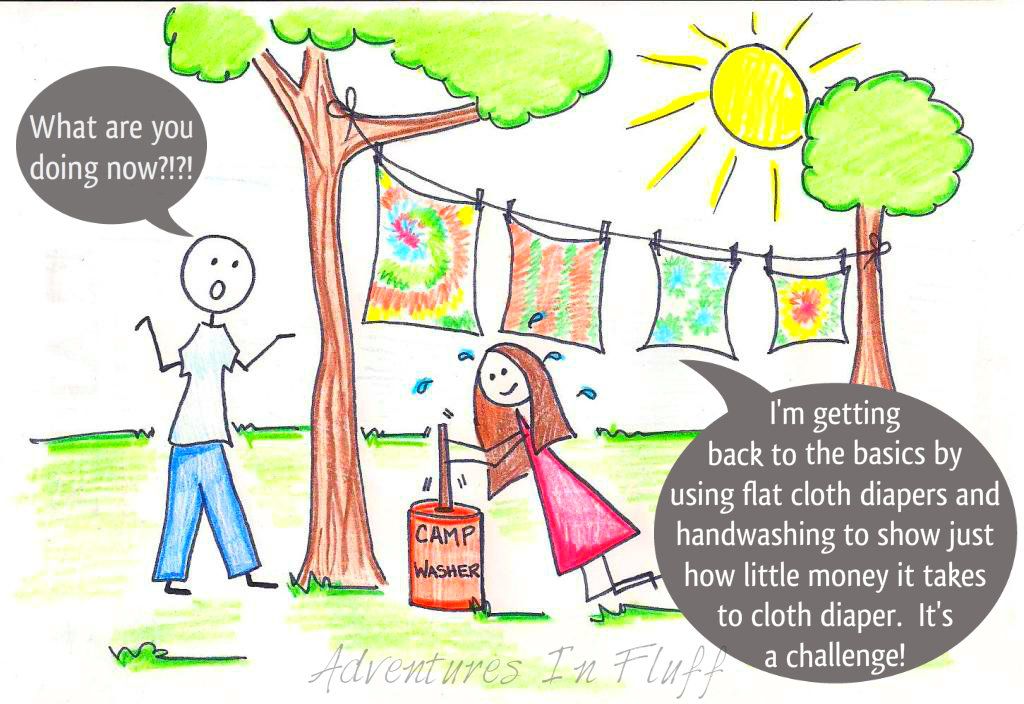
A Little Cloth Diaper Challenge Humor For The Day:

Flats & Handwashing Cartoon - Camp Washer

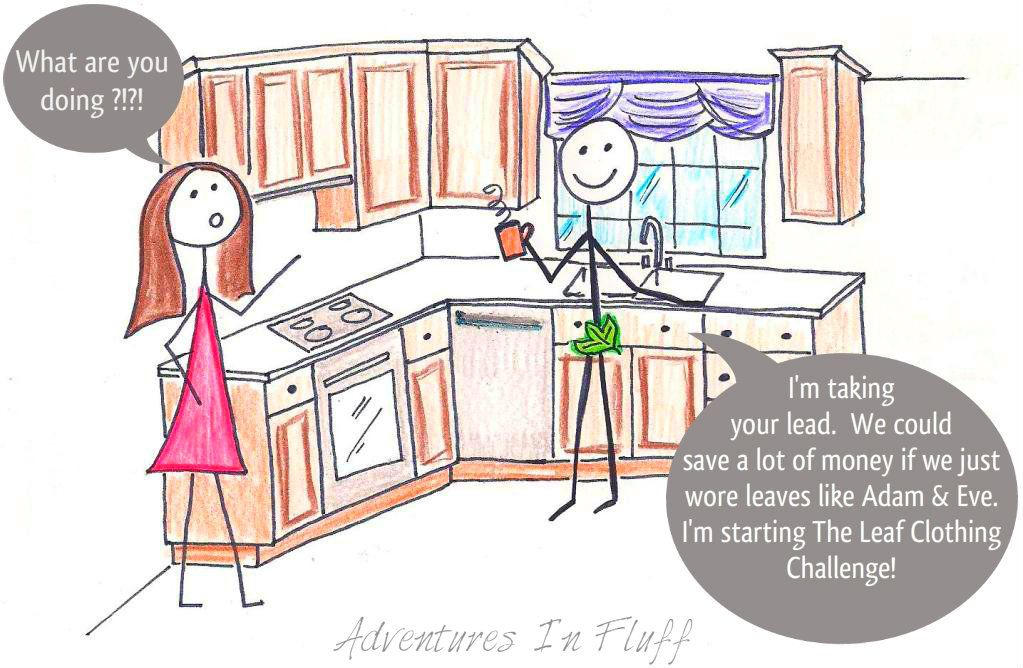
A Few Hours Later ...

Flats & Handwashing Cartoon - Leaf Clothes

**Please note that some links are affiliate links**


If you would like to read more great posts from other bloggers also taking this challenge feel free to check out the links below.

\

Tuesday, May 15, 2012

Cloth Diapering 101 - Flat Diapers

Cloth Diapering 101 - Flats
Flat cloth diapers (Flats) are THE ORIGINAL cloth diaper.  This is what your grandmother, great grandmother, or great great grandmother might have used.  Flat diapers are the simplest of the cloth diaper options.  By simple I mean in construction and not in use.  Flat diapers are essentially a large square single layer of absorbent fabric.  Typically they are approximately 28" x 28", but can come in a multitude of sizes and customized to any size if you make your own.  Most flat diapers are constructed of Birdseye weave cotton, but can also come in several other fabrics such as bamboo and hemp.  In order to use flats, you fold the flat into various configurations based on you baby's size, gender, and soaking habits.  One, two, or even three can be combined to create more absorbency.  Some typical flat folds are the padfold, origami fold, and the kite fold.  In order to fasten your flat diaper to your baby you will need a fastening device vsuch as pins or a snappi, or you can use a tight fitting wrap.  A cover is needed to make flats waterproof.


Pros

Very Inexpensive

Easy To Clean

Fast Drying

All Natural Materials

One Size - Fitting Babies From Birth To Potty Training

Multi-Purpose - Diapers, Doublers, Inserts, Burp Cloths, Cleaning Rags, Swaddle Blankets, Etc.

Cons

Folding Can Be Complicated To Put On

Natural Fibers Are Not Stay Dry And Might Irritate Your Baby's Bum

Requires A Cover

Not As Many Cute Options As Other Cloth Diaper Types

Examples

Green Mountain Diapers Cloth-eez Square Birdseye Flat Diapers

OsoCozy Birdseye Flat Diapers (bleached and unbleached) ...  *Sweetbottoms*

Hemp Babies Flat Weeds ...  *Kelly's Closet*   *Sweetbottoms*

Orange Diaper Company Bamboo Terry Squares

Swaddlebees Flat Cloth Diapers ...  *Kelly's Closet*   *Sweetbottoms*   *Diaper Junction*

Diaper Rite Birdseye Cotton Flat Diapers ...  *Diaper Junction*

Gerber Flat Fold Cloth Diapers

*** If you would like to purchase any of the above mentioned flat cloth diapers please visit one of my affiliate retailers to help support this blog.  I've added my affiliate links next to the manufacturer links. ***

Sunday, May 13, 2012

WINNERS of Giveaway #20 - Mother's Day Cloth Diaper Giveaway Hop


Congratulations To My Lucky Winners  ! ! ! You are the winners of the Mother's Day Cloth Diaper Giveaway Hop.

There were 5499 entries for this giveaway. Out of those entries the following were chosen via Random.org


#1124 Kristen Bobbitt ($102 Grand Prize)
- GroVia Curious About Cloth Kit
- SoftBums Snap Omni & Super DryTouch POD
- Mum Mum's Crafts Happy Baby Booty Spray
- Mum Mum's Crafts Happy Baby Booty Balm Mini Tube
- Mum Mum's Crafts Happy Baby Wipe Cubes

#5406 Sarah Jane (Changing Diapers Book)

#4920 Natasha Tung #3286 Michelle Stieffermann (Mommy Loves Maddy OS Organic Bamboo Pocket Diaper)


#5459 Latricia Bowers ($20 Gift Certificate to KAEL&KAED)


#3193 Sarah Andrews ($15 Gift Certificate to Couture Fluff)


Congratulations again! I'm sending you all an e-mail to claim your prizes.

*Note: If the winners of this giveaway do not respond in 48 hours then a new winner will be chosen.

Saturday, May 12, 2012

Super Sunday Giveaway Linky - May 13th

Super Sunday Giveaway Linky
I know we all love a good bargain, and how much better of a bargain can you get than FREE!!!  Every Sunday I'll post a Linky so that fellow bloggers can post their giveaways below and readers can check out those giveaways and enter for a chance to win some great prizes.  I hope you all have good luck in all your entries and this link up helps make your giveaway search a bit easier.  Be sure to check back all week because new links are added all the time.


If you are hosting a giveaway or found a really great giveaway online that we should know about, I hope you’ll leave it here.  You can leave them all week long.  I will delete them as they expire.

Here is an example of how to post links:

Your Name:  Blog Name - Giveaway Title (End Date)
Example: Adventures In Fluff - Football Cocoon (10/21)

Your URL: Post a direct link to the giveaway.  Do not link to your home page, facebook page, or twitter page.  Links that are not posted correctly will be removed.  Thanks!

ADVENTURES IN FLUFF
CURRENT GIVEAWAYS


GIVEAWAY LINKY


THE GREAT GIVEAWAY LINKY LIST
I've went a step further and created a list of all the places I list my giveaways.  Feel free to bookmark this page for easy reference of where you too can post your giveaways.  It's also fun to just go down the list to find great giveaways to enter.  Click HERE for my list.

Friday, May 11, 2012

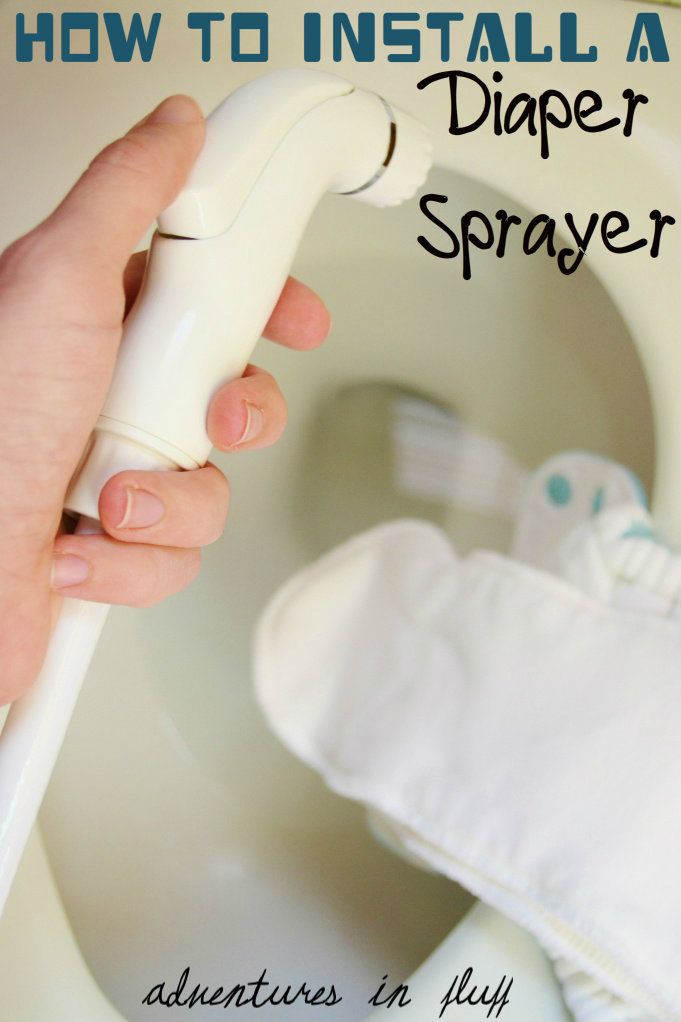
How To Install A Diaper Sprayer

Well, the day I dreaded is finally here. I tried to put it off as long as possible, but you can only hold off solid food for so long. Linc is now on solids once a day and you know what that means... stinky, thick, peanut buttery (but not nearly so yummy), gag me I'm gonna barf poo!!! 

Oh yes, the poo from hell is here. I'd say it took me by surprise, but really I think I was just in denial that the day would come. Each day I'd see the diaper sprayer I purchased just sitting there waiting to be installed, but I kept telling myself that I still had time. Even after he started solids and I knew it was only a matter of days, I still put the task on the back burner convinced that his poo would never change. Oh how I was wrong. Well the day came and boy was it a doosie! Freak! Guess what wasn't installed??? Even worse, guess what happened 30 minutes later??? He pooped again! Ok, no more procrastinating. Time to install the diaper sprayer.


Are you ready???


What You Will Need:
Diaper Sprayer (I have the Sigma Diaper Sprayer)
Mounting Bracket (included with diaper sprayer)
Mounting Bracket Hardware (included with diaper sprayer)
Adjustable Wrench
Hammer
Drill
1/4" Drill Bit
Screwdriver
Towel


Step By Step:
#1 - Place your towel under the water shut-off valve and flexible water supply line under the tank of your toilet.
#2 - Turn off the water supply by turning the shut-off valve clock-wise.
#3 - Flush your toilet to empty the water from your flexible water supply line.
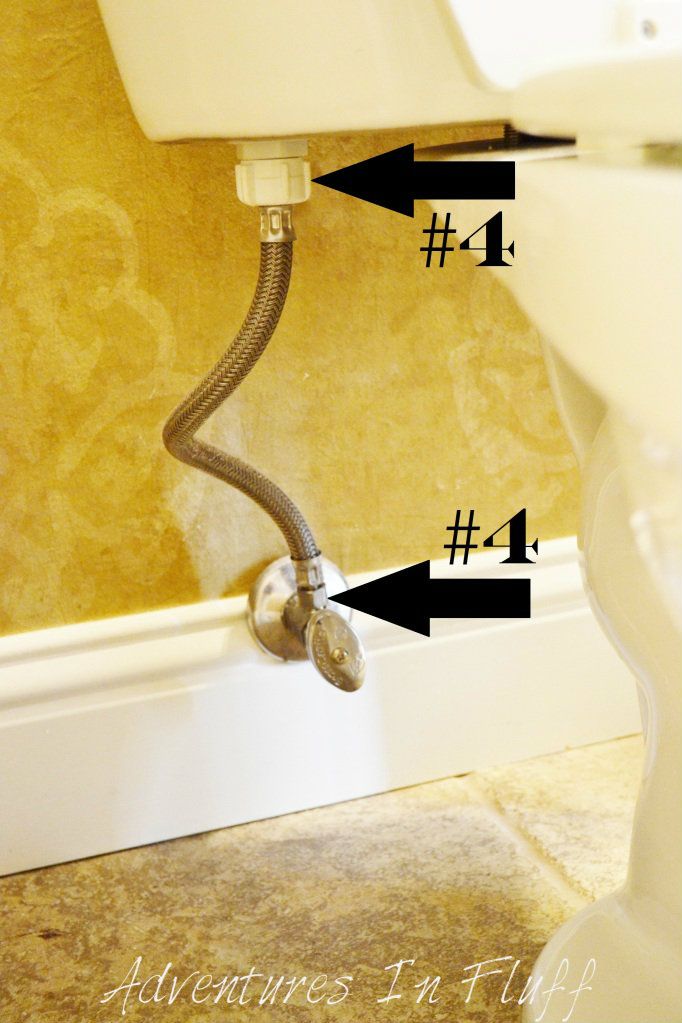
#4 - Remove the flexible water supply line connecting the shut-off valve to the tank.  To do this just unscrew the large tank nut that is on the underside of the flush tank counter clockwise.  You can probably do this with your hands.  Then unscrew the nut that is connecting the water supply line to the water shut-off valve counter clockwise.  You'll probably need your adjustable wrench in order to do this.  A small amount of water will come out.  Don't worry.  That's what your towel is for.  (*Note: If a lot of water comes out make sure that you turned off the water supply first!  See #2)
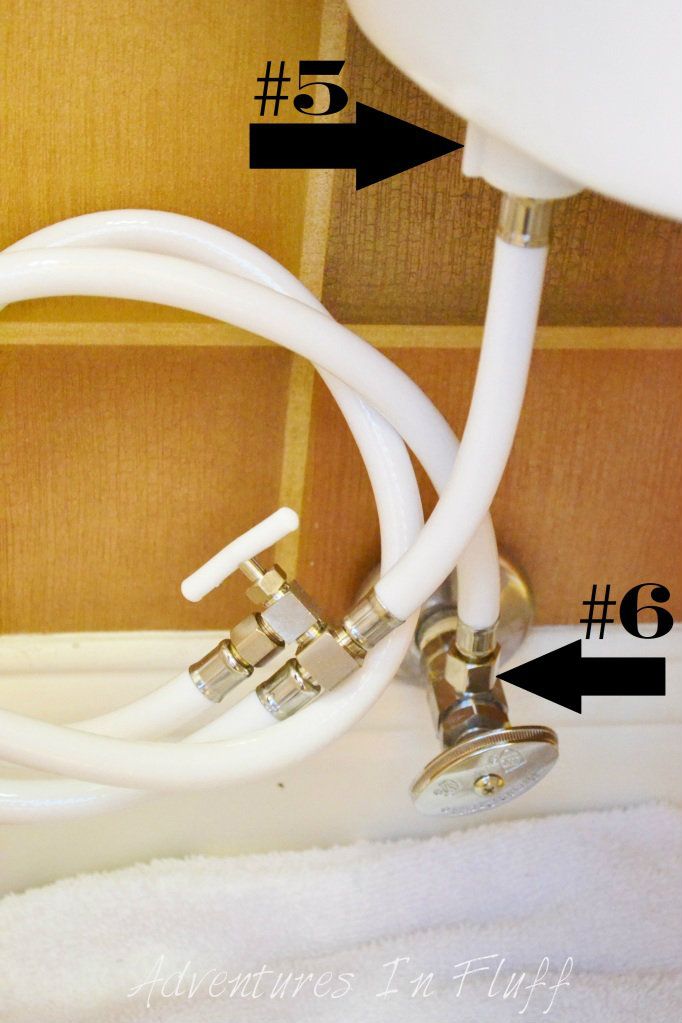
#5 - Attach the 1" white tank nut on the diaper sprayer to the underside of your tank.  Make sure that you screw it on straight or it will leak.
#6 - Attach the smaller nut on the other end of your diaper sprayer to the water shut-off valve on the wall.  You will need your adjustable wrench to tighten it.  Mack sure that it is snug, but do not over tighten.  You can tighten it more if it leaks.
#7 - Attach your sprayer wall bracket to the wall or tank.  You can do this using the provided screws and wall anchors or the double sided tape.
#7.1 - If using the anchor screws, mark the location where you want the bracket by poking a pen or drill bit through the screw holes on the bracket.
#7.2 - Using a 1/4 drill bit, drill holes in the wall where the screws will go.
#7.3 - Using a hammer, tap the wall anchors into the wall where you drilled the holes.
#7.4 - Using a screwdriver and the provided screws, screw the wall bracket into the wall.
#7.5 - Hang the head of the diaper sprayer on the wall bracket.
#8 - Turn the water supply back on by turning the shut-off valve counter clockwise.  See picture #2  (*Note: If you have leaks at this point turn off the water and see the trouble shooting guide below)

How To Use Your Diaper Sprayer:
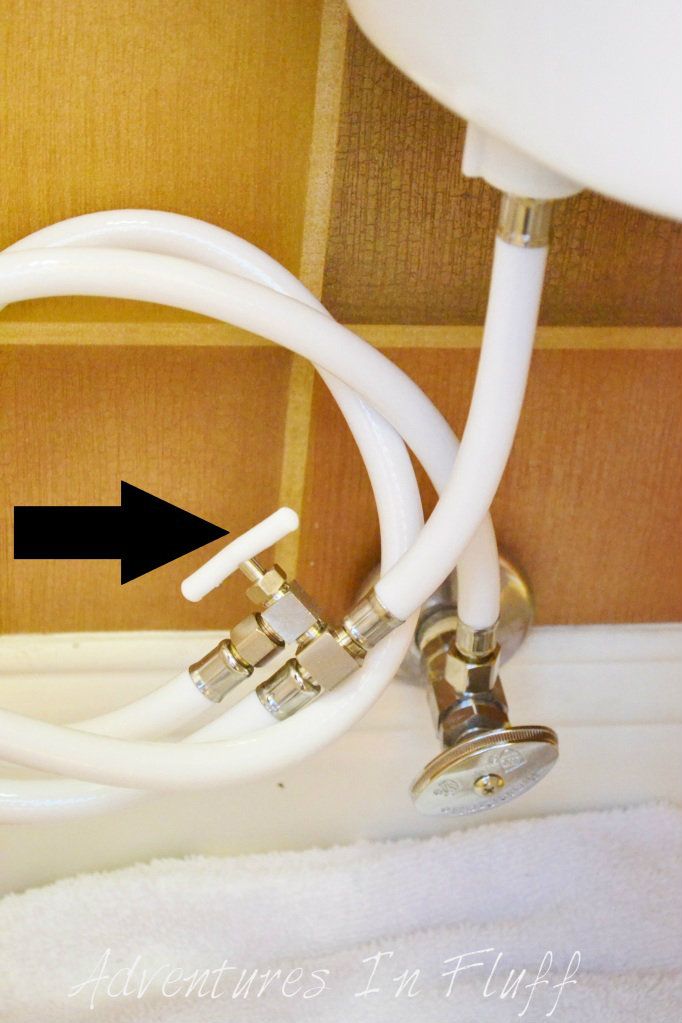
- Turn the adjustable flow valve on the diaper sprayer counter clockwise.  The more you turn it the more water that will come out of the diaper sprayer.
- When you are done using your sprayer turn the valve clockwise to turn off the water. This will help save your bathroom from water fights between the kids.

Troubleshooting:
- If the tank nut is leaking remove it and make sure there is a rubber washer. If not then you need one. Also make sure that the washer is laying properly and not cracked or damaged. If the washer looks fine screw the nut back on. Make sure you are screwing it on perfectly straight. If it's still leaking try tightening the nut or loosening the nut.
- If the connection to the shut-off valve is leaking try softly tightening it a bit more.
- If the water is not spraying make sure you've turned your water shut-off valve back on and that your adjustable flow valve on the sprayer is turned on as well.
- If your sprayer is leaking when not in use, make sure that you are turning the adjustable flow valve off on the sprayer (see "How To Use Your Diaper Sprayer") and emptying the water from the sprayer before you hang it on the wall bracket.  To empty the water from the sprayer simply spray the water out of the hose into the toilet until no more water comes out.


Now that I have my sprayer installed I am so happy. I actually couldn't wait to spray my first diaper and have fun spraying Linc's diapers clean each time. Does that make me strange??? Haha! Probably, but don't judge me yet. Just wait till you get started. You might just love it too. Happy Spraying!!!


Wednesday, May 9, 2012

Almost Wordless Wednesday - Fun In The Sun

My kids by the pool
Love this picture of my kids at the pool!  It's not often that I get great pictures of all three together.

Tuesday, May 8, 2012

The Flats & Handwashing Challenge 2012 - Are You In?


The Second Annual Flats and Handwashing Challenge is coming up soon May 21-27th. Are you up for the challenge??? I am!!! I've been waiting all year for this. Last year I was pregnant with Lincoln and still clicking away on all my cloth diaper research when the first challenge took place, but I just knew that in a years time I too would be joining the masses in this wonderful tribute to the days of old and your most economical choice when it comes to diapering your child. So are you ready to pack away those All In Ones, brush up on (or in my case learn for the first time) your flat folds, and get to washing? Great! Well roll up your sleeves, give your arm muscles a pep talk, and let's get started!

The Flats & Handwashing Challenge is an event put on by Dirty Diaper Laundry that challenges families to use flat diapers exclusively (some exceptions apply) for a whole week. In addition to using flats, you also must refrain from using your washer or dryer. All diaper laundry must be done by hand. Sounds simple enough right? Haha! Maybe not, but then if it was simple it wouldn't be called a challenge.

So what's the point of this you ask? Well there are lots to speak of. The main point is to show families in need that there are other options out there when it comes to diapering that can cost you as little as $50 to diaper your child over the course of their diapering years. The second point is to raise money for various cloth diaper charities. Kim Rosas of Dirty Diaper Laundry is personally pledging $1 per participant (up to $200) who completes the challenge, to Giving Diapers, Giving Hope. She's also asking that other businesses do the same to help raise money for other cloth diaper charities. If you're not a business or can't afford to pledge, then you can also help by signing one or both of the following petitions. The first petition is to get WIC to cover cloth diapers or cloth diaper education. The second petition supports the DIAPER ACT (H.R.3134) and helps to get more babies access to cloth diapers. So much good is coming out of this event!

So if you're pumped and ready to dive in diapers first, then head on over to Dirty Diaper Laundry to sign up for the Flats & Handwashing Challenge and to read the official rules.  I'll be there along with several other moms and dads across the world to show my support. Leading up to the challenge I'll be discussing various topics on flats and hand washing. In addition I'll be blogging & vlogging (on YouTube) my experience each day of the challenge. It's going to be a great event. Hope to see you there!!!