It’s Day 5 of the 2012 July Upcycled Crafting
Challenge. In case you’re just tuning
in, I’ll be joining The Eco Chic by creating tons of crafty projects using
items that we would normally call trash.
This is a great way to have fun with the kids and teach them about using
the resources that we already have at hand instead of just throwing them
away. Today we’ll be working with milk
jugs. Our family is addicted to
milk. I’m trying to cut it out, but till
then we go through a gallon of milk in just a couple days. Why throw all those jugs away when you can
create fun projects with them? I’ve seen
some cute gift boxes that you can make with milk jugs, but since its summer and
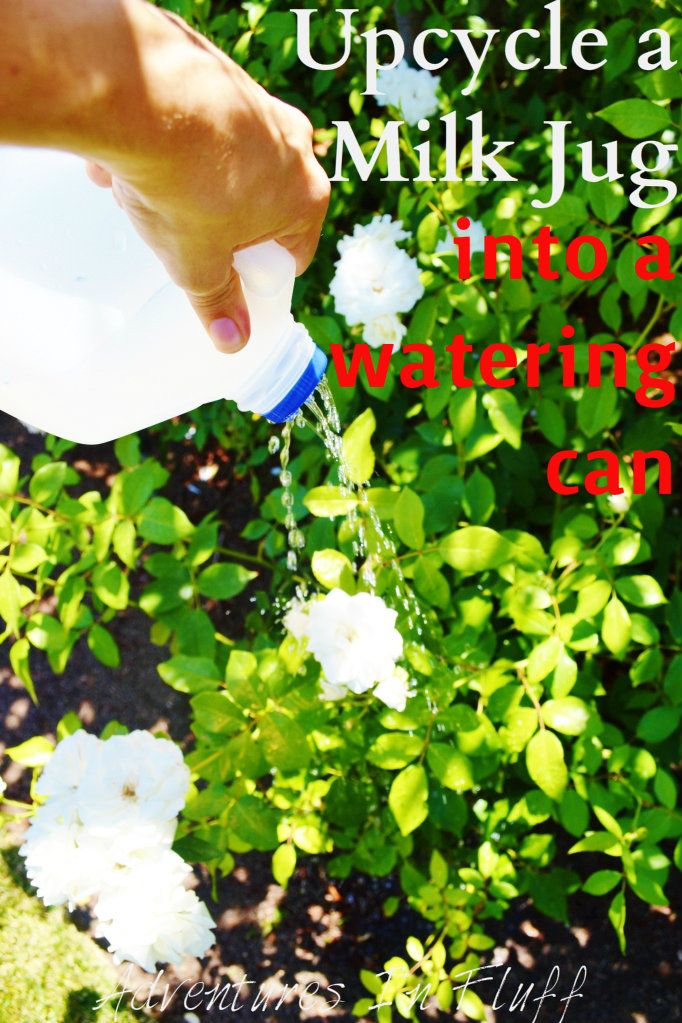
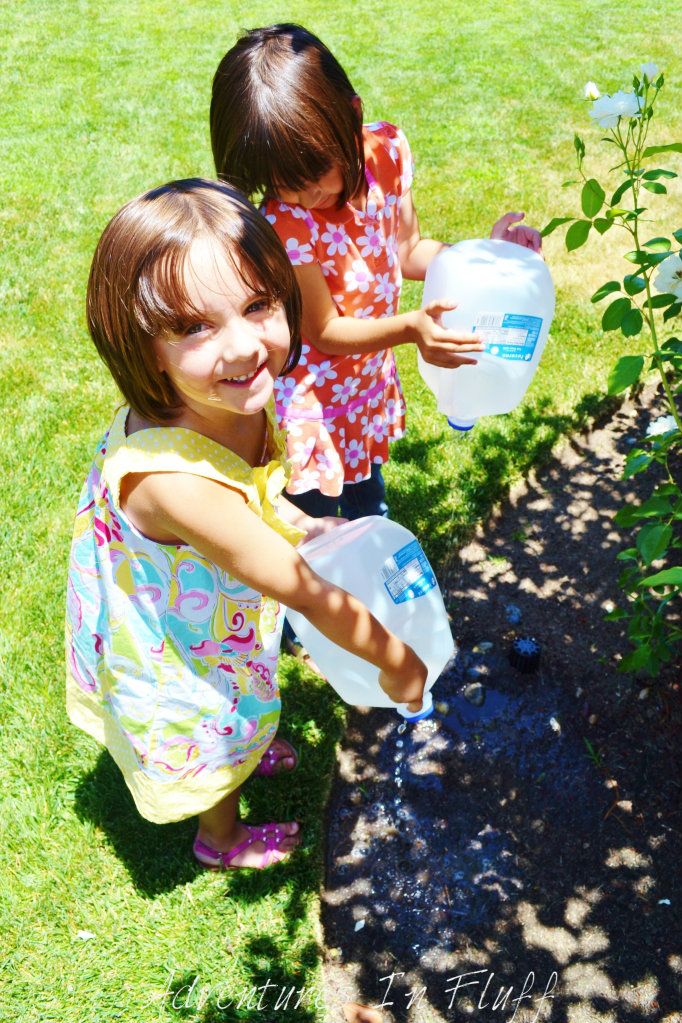
my girls LOVE to water plants (and themselves), I’ve decided to upcycle our milk jugs into
watering cans. Check out the tutorial
below so you can make some too. This one
is super fast and easy!
What You Will Need:
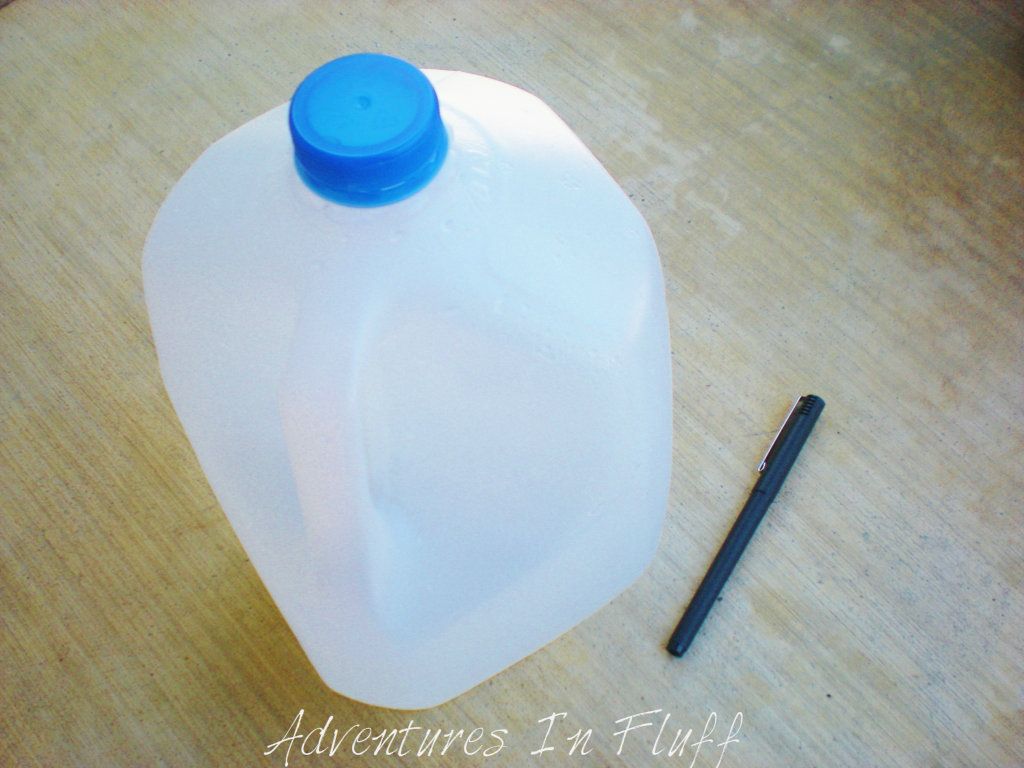
Milk Jug
Sharp Object (Drill bit, Thumb Tack, Nail, Ink Pen, etc.)
Water
Step By Step:
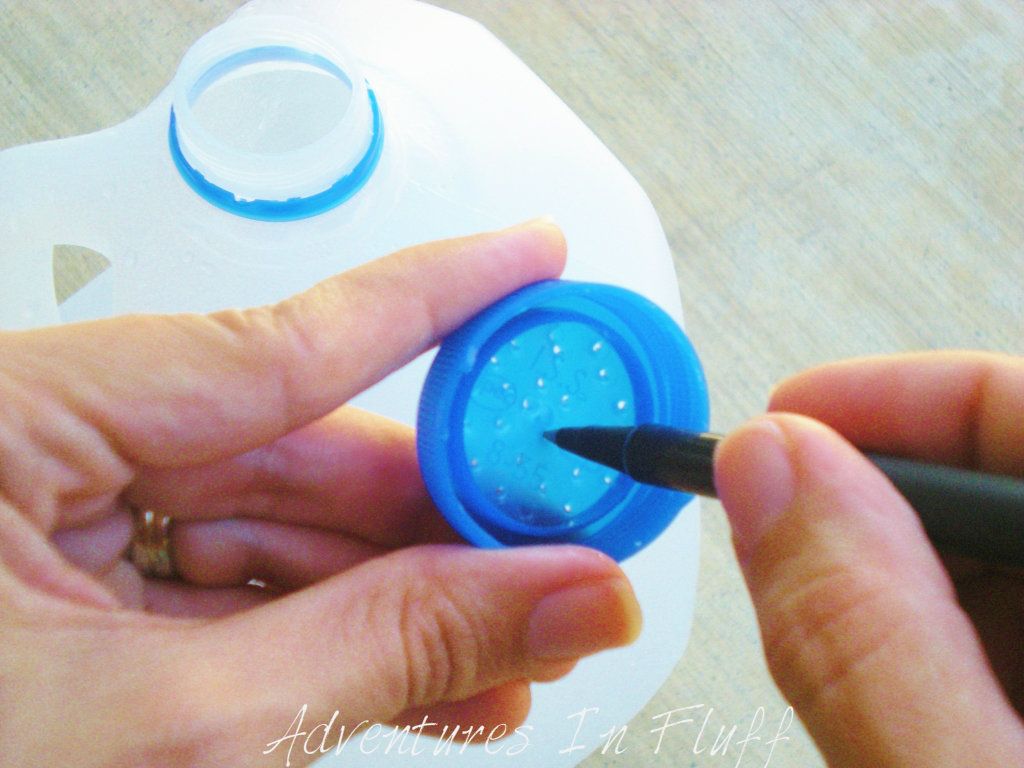
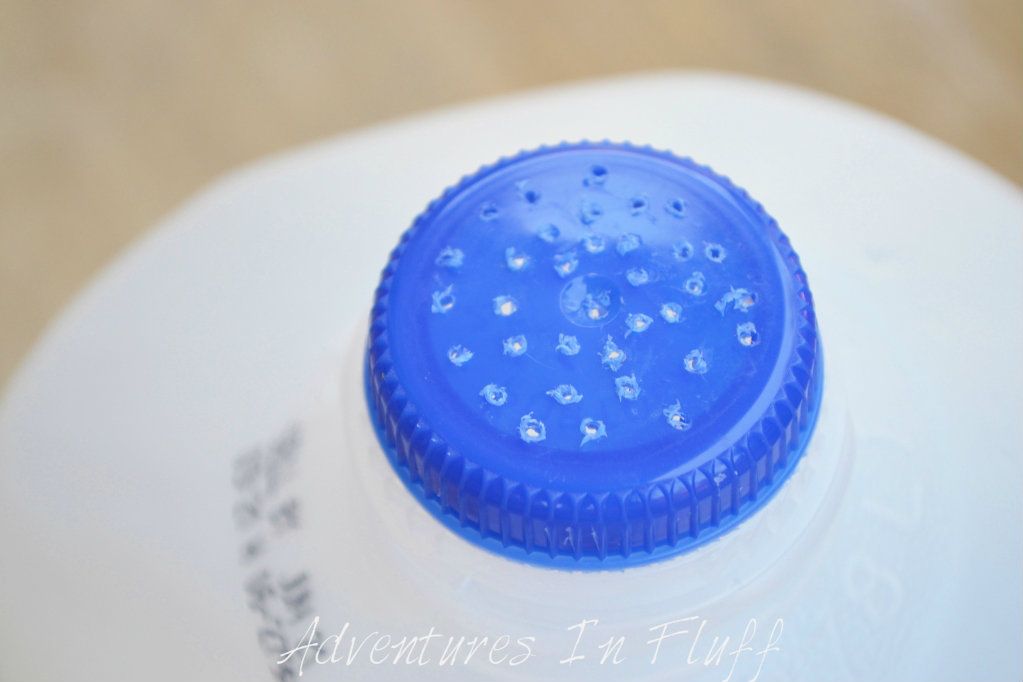
- Use your sharp object to poke several holes in your milk jug
lid. I found that an ink pen works well and is easily on hand. Make sure to poke your holes from the back side of the lid. If you poke the holes from the top of the lid, then the water will not pour very smoothly.
- Fill your jug with water.
- Screw the lid back on your newly made watering can.
Voila! You have a
super duper watering can that costs next to nothing to make and takes only
seconds to transform. I also love the
extra added bonus that these hold a ton of water. My girls can water plants for quite awhile
before they ask me to re-fill their jug.
If you want to give your watering jugs a little extra touch then let
your kids go at them with stickers, markers, paint, and glitter glue. Happy Watering!
*This post is part of the Upcycled Crafting Challenge (#freefromtrash) hosted by Calley, The Eco Chic, and is part of a one month challenge to create from trash. This challenge will hopefully open your eyes to the number of items that we still end up trashing every day that could be used by ourselves or our kids to create fun and useful items. To find out more about the challenge and to see other projects click on over to Calley’s announcement post.*
Check out some of the other great posts from today below and be sure to link up your projects today too!!! Just link to your blog post, Pinterest picture, Photobucket Picture, etc. I'd love to see your upcycled milk jug projects.



My husband and I made this the other day after seeing it on Pintrest. We refined the design a little. He used a drill (because he's a man) to make the holes in the lid, then he also put 3 holes in the handle of the jug about half way down to let air in when you pour. You can't fill it quite as full, but the pouring is a lot smoother.
ReplyDeleteGreat idea! I'll have to make that change to the girls watering jugs.
DeleteI love this idea Chana. Maybe my kids would be more helpful in the garden if they had one of these.
ReplyDelete