
What You Will Need:
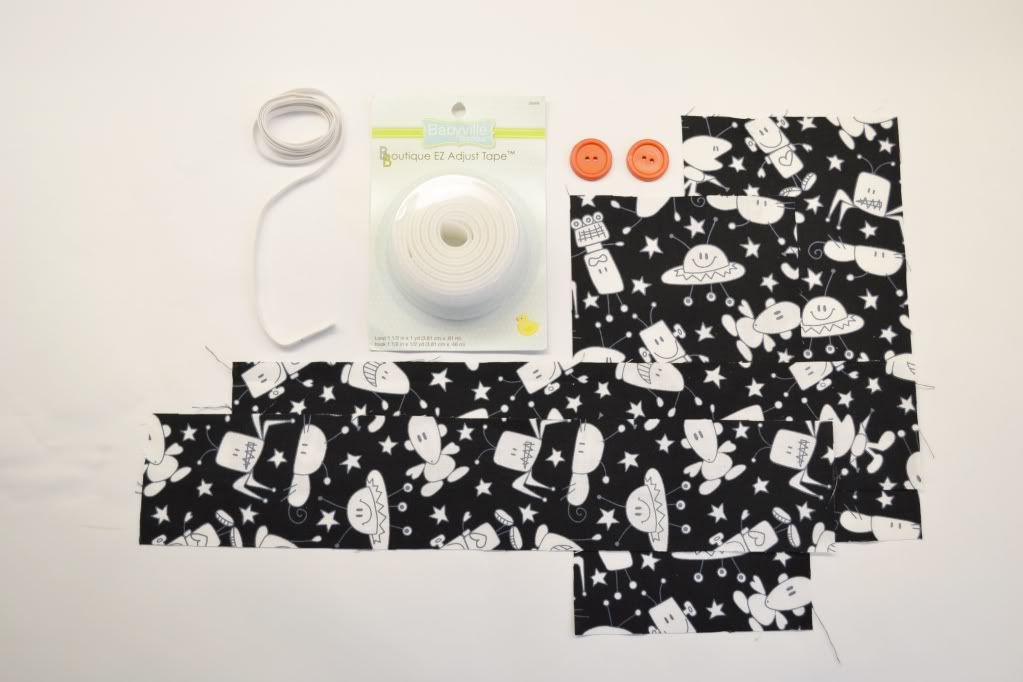
(Qty 2) 10" x 4.5" Fabric Piece
(Qty 2) 16" x 2.5" Fabric Piece
(Qty 2) 2" x 2" Sets of Hook & Loop
(Qty 2) Buttons (approx 1" dia)
1/4" Elastic
Thread
Safety Pin
Sewing Machine
Scissors
Measuring Tape
Step By Step:

- Fold your 10" x 4.5" Fabric Piece in half lengthwise with the wrong side of the fabric facing out.
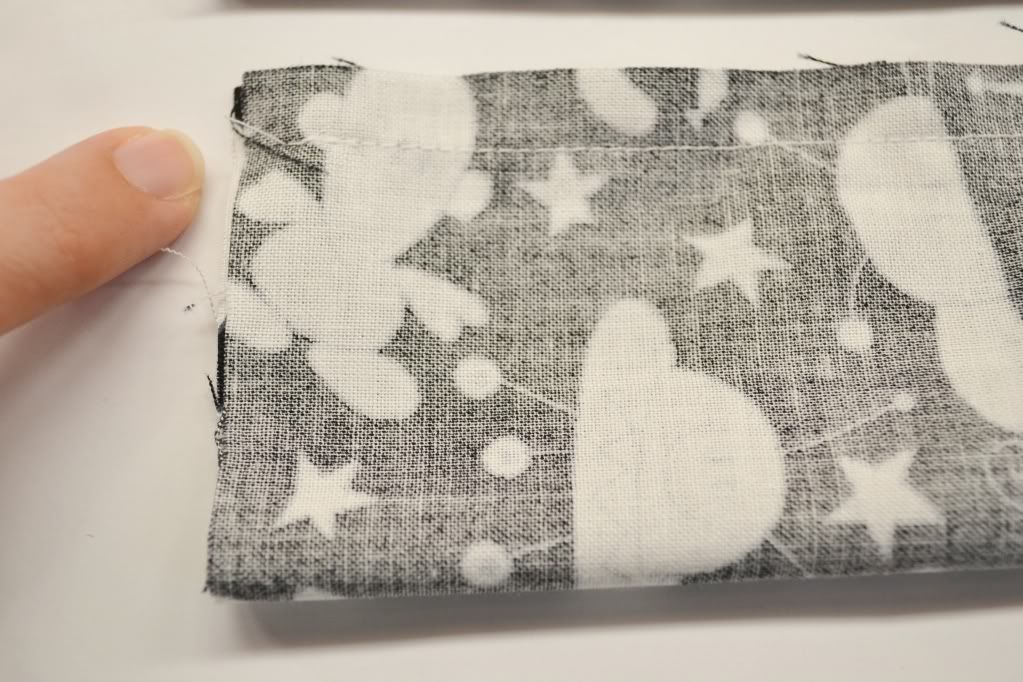
- Sew a straight stitch 1/4" in on the long open side.

- Turn your fabric piece right side out. With the seam in the center iron your fabric piece flat.
- Fold one of the open ends in 1/4" and then fold another 1/4". Iron the folds flat and seal closed with a straight stitch. Repeat with the other side.
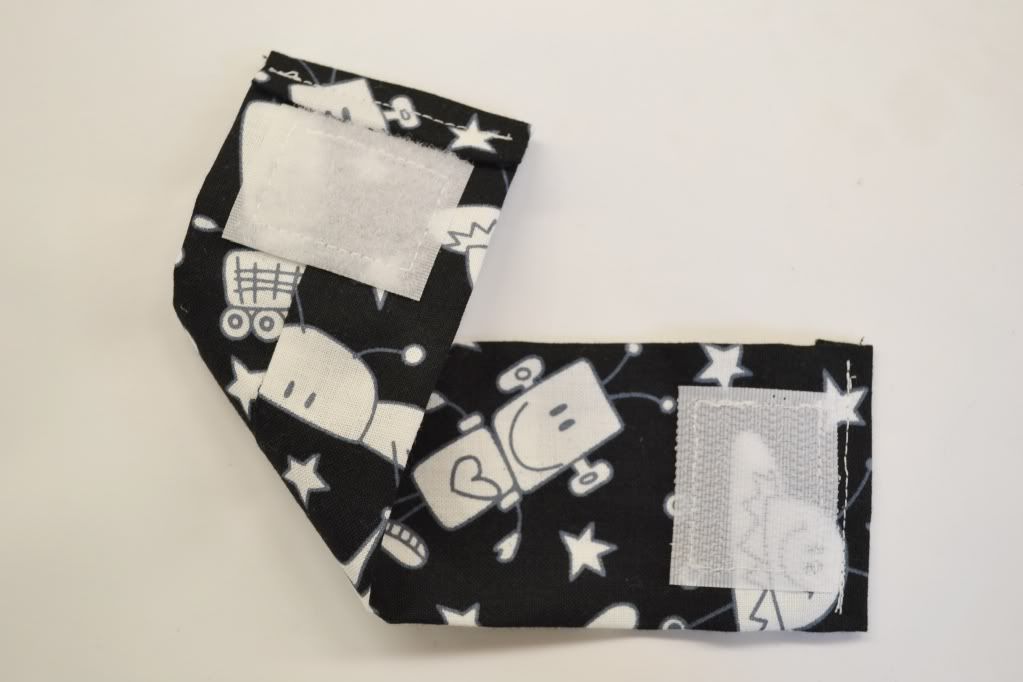
- Using a straight stitch sew the loop side of your Velcro on the right side of the seam side of your strap. Sew the hook side of your Velcro on the left side of the non-seam side of your strap. Set your strap aside.
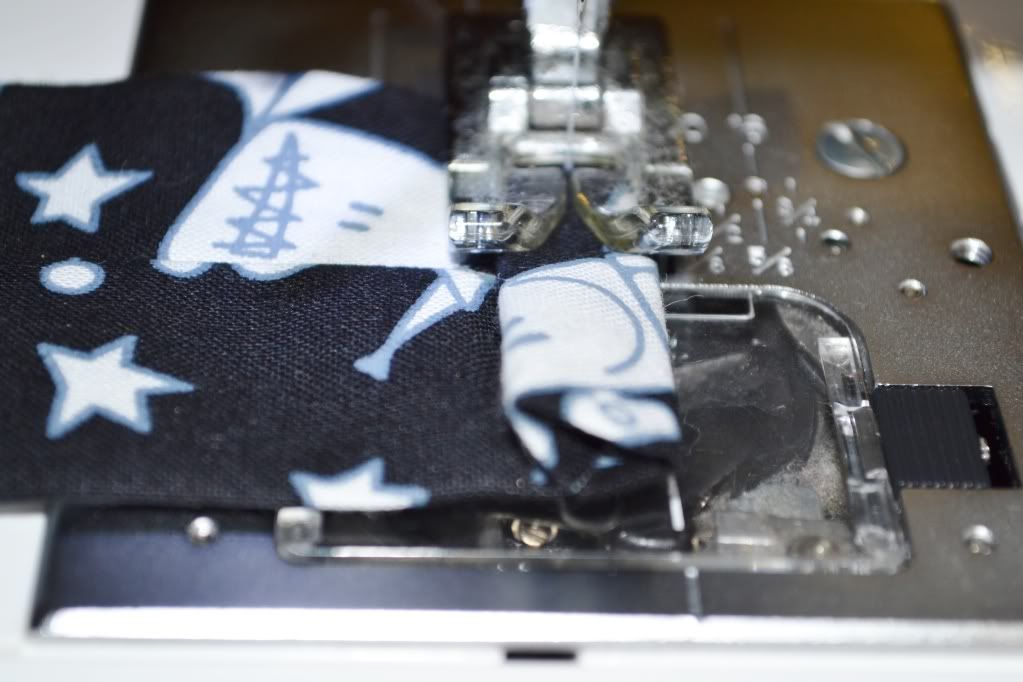
- Fold your 16" x 2.5" Fabric Piece in half lengthwise with the wrong side of the fabric facing out. Iron the fabric flat.
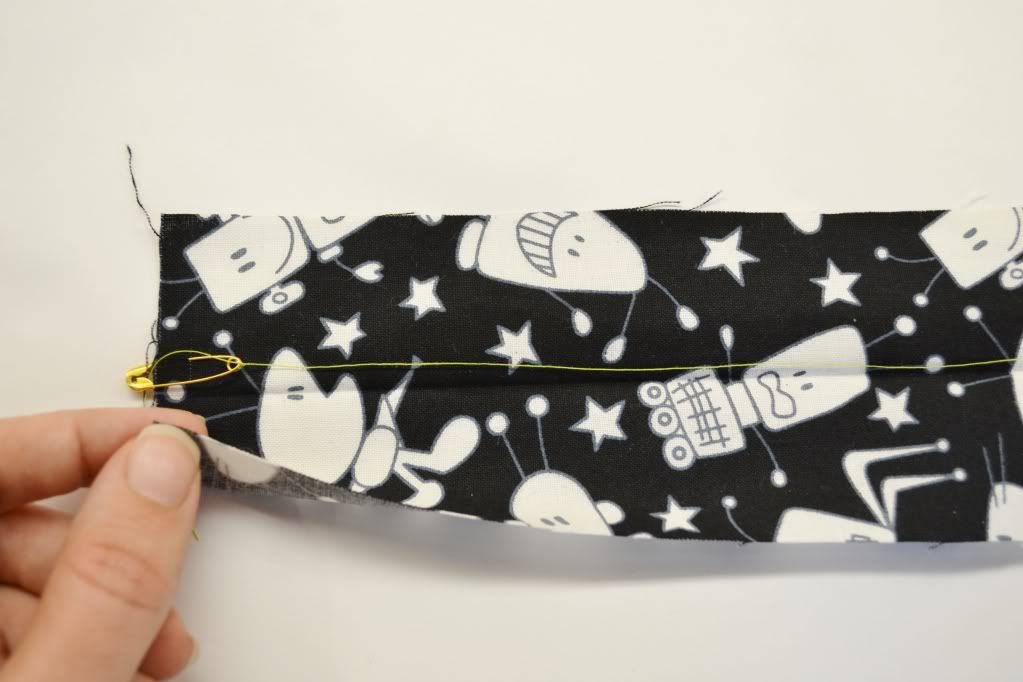
- Attach a length of thread to your safety pin. Attach the safety pin to one end of the fabric so that the thread lays along the entire length of the inside of the fabric fold.

- Refold the fabric and sew a straight stitch 1/4" in on the long open side. Trim off the extra fabric.
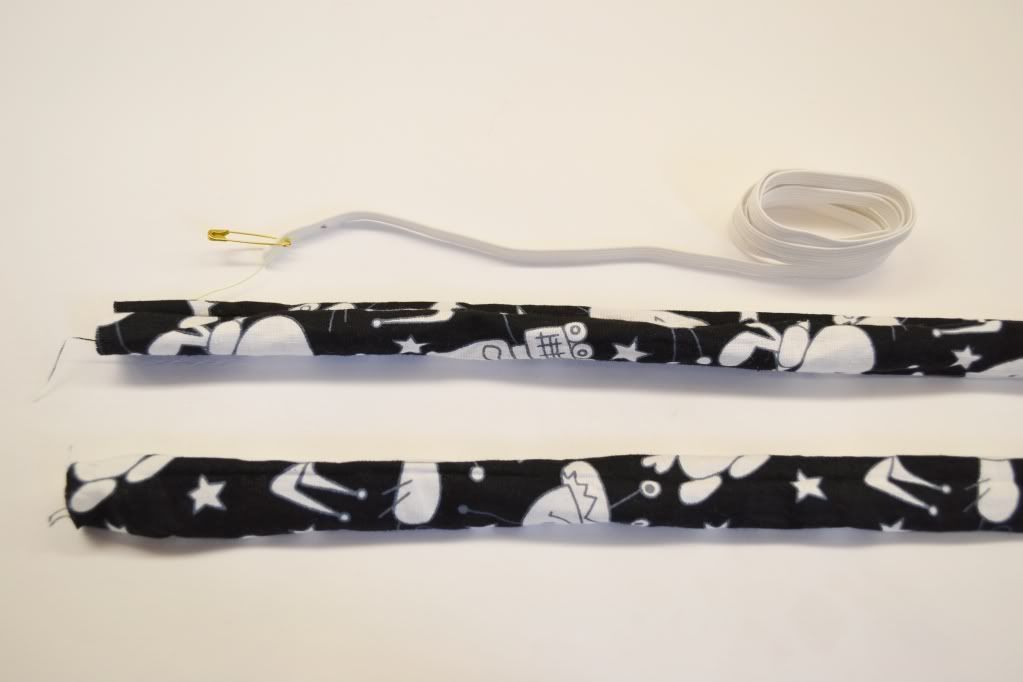
- Turn the long tube right side out. To do this fold the end where the safety pin is in slightly to get it started. Then pull on the thread to work the ready of the tube right side out. Remove the safety pin.

- Attach the safety pin to one end of the elastic strip. Using the safety pin thread the elastic all the way through the fabric tube.
- Remove the safety pin. Line the elastic up with the end of the fabric tube. Taper the fabric around the end of the elastic. Sew the end of the tube and elastic to the back side of the loop.
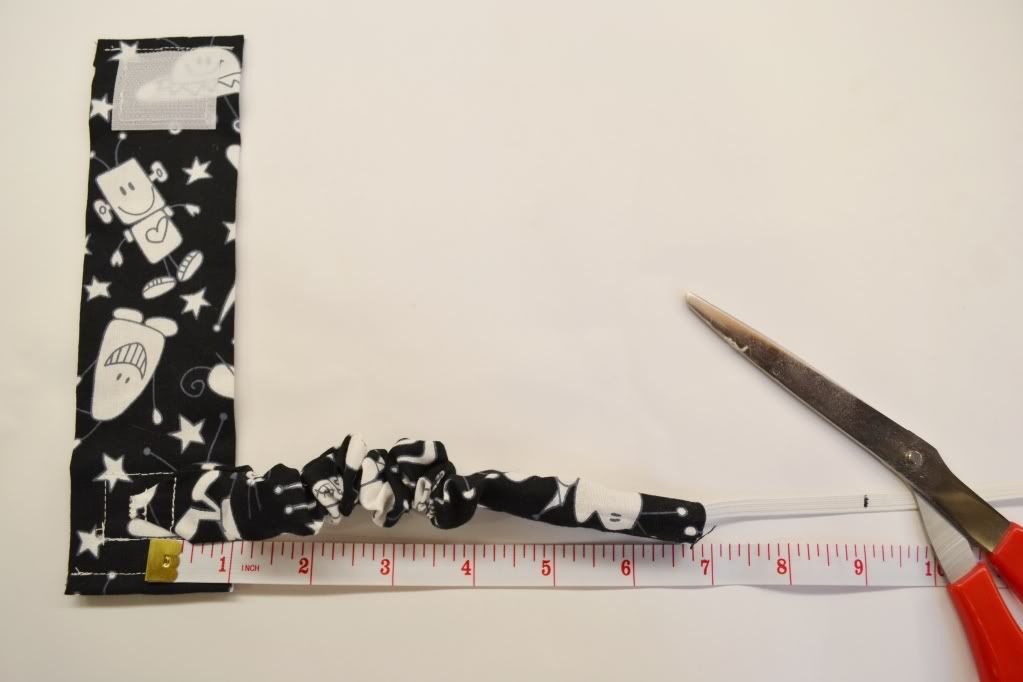
- Cinch the fabric tube up while keeping the elastic loose (don't pull the elastic tight). Now measure 9" down the elastic and mark with a pen. Cut the elastic at this point.
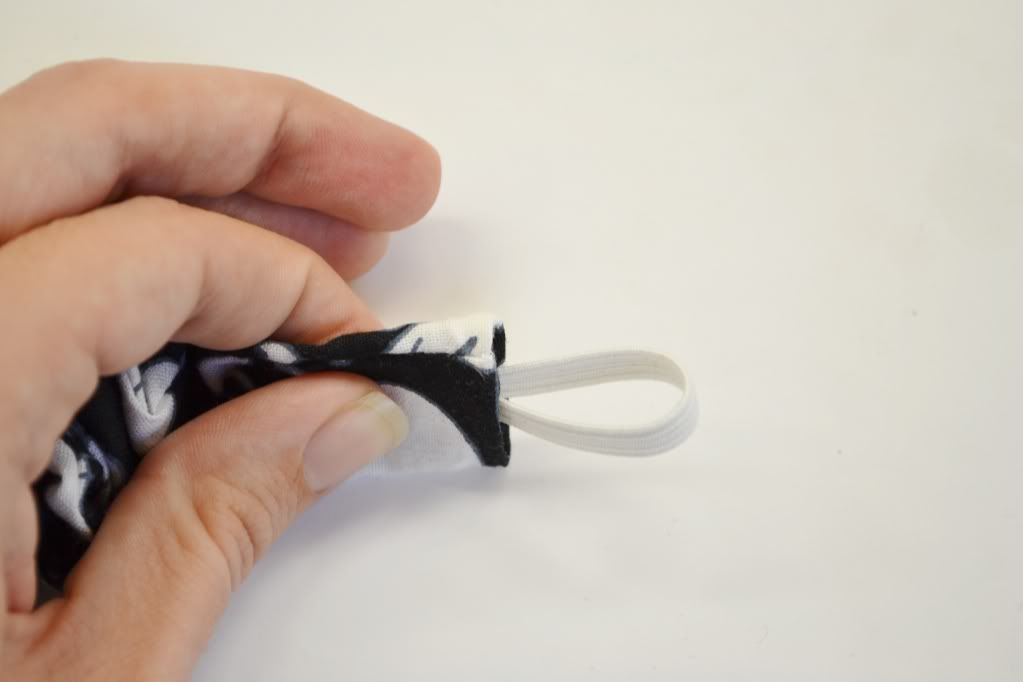
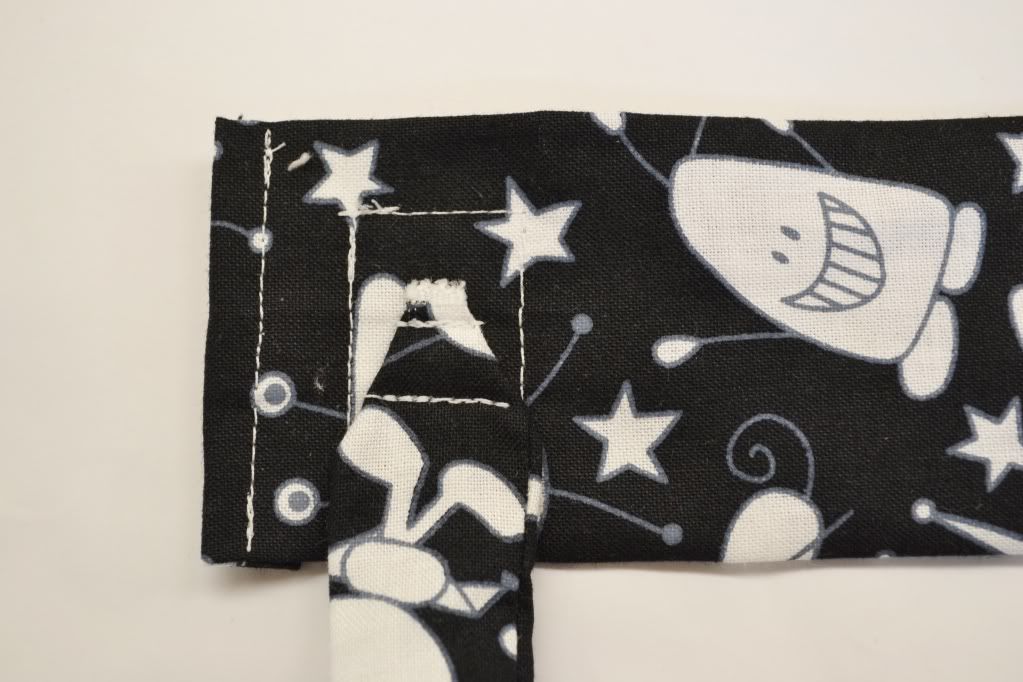
- Create a 1" loop at the end of the elastic and tuck the end into the end of the fabric tube. Make sure to tuck a 1/4" of the fabric in too so that you have a clean edge.
- Sew the end closed with a straight stitch (make sure you're sewing into the tucked in fabric as well as the end of the elastic).
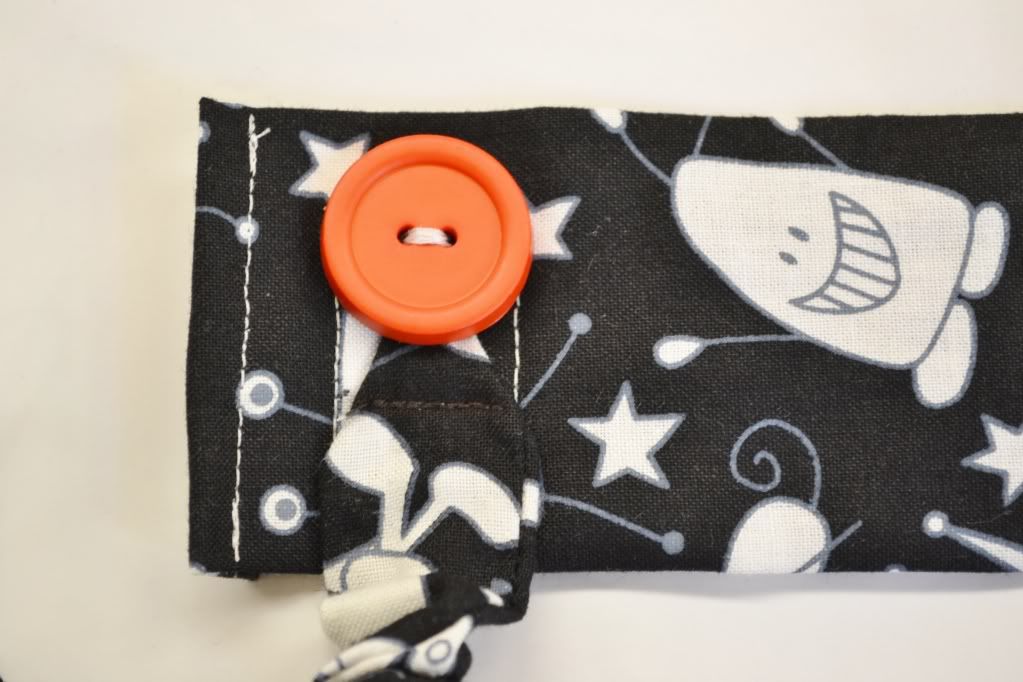
- Sew the button over the top of the elastic stretchy tube.
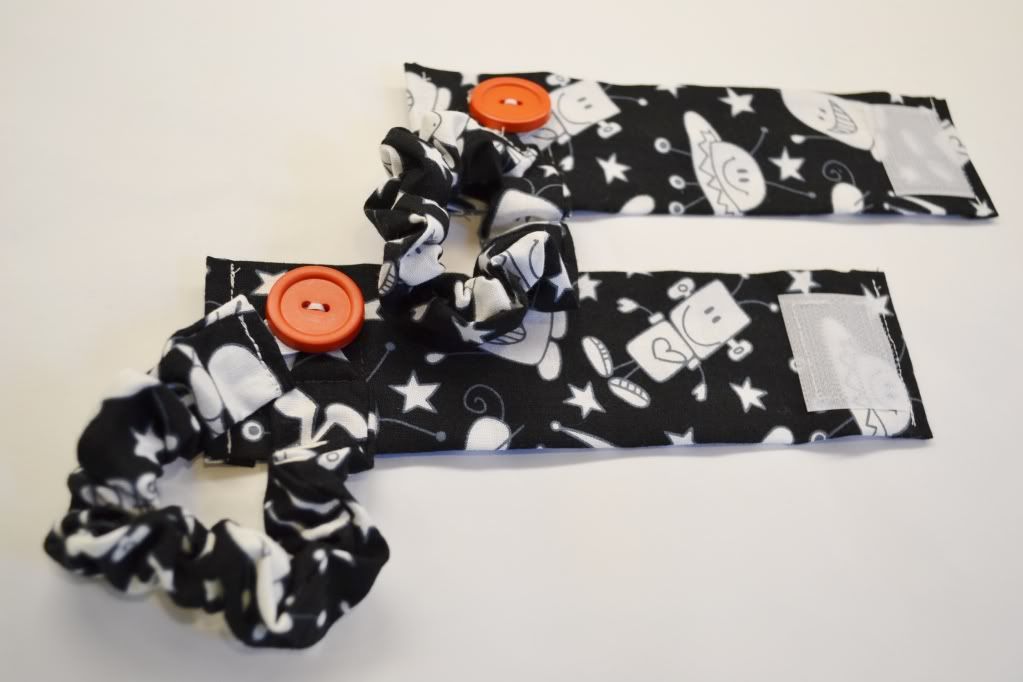
- Repeat with the other strap.
Voila!!!! You're done!!!!
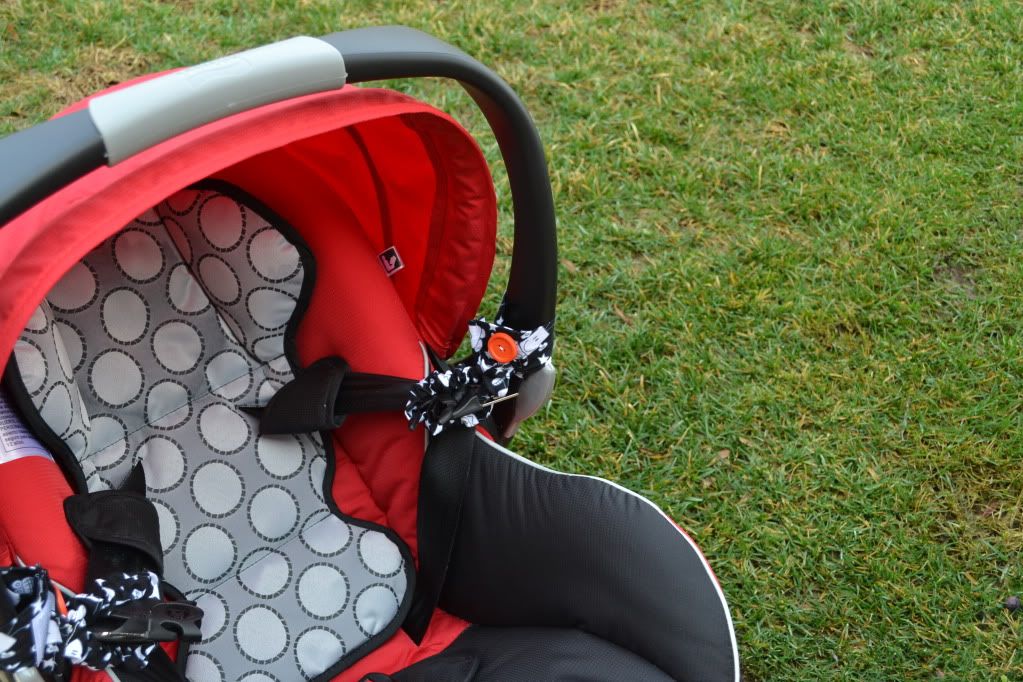
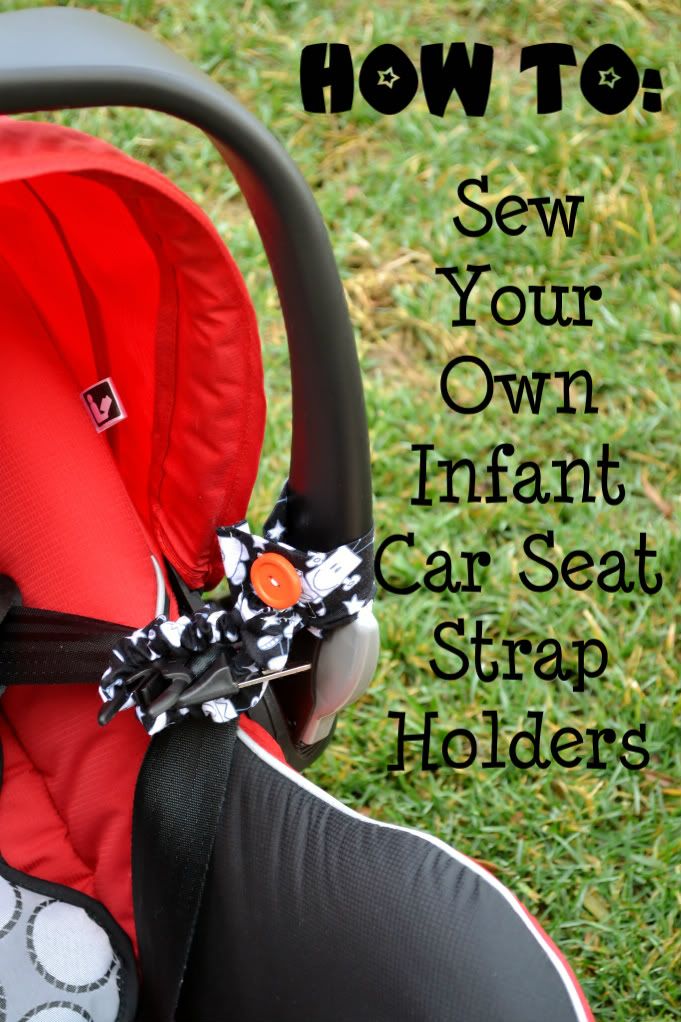
Using your holdbacks is very easy. Just velcro your holdbacks around the each side of the handlebar with the loops facing inward. You have two options on how to hold your straps back.
1. You can take the elastic loop off of the button, loop the stretchy band around the harness strap, and then attach the elastic loop back onto the button.
2. You can just loop the stretchy band around the buckles without taking the elastic loop off of the button. (This is what I do because it's faster... although less secure).
I hope your Infant Car Seat Harness Strap Holdbacks help to make life a little easier when transferring your little one into and out of their car seat. I've only been using mine a couple days now and I love them!!! Feel free to post pictures of your creations on my Facebook Page so we can all see them. It's always fun to see how these tutorials are being used. Till then, keep checking back every Monday for more "Make It Monday" projects. I've got lots more planned.
***Don't Forget To Pin This Tutorial For Future Use With My Pin It Button Below***


Awh man, I wish I had seen this back with babe was still in an infant seat! Hmmm...I wonder if I could make it work with his convertable seat:
ReplyDeletehttp://www.combiusa.com/Products/Item.aspx?Item=12
I'm going to work on making one that will work for a convertible seat. I need to study it a bit more.
ReplyDeleteDid you ever figure it out? I'm working on one for a friend right now, and I'm trying to figure out the same thing.
DeleteDid you ever figure it out? I'm trying to do the same thing for a friend.
DeleteHaha! My son takes up all my time and so I haven't had time to sew in forever.
DeleteBrilliant! I fant that keeping the straps back is even more important in a convertable...not because of the kind of seat, but because of the kind of baby! Buckling in my 12 month old is turning into an Olympic sport!
ReplyDeleteThis is genius!!!! I have twins and its torture digging straps out to buckle them in. Making these this weekend! :)
ReplyDelete