
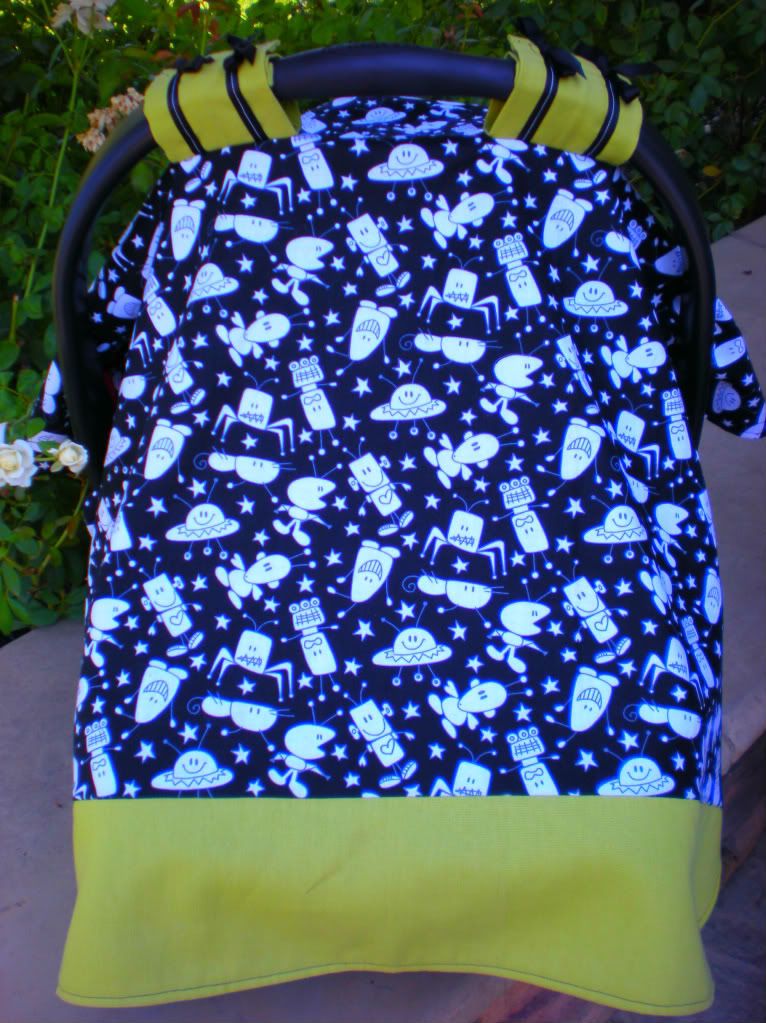
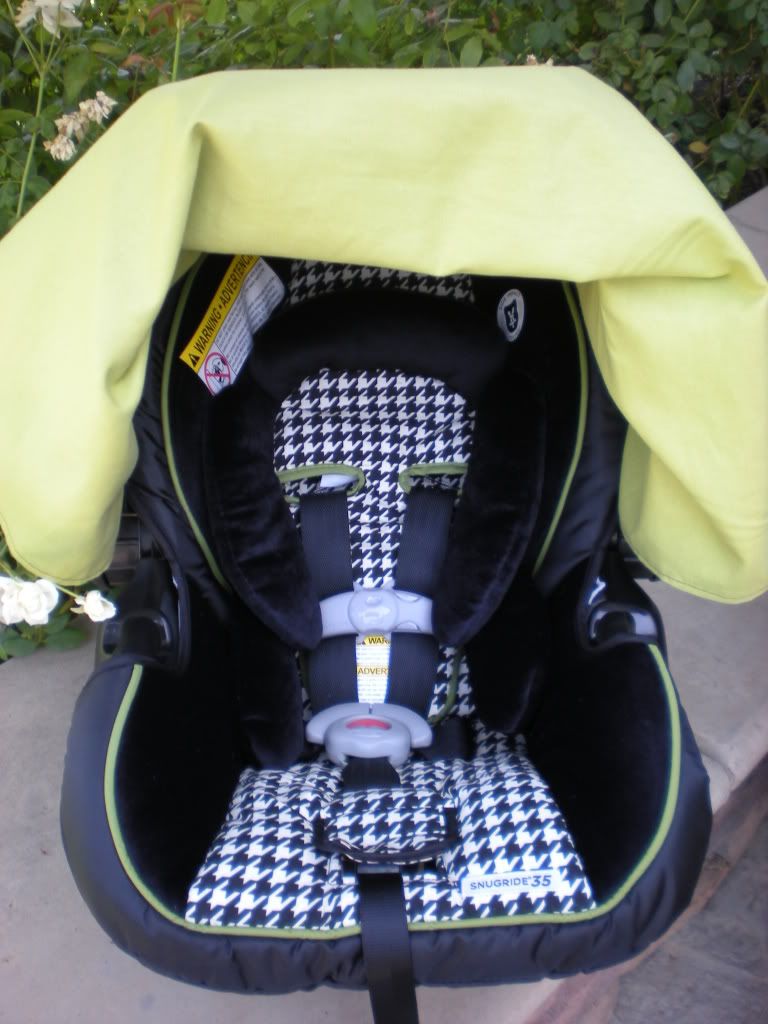
This time I decided to add to my list of DIY projects and sew my own Infant Car Seat Tent Cover. It was super easy and I loved that I could pick out the exact fabrics that I wanted that coordinated with Lincoln's car seat. I picked a cute black and white alien fabric for the outside and a lime green solid for the interior. It matches my Logan Graco Snugride perfectly!!!!
Here is a tutorial for you fellow DIY'ers out there. This is a really easy one so even the beginning sewer can do this one.
What You Will Need:
 1 yrd - Fabric for front of tent cover
1-1/3 yrds - Fabric for back of tent cover and accent strips
8" - Sew on Velcro
Ribbon (Optional)
12" Large Bowl (or other circular template)
Sewing Machine
Coordinating or Contrasting Thread
Pins
Scissors
Fabric Measuring Tape
Washable Fabric Marker
Step By Step:
- Cut out your fabric pieces. You will need a 35" x 42" piece for your back fabric. You will need a 35" x 36-1/4" piece for your front fabric. You will need a 35" x 6-1/4" piece for your front accent fabric. You will need a 8" x 9-1/2" piece (x2) for your straps. (If you have a pattern on your fabric make sure you think about fabric direction when doing your cutting).
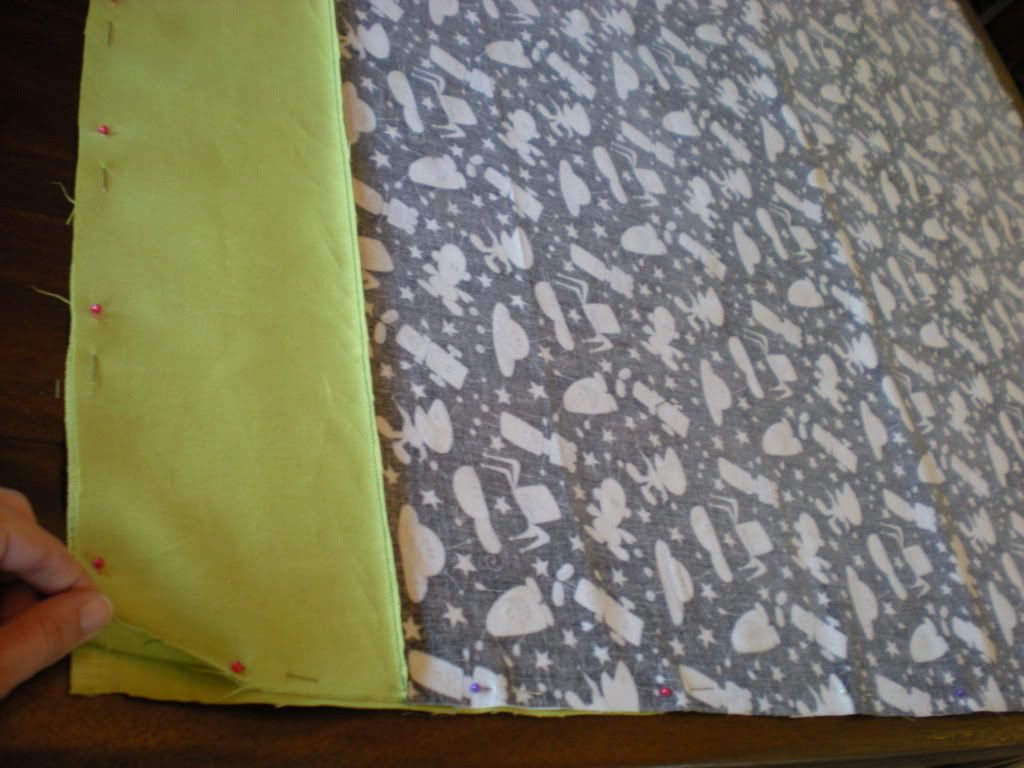
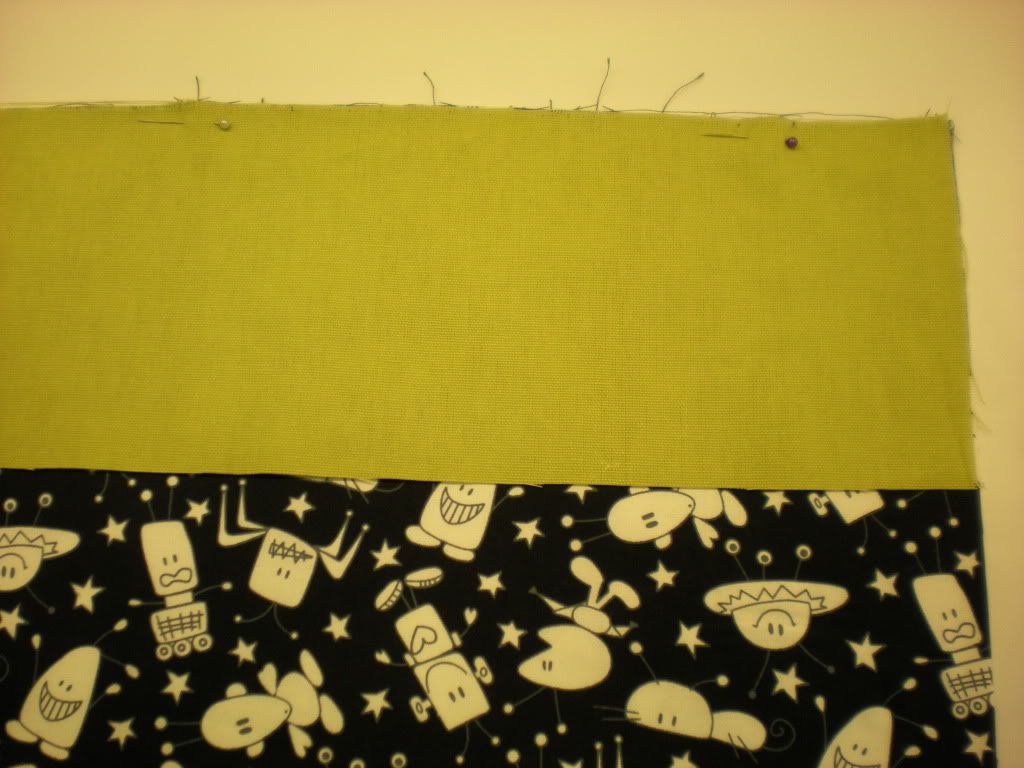 - Lay your front fabric out on your worksurface so that the good side of the fabric is facing you. Now lay your accent fabric piece (35" x 6-1/4") on top of your main fabric piece overlapping the bottom edge making sure that the wrong side of the accent fabric is facing you. Pin the two fabrics together along the 35" cut edge side.
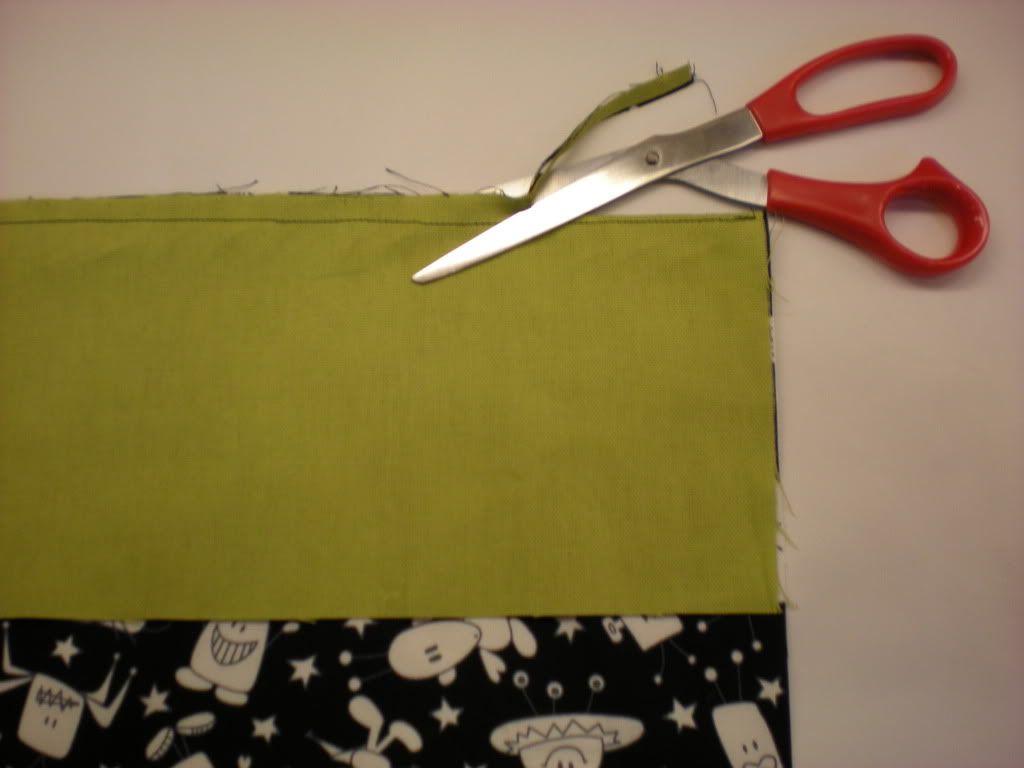 - Sew a straight stitch along the edge that you just pinned a 1/4" in.
- Cut the extra fabric off close to your straight stitch.
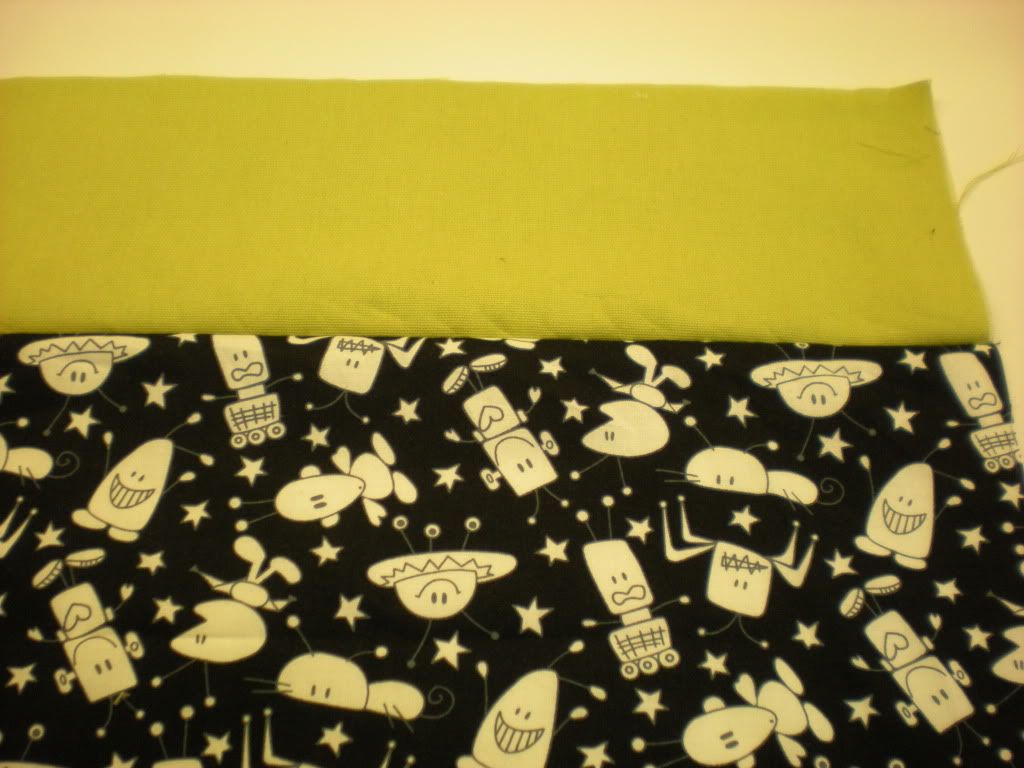 - Flip the accent fabric up so that you see the good sides of both the main front fabric and the accent fabric. Iron the seam flat.
 - Lay your back fabric piece out on your worksurface with the good side of the fabric facing you. Lay your front fabric piece with accent piece sewed on, on top of your back accent piece. Make sure that you are looking at the back side of your front fabric piece. Line the two large pieces of fabric up and pin all the way around on the edges.
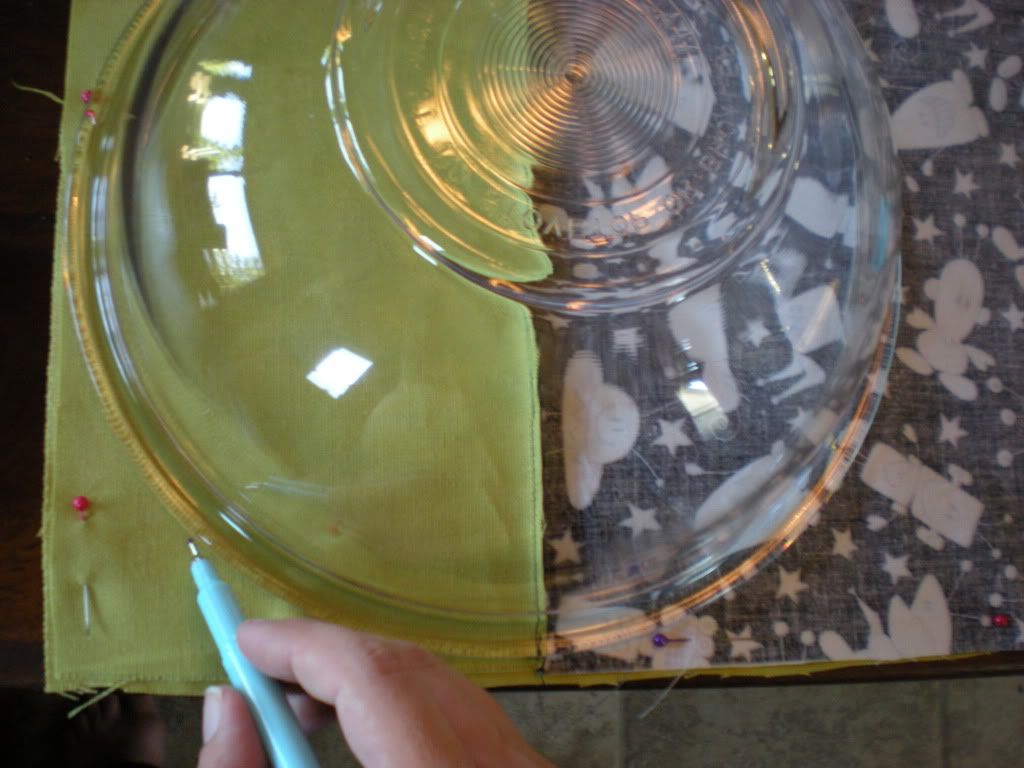 - Using a 12" bowl or other large circular template, round out all four corners of your car seat cover.
 - Using a straight stitch a 1/4" in, sew around the entire perimeter of your car seat cover except for a 6" opening (this is where you will turn your cover right side out). Make sure to round the corners that you traced on in the last step. Remove your pins as you go.
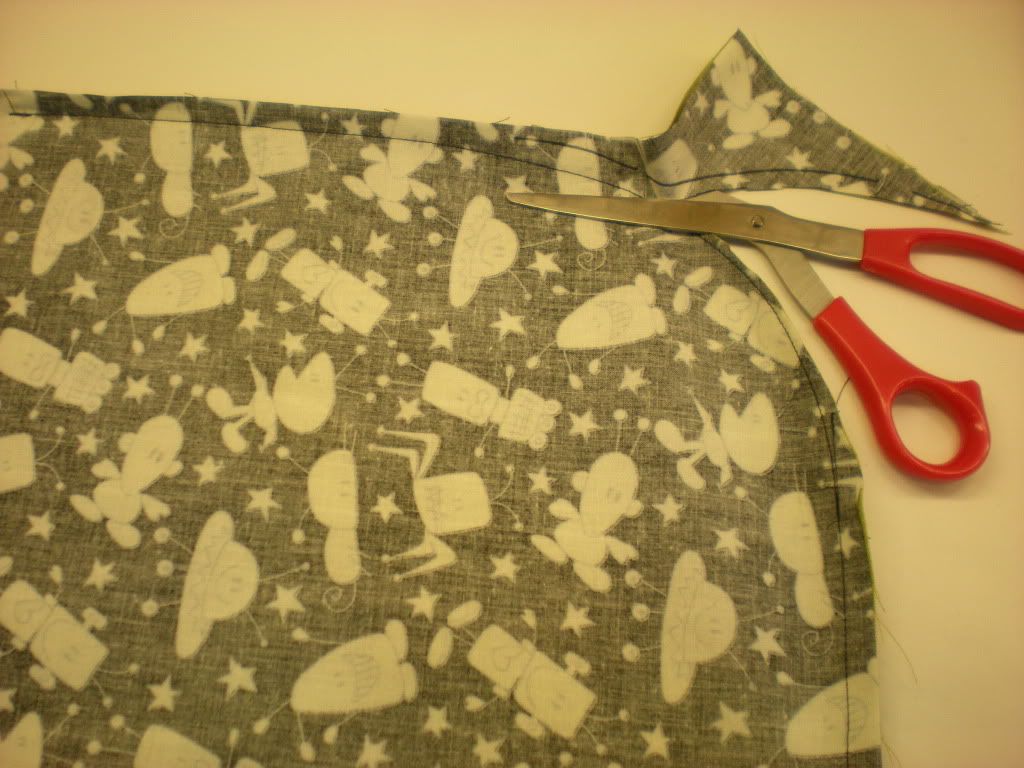
- Trim off the extra fabric on the corners.
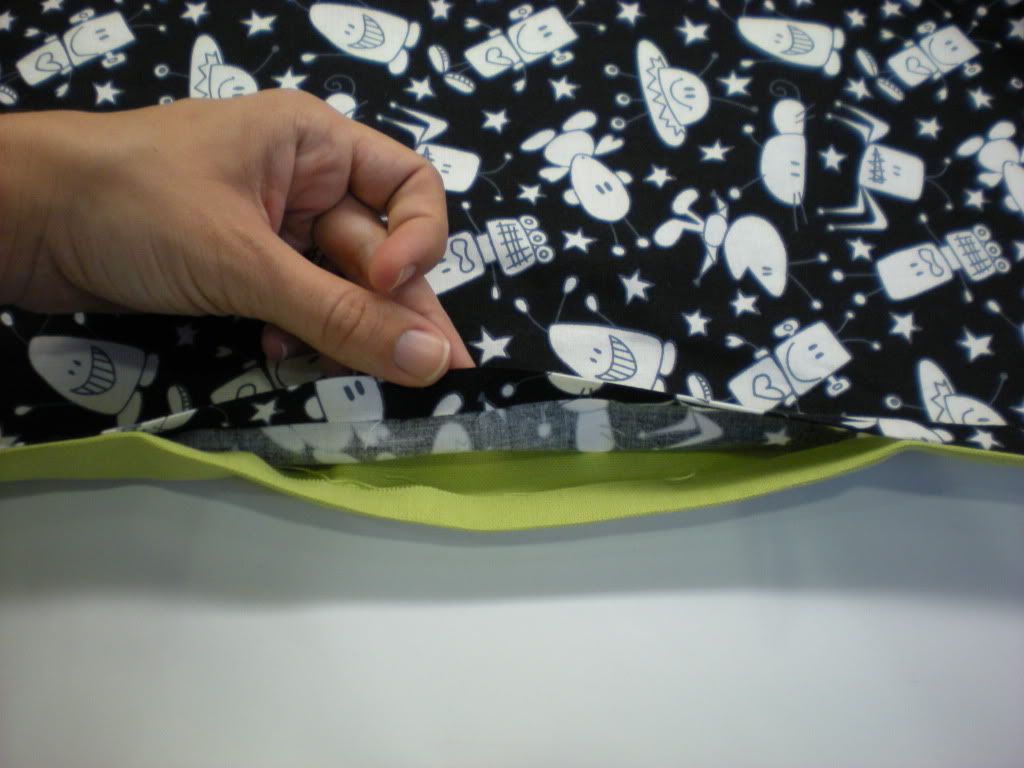 - Using the 6" opening that you did not sew closed, turn your car seat cover right side out. Make sure that all the edges are completely pushed out. If needed you can use a skewer or knitting needle to push out all the edges.
- Fold in the edges of the 6" opening so that it lines up with the rest of the car seat cover.
- Iron all the edges flat on the car seat cover.
 - Using a straight stitch, sew an 1/8" in around the entire perimeter of your car seat cover making sure to seal up the 6" opening that you left open. Set the car seat cover aside.
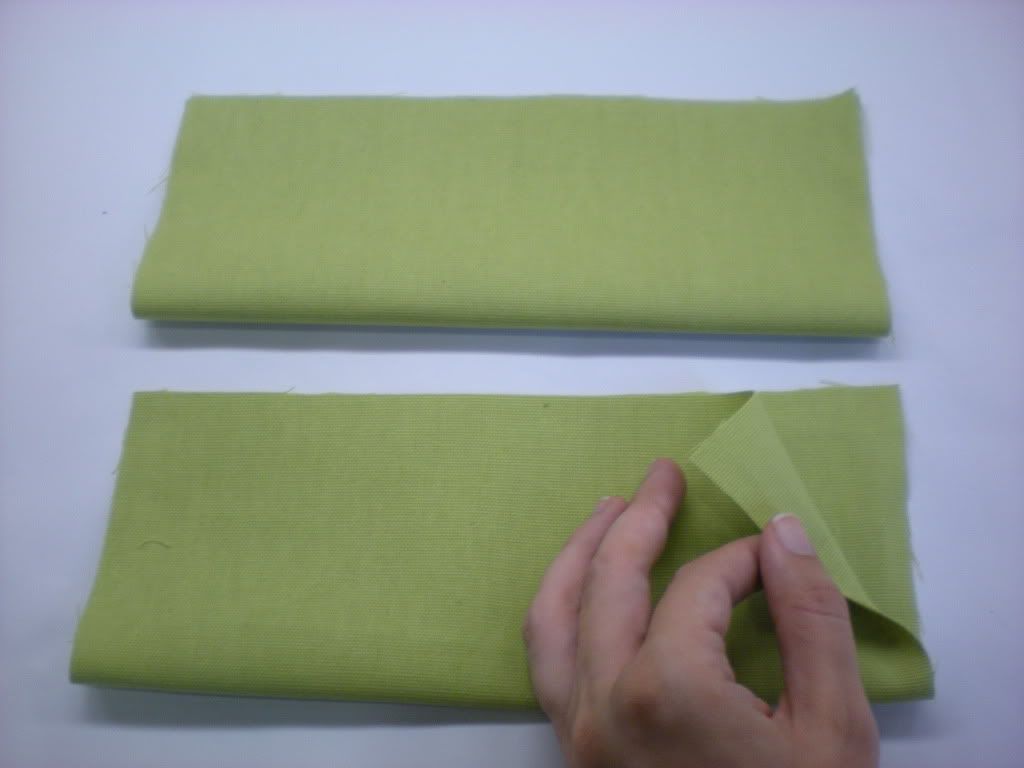 - Take your two car seat strap fabric pieces and fold them in half lengthwise. Make sure that the wrong side of the fabric is showing on both sides.
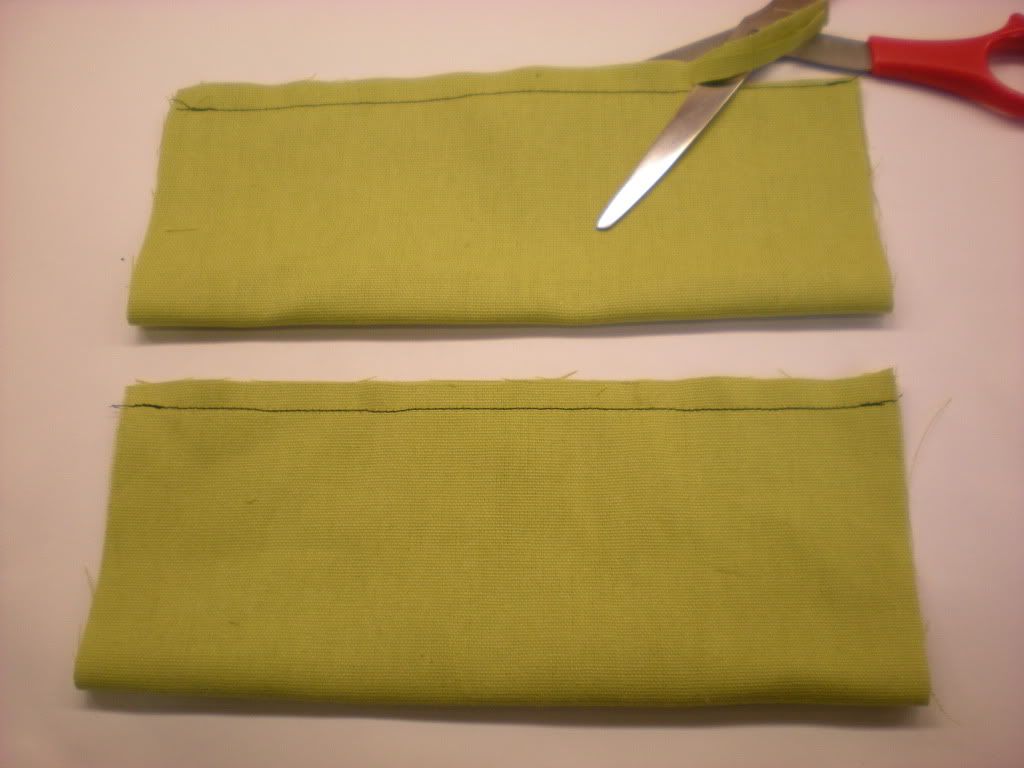 - Sew a straight stitch 1/4" in along the long cut edge of each strap.
- Cut the extra fabric close to your straight stitch on the edge.
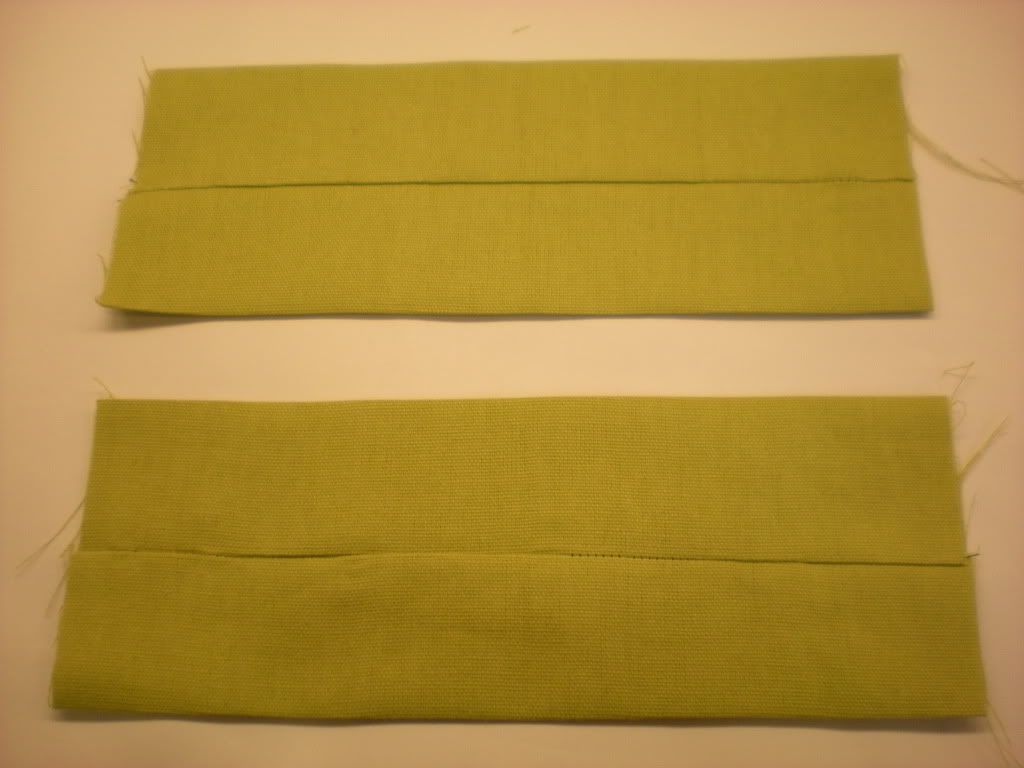 - Turn your straps right side out. Line up your seam so that it is in the middle of the strap and iron the straps flat.
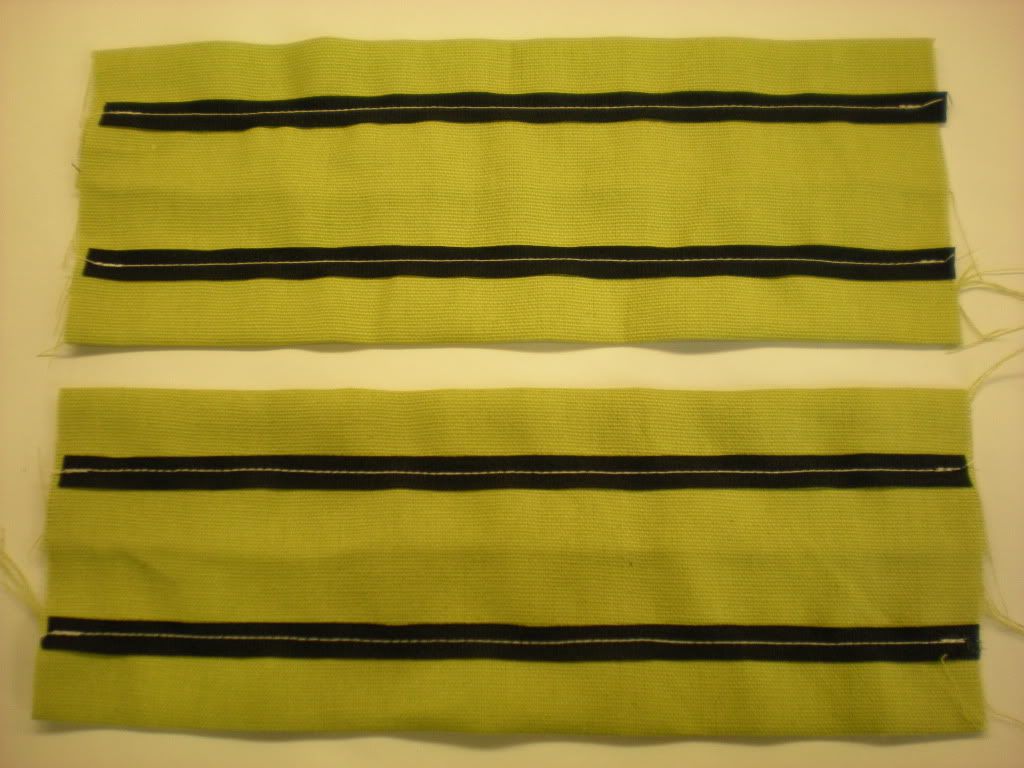 - If you're going to add ribbon to your straps then do it at this point. I used black ribbon and sewed them on using a contrasting white thread and a straight stitch.
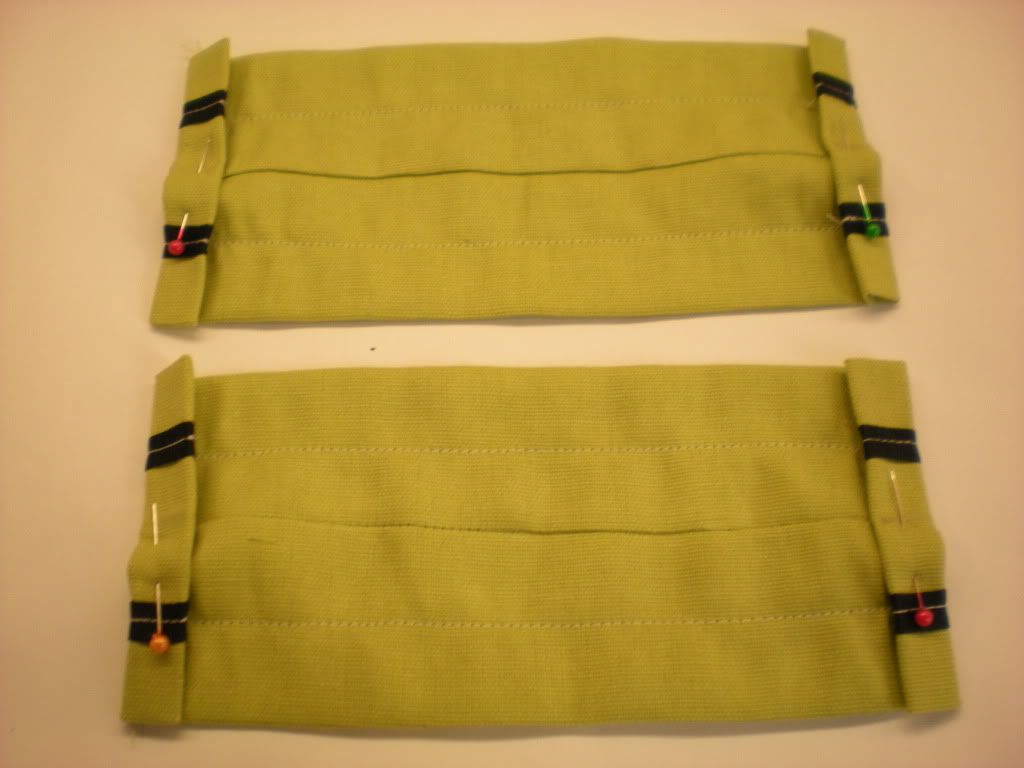 - Fold the edges of your straps twice to hide the edges and iron flat. Pin closed and then sew closed with a straight stitch.
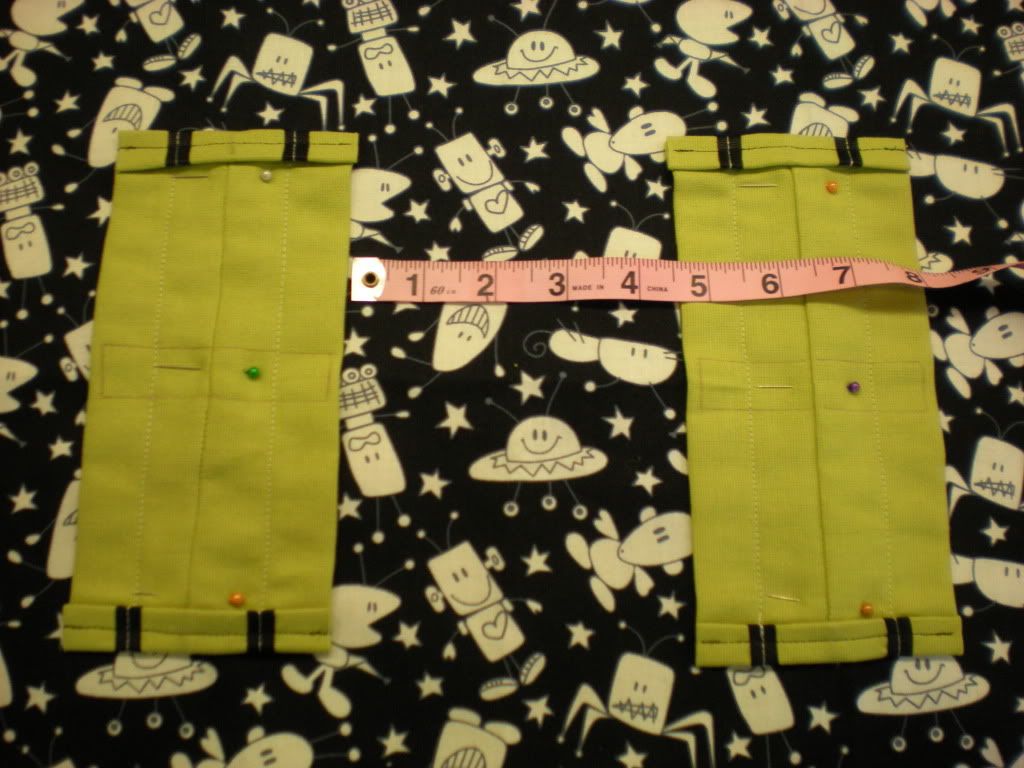 - Lay your cover over your car seat and mark the location that you want your straps. Measure the width of your car seat handle to figure out how far apart to place your straps.
- Using those measurements pin the straps to your car seat cover (wrong side facing up).
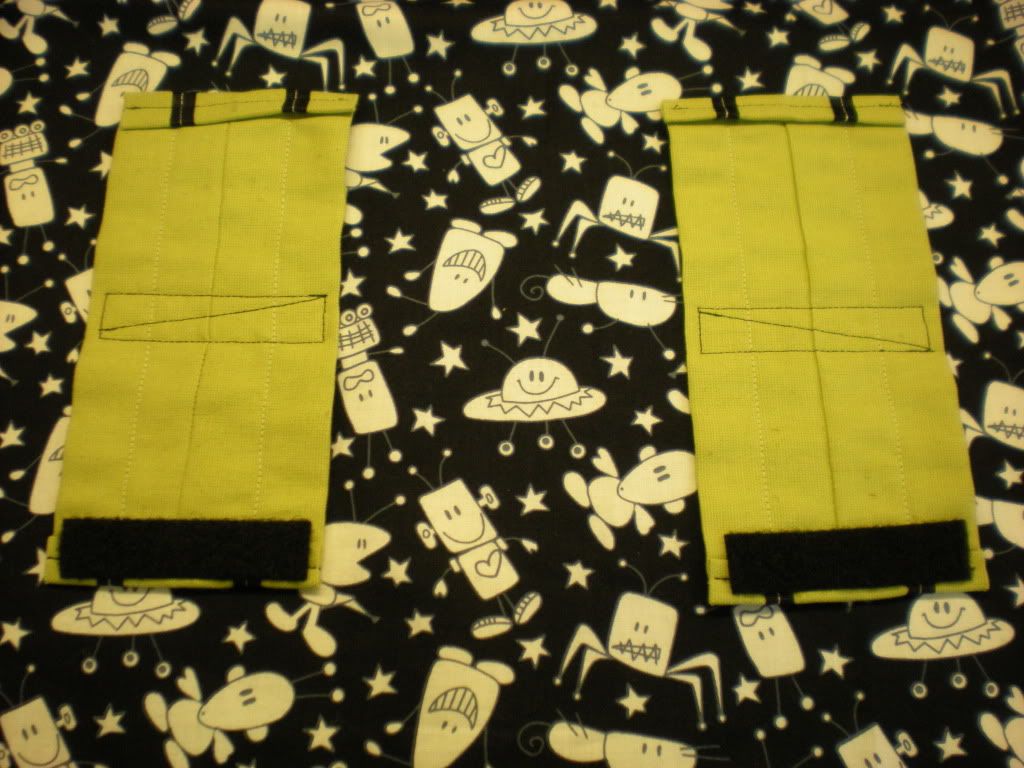 - Secure your straps to the car seat cover by sewing a straight stitch in the shape of a rectangle in the middle of your straps. I also added a diagonal line to fully secure them.
- Sew the loop portion of your velcro onto the inside of the straps closest to the front of the car seat cover. I just sewed a rectangle around the perimeter of the velcro.
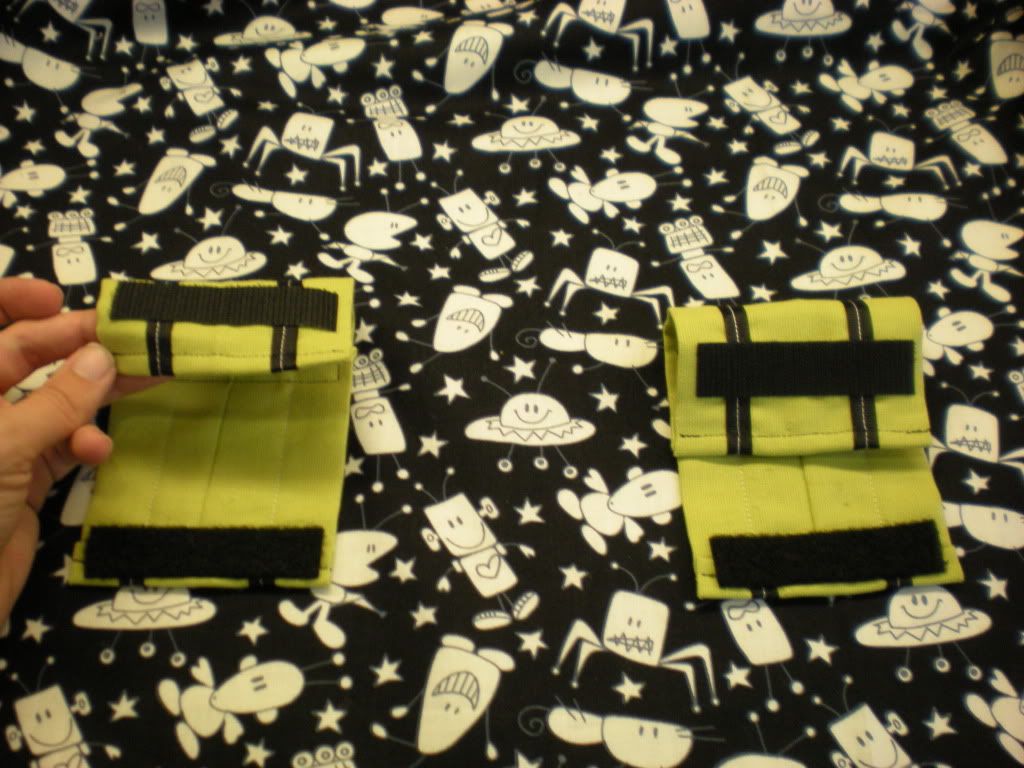 - Place the car seat cover on your car seat once again and mark the location that you want your hook fabric so that the straps fit around your car seat handle. Pin your hook velcro at the desired location.
- Sew your hook velcro to the straps.
 Voila!!! You're done. The great thing about these car seat covers is that you can embelish them as much as you want. I kept mine fairly simple and just added the straight ribbon to the straps and then added a couple bows on top where the velcro came together on the straps. I felt that the bows hid some of the seaming. I love how my car seat cover matches my car seat perfectly and looks like it could have came with the car seat itself.
I hope you enjoyed this tutorial. It's such an easy and fun way to add some personality and functionality to your car seat which will be with you all the time. I know I can't wait to use mine. It will help to solve so many problems that we encountered in the past with the girl's car seats. Be sure to post pictures of your car seat covers on my Facebook page. I'd love to see them. Till then check back for more great DIY projects, information, reviews, and giveaways as I continue on my Adventures In Fluff ... and other mommy stuff.
Here is a tutorial for you fellow DIY'ers out there. This is a really easy one so even the beginning sewer can do this one.
What You Will Need:
1-1/3 yrds - Fabric for back of tent cover and accent strips
8" - Sew on Velcro
Ribbon (Optional)
12" Large Bowl (or other circular template)
Sewing Machine
Coordinating or Contrasting Thread
Pins
Scissors
Fabric Measuring Tape
Washable Fabric Marker
Step By Step:
- Cut out your fabric pieces. You will need a 35" x 42" piece for your back fabric. You will need a 35" x 36-1/4" piece for your front fabric. You will need a 35" x 6-1/4" piece for your front accent fabric. You will need a 8" x 9-1/2" piece (x2) for your straps. (If you have a pattern on your fabric make sure you think about fabric direction when doing your cutting).
- Cut the extra fabric off close to your straight stitch.
- Trim off the extra fabric on the corners.
- Fold in the edges of the 6" opening so that it lines up with the rest of the car seat cover.
- Iron all the edges flat on the car seat cover.
- Cut the extra fabric close to your straight stitch on the edge.
- Using those measurements pin the straps to your car seat cover (wrong side facing up).
- Sew the loop portion of your velcro onto the inside of the straps closest to the front of the car seat cover. I just sewed a rectangle around the perimeter of the velcro.
- Sew your hook velcro to the straps.
I hope you enjoyed this tutorial. It's such an easy and fun way to add some personality and functionality to your car seat which will be with you all the time. I know I can't wait to use mine. It will help to solve so many problems that we encountered in the past with the girl's car seats. Be sure to post pictures of your car seat covers on my Facebook page. I'd love to see them. Till then check back for more great DIY projects, information, reviews, and giveaways as I continue on my Adventures In Fluff ... and other mommy stuff.


Thanks! I pinned this!
ReplyDelete