
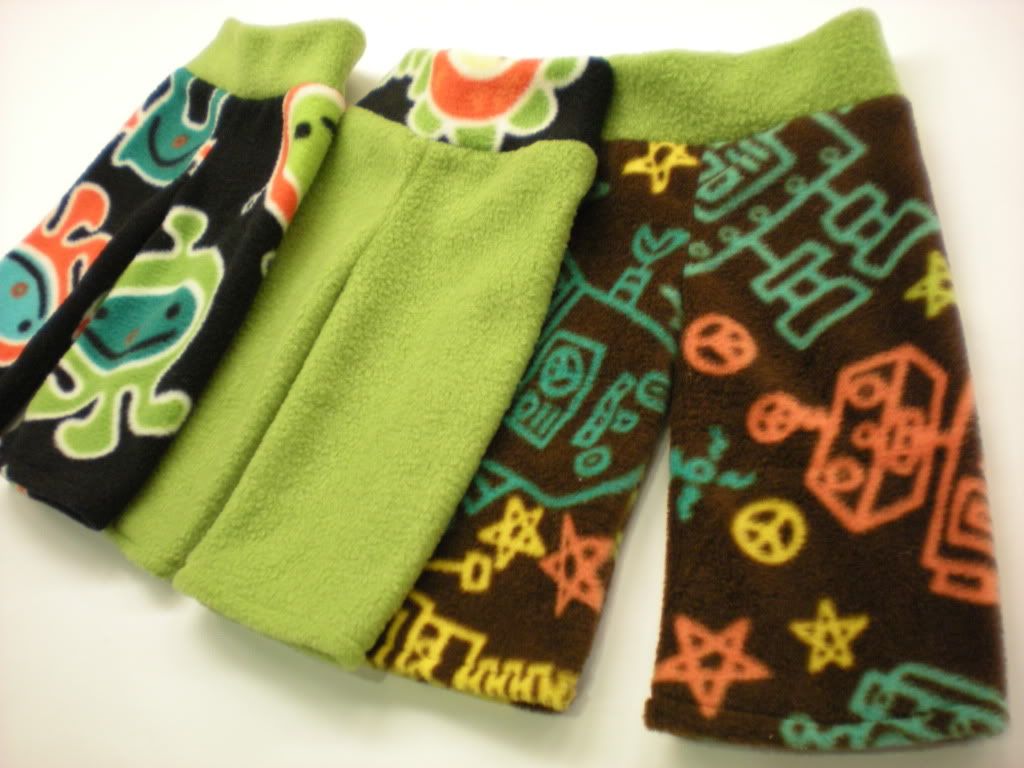
When I went to Joann's Fabric Store I found the cutest fleece fabrics. Make sure you're shopping in the Anti-Pill Fleece section of the store. Otherwise you'll have lots of pilling after the first or second wash of your newly made pants. I settled on a monster print, a robots print, and a lime green solid. Lincoln will look so cute in them!!! On my first pair of longies I sewed, I cut the waistband in the wrong direction of the fabric. Learn from my mistake because if you cut the pattern in the wrong direction, you won't be able to stretch the pants wider to fit over your baby's bottom. Oh well. I learned from my mistake and now my girls have a cute pair of pants for their dolls.
Let's get started!
What You Will Need:
Katrina's Fleece Longies Pattern You will need both the longies pattern and the waistband pattern
Anti-Pill Fleece or Polar Fleece
Coordinating Thread
Pins
Washable Fabric Marker
Scissors
Fabric Measuring Tape
Sewing Machine
Step By Step:
**I've included the YouTube videos that I used in order to create my longies. I was going to make my own video, but why re-create the wheel when you can just use what's already been made. I think these videos are great and very well done. Hope they help you too**

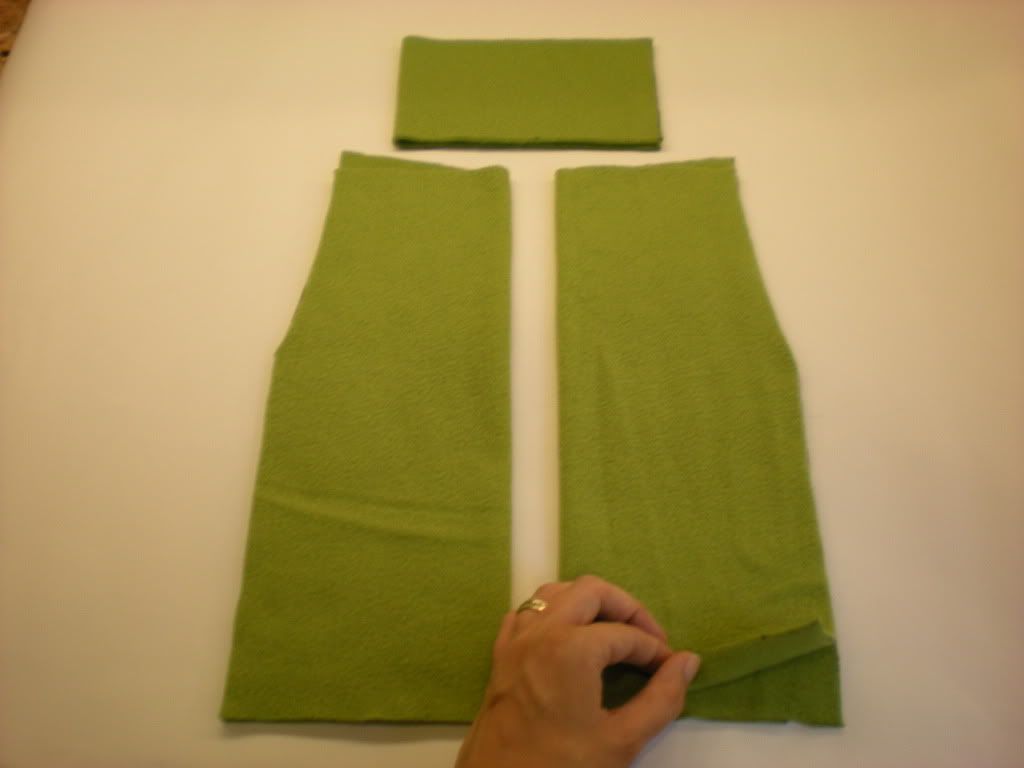
- Lay your fleece out flat on your work-surface with the wrong side of the fabric facing you. Place your pattern on the fleece. Make sure the stretch of the fabric is going side to side (not up and down) when laying out your pattern. Trace out your pattern allowing for a 1/4" seam allowance around all sides (*Note: I've added the 1/4" to my printed out pattern. That's why I have traced my pattern out right next to the pattern). Katrina's pattern does not give the full length of the leg on her pattern. It's up to you to decide what length of inseam you would like for your longies. Just measure your baby or a pair of their pants to determine the desired inseam length.

- Trace out your waistband onto the fleece. The Katrina's pattern only shows half the waistband. You will want one twice as long as what is shown. Have some fun with your waistband and make it a different color that coordinates with your main pant fabric.

- Fold each of the pant legs in half making sure that the edges of the legs line up. The tops the longies will not line up because the back side of the longies is higher than the front, but the bottom of the legs and the crotch should line up. Make sure that the wrong side of the fabric is showing on both sides. Pin the legs in place from the crotch to the base of the leg.
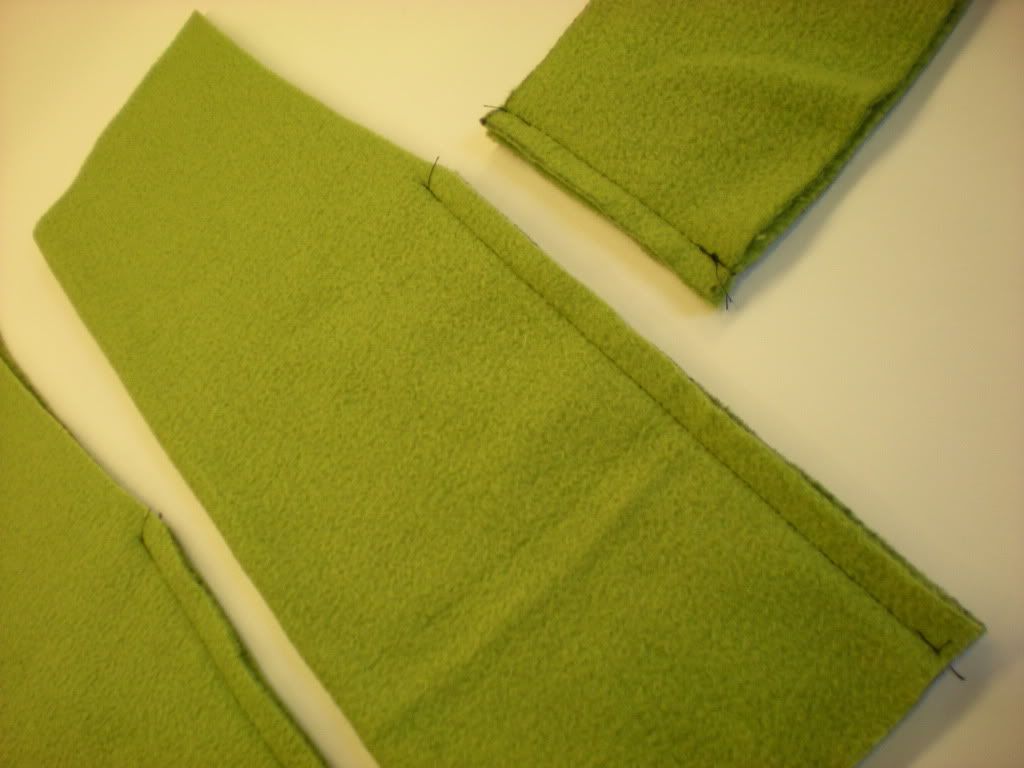
- Pin the front of top portion of the pants together. Pin the back portion of the pants together.


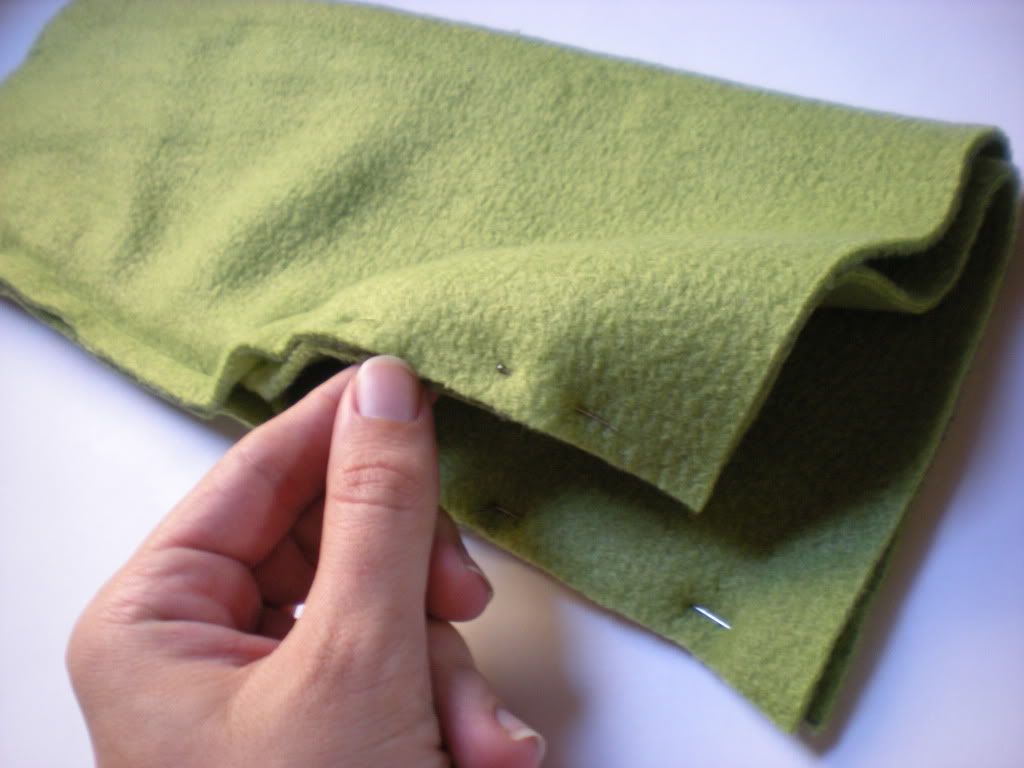
- Holding the pants let the seams mark the exact front and back of the pants. Line the seams up. Using pins mark the exact sides of the pants.
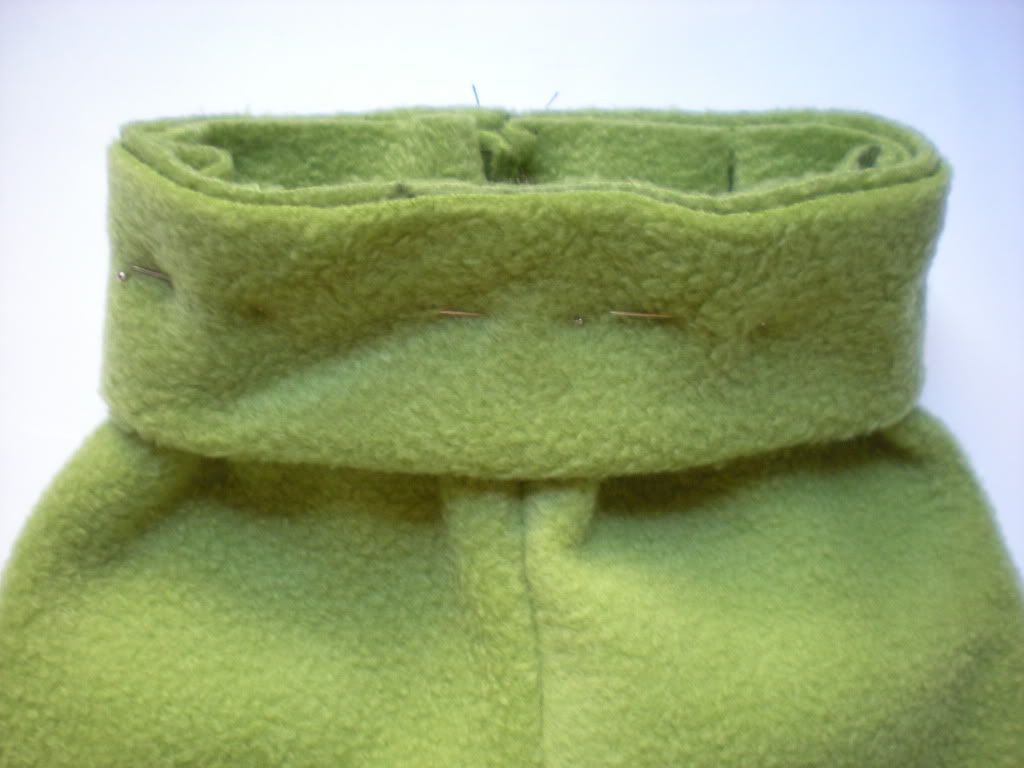
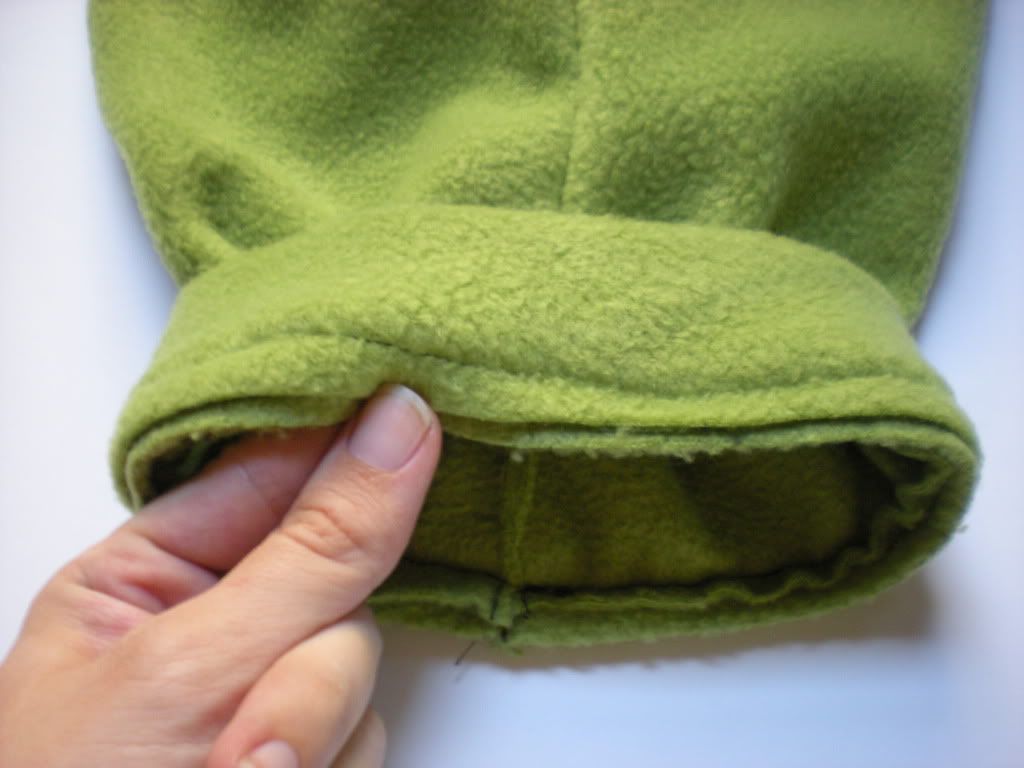
- Slide the waistband over the top of the pants. Let the raw edges of the waistband line up with the raw edges of the pants. Pin the waistband to the pants using your pins as guides. You want the exact front of the waistband to match up with the exact front of the pants, the back of the pants to the back of the waistband, and the sides of the pants to the sides of the waistband. You can even add additional pins in between the pins you've already placed if it helps you to keep everything in place.

- Sew a straight stitch around each leg opening a 1/4"-1/2" in. (not across the leg opening. You don't want to sew the openings closed).
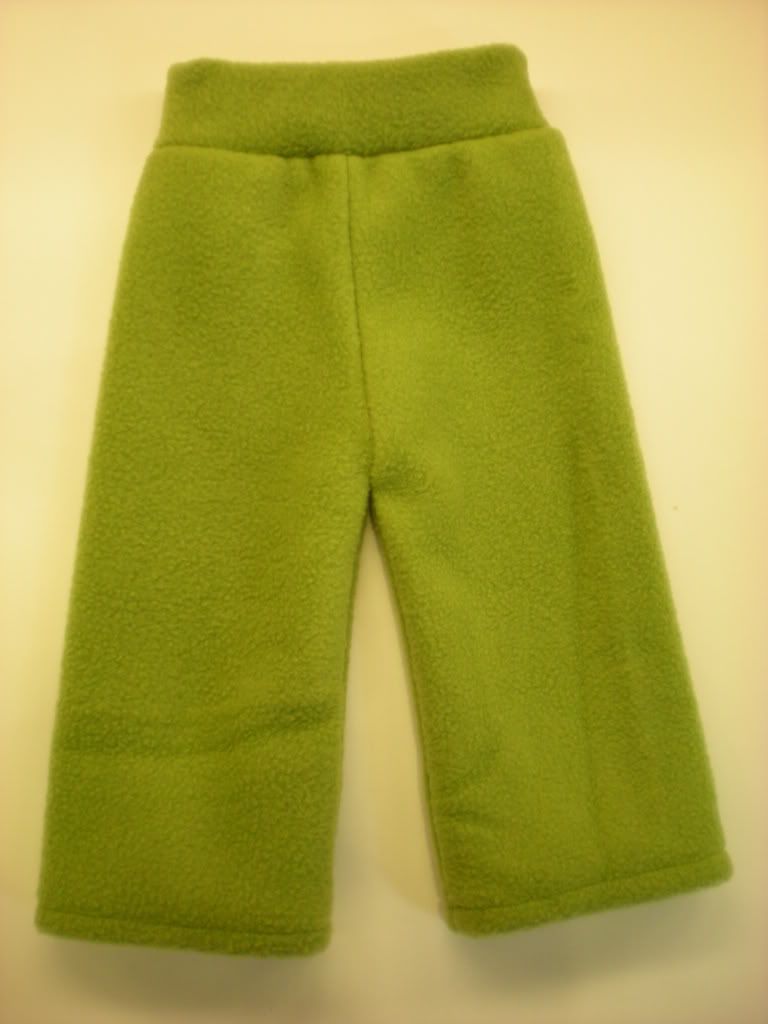
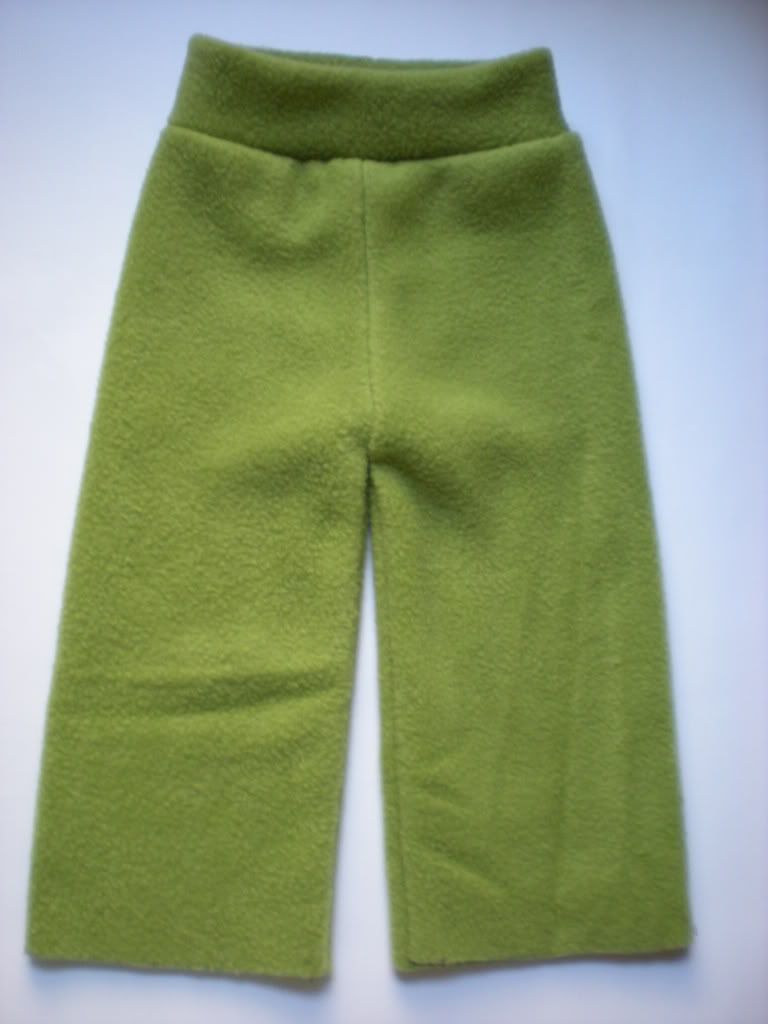
Voila!!!!!! You're done. You've just sewn your first pair of fleece longies. I'm sure if you're like me, then you'll be addicted and sew a whole bunch more of these cute little pants. I've already sewn 3 pairs of newborn longies and 3 pairs of small longies. I can't wait till Lincoln gets here so he can wear them. They are just toooooo cute and oh so soft. They are sure to keep him warm this coming winter.
I hope you enjoyed this tutorial as much and I have. I know it's a bit more time consuming than the other tutorials, but when they're all done it's oh so worth it. I just love being able to say that I made them and pick out the exact fabrics that I want to use. Be sure to post pics of your fleece longies that you create using this tutorial on my Facebook page. I'd love to see them. I'm definitely going to post pics of Lincoln in his when he gets here. Till then keep checking in for more informative reviews, fun DIY projects, and exciting giveaways on Adventures In Fluff.


how much fabric was needed to make the small size longies
ReplyDeleteIt's a little over 1/3 yard, but I'd get 1/2 to be safe.
Deletehow much fabric would be needed for a large size longies
ReplyDeleteThese were so easy and fun to make! They are also very inexpensive.
ReplyDeleteWas this really waterproof? I had heard that some fleece wicks, while other fleece is specially waterproofed. If any fleece works, then there are lots of wonderful options without having to order something expensive online and pay shipping!
ReplyDeleteThnaks!
These are not waterproof. No fleece is. It's water resistant though so it will help. The thicker the fleece the better it will be. This is just cheep stuff from the fabric store, but if you get WindPro fleece then it will work a lot better. I like fleece pants / Pj's over night diapers because if the diaper leaks, then the fleece will help it from getting all over the bedding. It's like another barrier.
Deletehow much to make medium fleece longies? thanks
ReplyDeleteThanks so much! I had printed out Katrina's fleece longies pattern and after cutting them out thought, "Now what?" This is perfect. I'm making some in yellow and blue for Baby #1 of currently unknown gender. (Too anxious to sew to wait until that 20 week ultra sound!)
ReplyDeleteI got a wool fleece blend from polar tech. I would like to make some shorties/longies. From it but I'm not sure if I should treat it like fleece or wool. It is what they call their stay dry fabric. What do you think. I believe it was 70 fleece 30 wool.
ReplyDeleteHmmm... You have me stumped on that one. I'm not sure. I would lean towards treating it like fleece, but I'm not positive.
DeleteHi Chana! Thanks so much for this tutorial, it helped so much! I have a question for you though.. How would you go about adding in a wetzone to the longies? I was thinking that I'd use Katrina's soaker pattern and make the crotch really thin then add legs to make it a longie but I have no clue how well that would turn out! Any input would be helpful, I am stumped. Thanks!
ReplyDeleteSorry. I was stumped on that one as well.
Deletewhat age can fit in the size small cause i would like to make some for my daugher that is 3 months old but i dont know what size to start making for her
ReplyDeletewhat age would fit in size small? i would like to make these for my daughter that is 3 months old but want to make sure that i will be making the right size for her to fit into.
ReplyDelete