It's that time again ... Time for another project! This one is really easy and will help you get a lot more use out of your prefold diapers. Who wouldn't want that??? While researching cloth diapers and hanging out in the cloth diapering chat rooms I've heard of so many moms complaining that they're in between sizes on their prefolds. One size is too small, the next size up is too big. The problem usually isn't with the rise. It's almost always with the wings. They just don't extend out far enough to cover the belly so you have to size up ... but now the rise is too high and folding over just makes for a really bulky diaper. What to do???
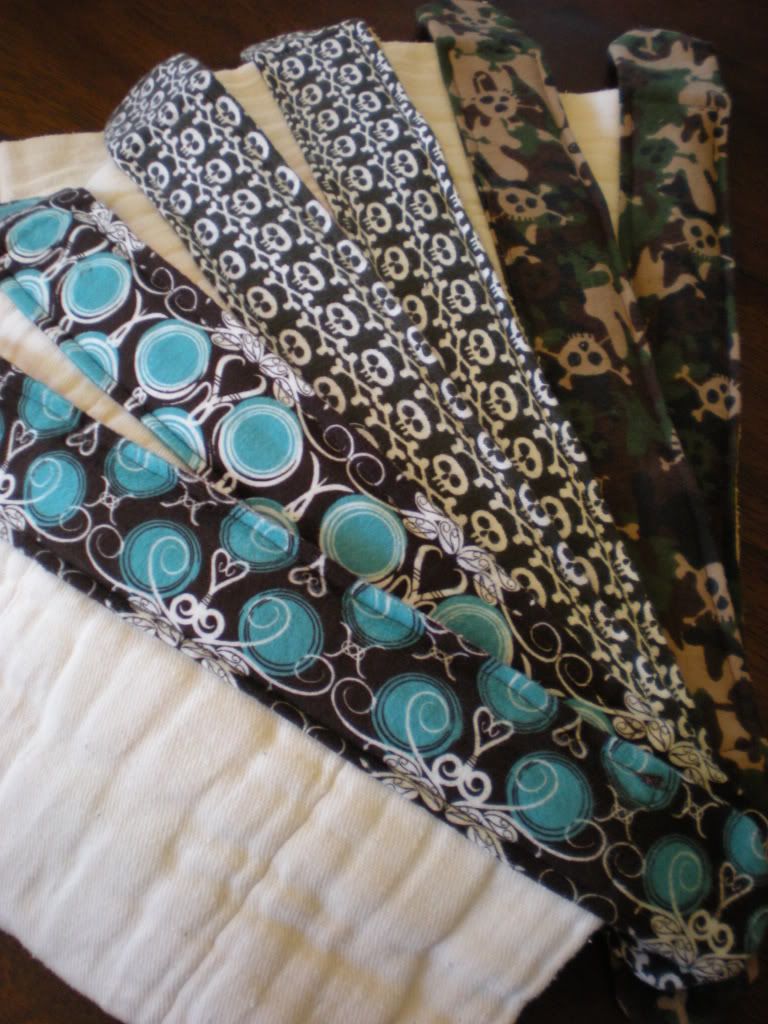
Enter the tutorial for How To Sew Extended Tabs On Your Prefolds. The solution is so easy it's a wonder why they just don't sell all prefolds this way. But then if they did we wouldn't have all these fun projects to do. Extended tabs are basically just a strip of fabric sewn on the top of the diaper that extend out past the sides of the diaper by about 2-1/2". You can use just about any fabric type that you want to as long as it will work with a snappi (or pins if you choose to use them). That brings me to the second great thing about adding extended tabs to your prefolds. Depending on the fabrics that you decide to use, you can turn a boring old prefold into a super cute accessory to your baby's wardrobe. Time to get started!
What you will need:
Prefold Diaper (Prepped and ready to go. Do not use an un-prepped prefold!)
Fabric to use for Extended Tabs (Make sure it will work with a snappi if you will be using one)
Sewing Machine
Thread to coordinate or contrast with your fabric
Pins
Scissors
Fabric Marking Tool (Marker, Pencil, Chalk, etc.)
2-1/4" Dia Circle Template
Iron
Step By Step:
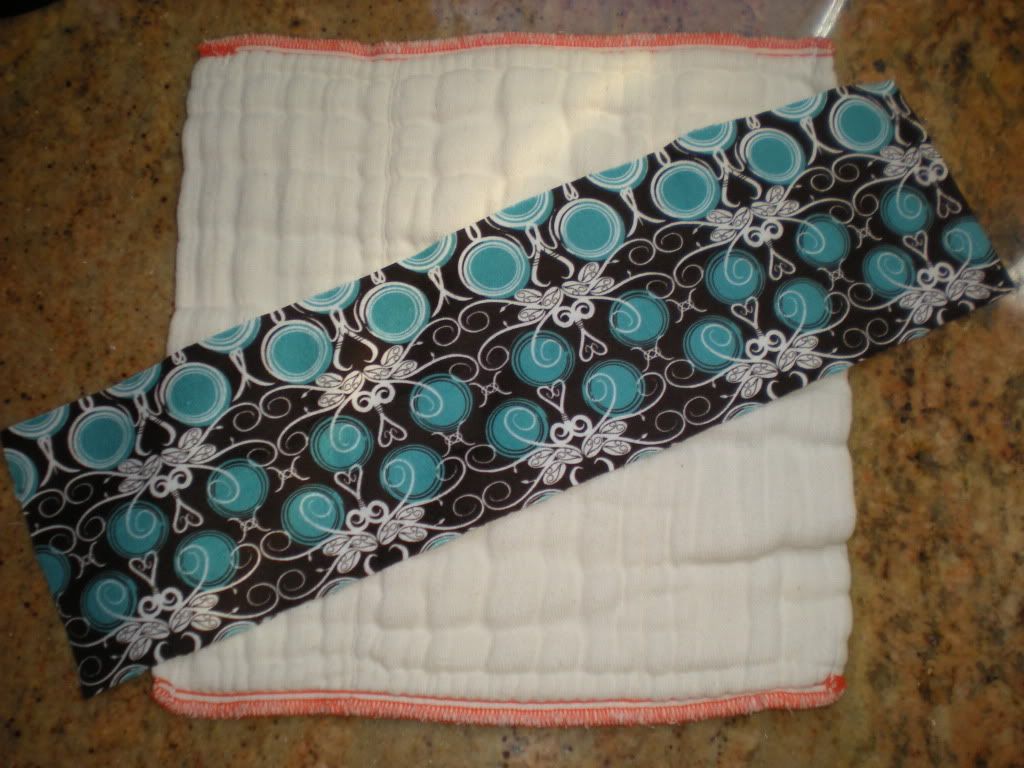
- Cut out your fabric for the extended tabs. The width of the fabric should be 4-1/2". The length of the fabric should be 6" longer than the width of your prefold diaper.
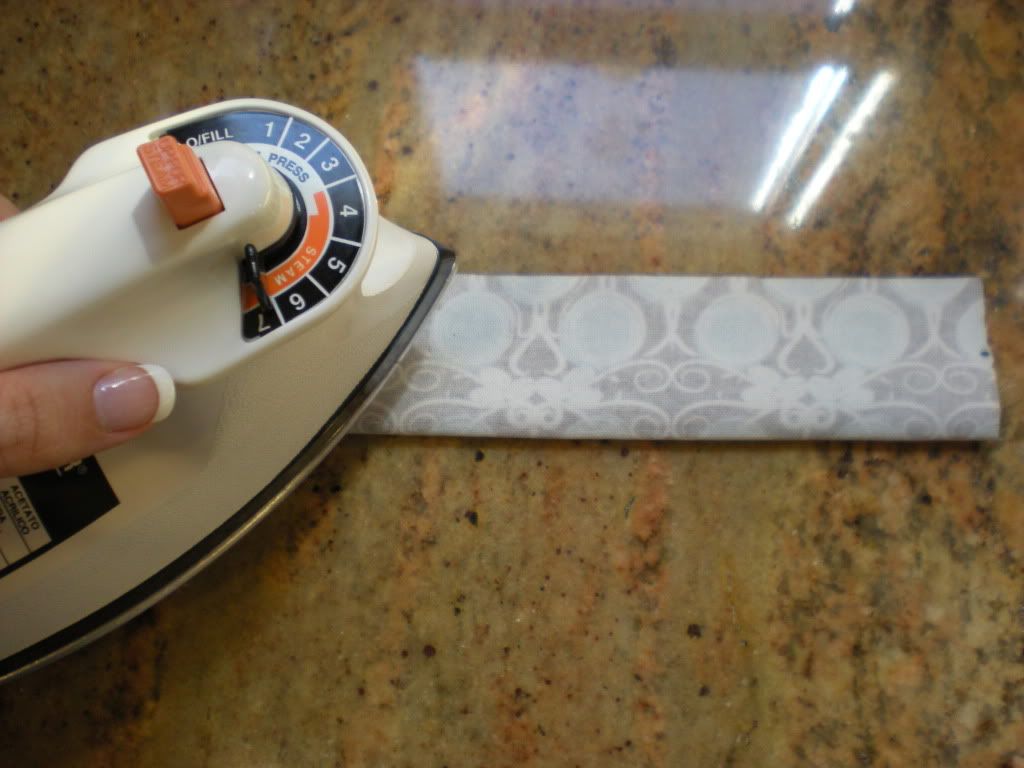
- Fold your fabric piece in half lengthwise so that the right side of the fabric (the side with the pattern) is on the inside. You should only be able to see the wrong side of the fabric on both sides. Make sure the edges are nicely lined up and iron your fabric flat.
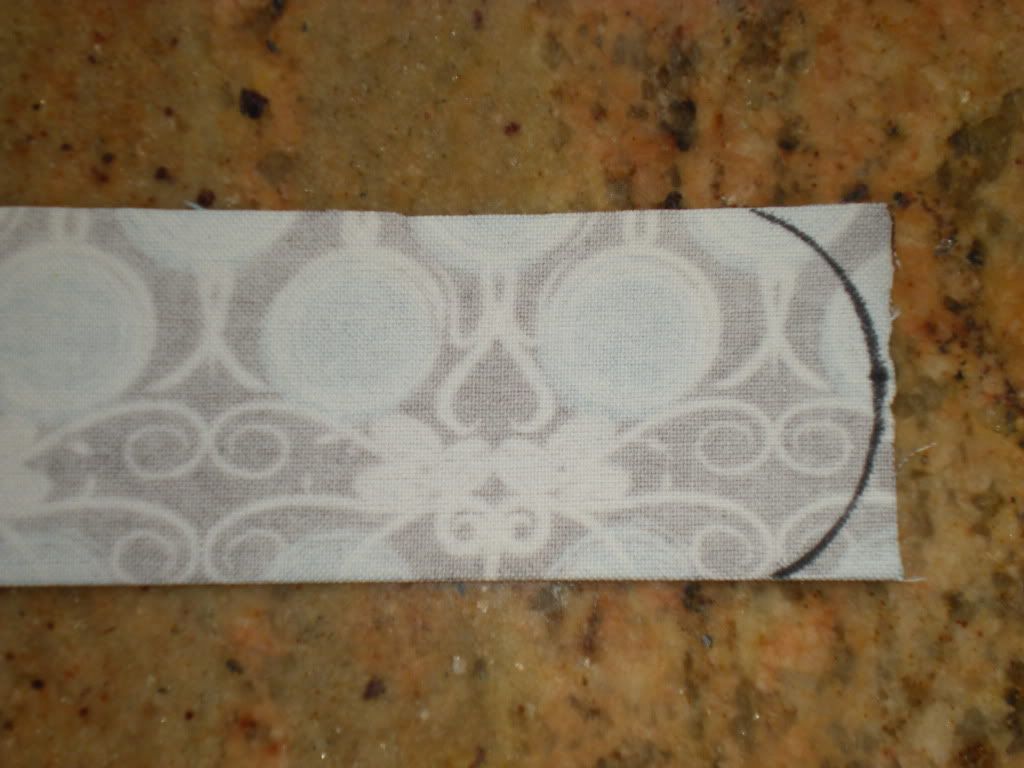
- Using your 2-1/4" Dia circle template (or you can freehand them if you want) and your fabric marking tool, trace out a half circle on each end of the extended tab. Make sure that the edge of the template touches the edge of your extended tab so you don't lose any length to your tabs.
- Trim the edges of the extended tab along the half circle lines.
- Pin the open side of the extended tab closed.
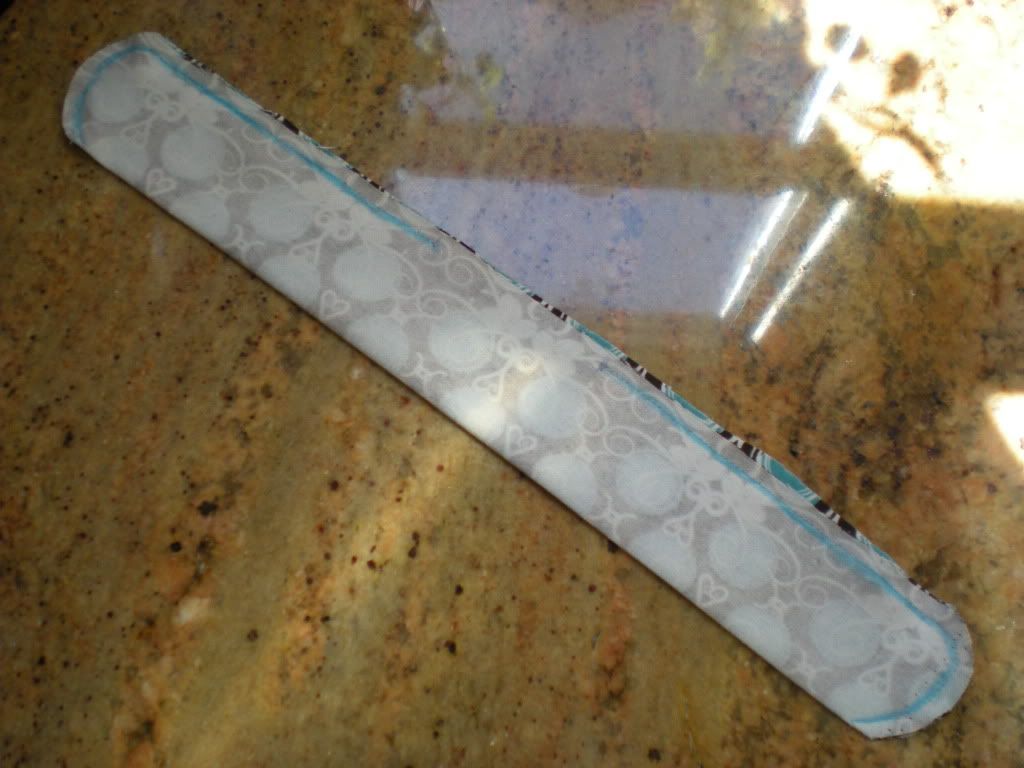
- Sew a straight stitch a 1/4" in to seal up the open side of the extended tab. Start at the far end of the tab until you reach 1/3 of the way across the tab. Cut your thread. Skip the middle third of your extended tab. Start again and sew the last 1/3 of the extended tab. You should end up with the center portion of the tab being open. This will enable you to be able to turn the extended tab right side out. **See picture with blue markings showing where to sew**
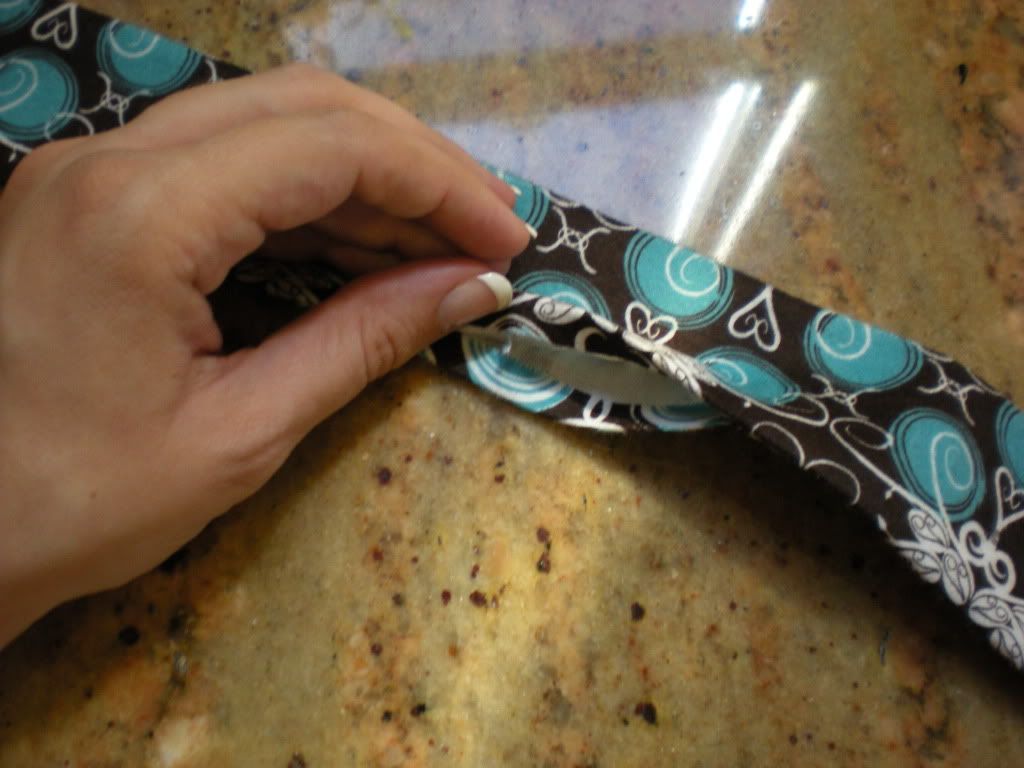
- Turn your extended tab right side out. Smooth out the edges. Turn the edges of the opening that was not sewn inward so that it matches the rest of the extended tab. Iron the extended tab flat.
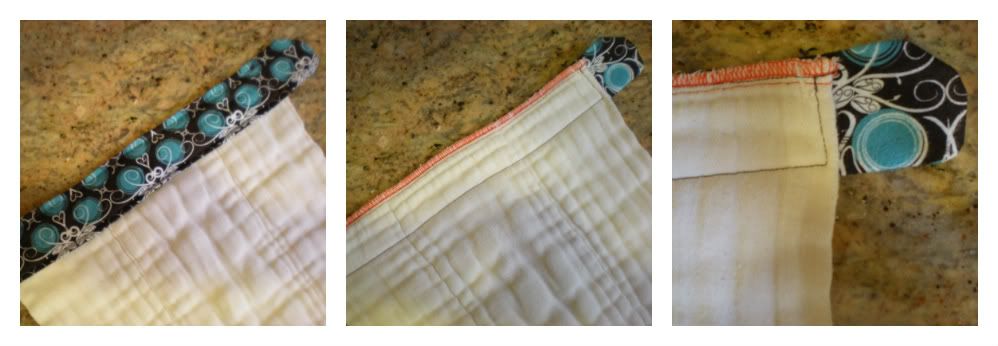
- Place the extended tab at the top of your prefold diaper lining it up with the edge. I like to position the extended tab so that the opening is furthest away from the edge. Make sure that the tabs are equal on both sides. You should have about a 2-1/2" wing on each side of the prefold. Pin the extended tab to the prefold along the top edge.
- Sew a straight stitch an 1/8" in from the edge of the extended tab all the way around (skipping the wings). You should end up with a long skinny rectangle of stitching on the back side of the prefold. Trim your threads close to the fabric.
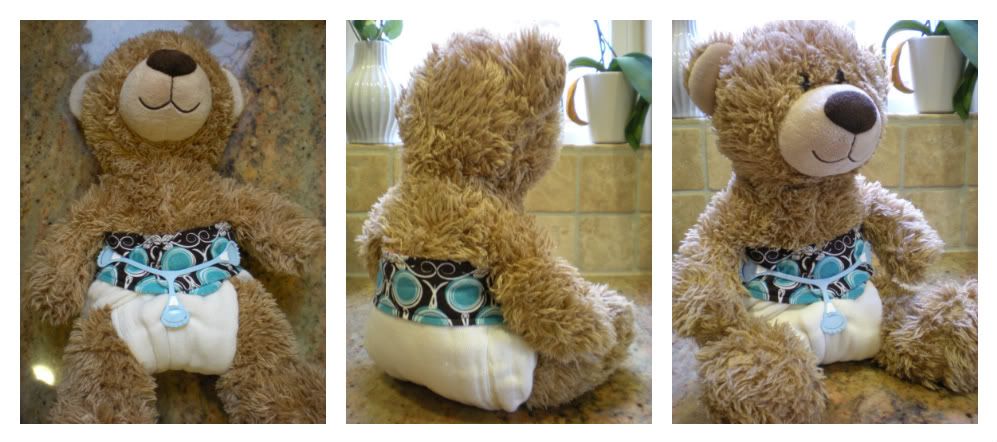
Voila! You're done. Time to test out your winged prefold on your little one. I'm sure you all remember that my little one is not here yet so I get to try my extended tab prefolds on my wonderful model, Teddy. The end result? A super cute prefold with a super awesome fit.
I hope you enjoyed this tutorial and go on to make lots of extended tab prefolds of your own. If you do then make sure to post pictures of your creations on my Facebook page so I can take a look at them and see how great they turned out. Thanks for sticking with me on my journey and I hope you'll join me again for more Adventures In Fluff.
Your prefold looks so cute! Very clever. I followed you over from FF. I hope you take this constructively but I have been deterred from reading your articles a couple times because of your text color. At least when combined with the blue background it isn't enough contrast and makes it hard to read beyond a few sentences. I mean no offense. I know personally what goes into creating a website and that it can sting when someone says something negative. Just something to consider, either lightening the background or darkening the text. As colors they look great together, but just hard to read. IMO! Kudos for your site though.
Wow! That's really weird. The way I've designed the page all the text area in the center should have a white background with black (or at least a very dark grey) text. I wonder why yours is not showing up that way. Anyone else that notices this problem please let me know. I may have to investigate this problem. Thanks sooooooo much for bringing it up. : )
I am SOOO glad I found this tut! I recognize the skull/crossbones print and I've seen it in a flannel type fabric, but I'm curious what kind of fabric the other prints are? They're so cute. I always have issues finding cute snappi-able prints.
They are all flannel prints. Cotton knit fabrics work pretty well with a snappi. I'd just take your snappi to the store and test it out while you're shopping. The flannel is OK, but I think I'll use something different next time.
Fwiw...I am having the same issue with the color of the text! The text runs over onto the side, where the wood is and it's super hard to read. Awesome tutorial and thank you for it!!
I used flannel, but if I were to do it again I would probably use a knit or something like that. The flannel didn't snappi too well. I like the stretch of knit too.
I just started using cloth diapers, and the first 3 prefolds I got were already too small for my 4 month old. I wanted to change them into fitteds using one of Arfy's patterns, but I didn't think I could because they wouldn't go around her. Thank you soooo much for this! I can now get more use out of the prefolds I bought, so they're not a waste of $20!!
Thanks so much for taking the time to show your support with a comment! I LOVE reading all of them and will try and answer any questions that you might have. :)


Your prefold looks so cute! Very clever.
ReplyDeleteI followed you over from FF.
I hope you take this constructively but I have been deterred from reading your articles a couple times because of your text color. At least when combined with the blue background it isn't enough contrast and makes it hard to read beyond a few sentences.
I mean no offense. I know personally what goes into creating a website and that it can sting when someone says something negative. Just something to consider, either lightening the background or darkening the text. As colors they look great together, but just hard to read. IMO! Kudos for your site though.
Wow! That's really weird. The way I've designed the page all the text area in the center should have a white background with black (or at least a very dark grey) text. I wonder why yours is not showing up that way. Anyone else that notices this problem please let me know. I may have to investigate this problem. Thanks sooooooo much for bringing it up. : )
ReplyDeleteI am SOOO glad I found this tut! I recognize the skull/crossbones print and I've seen it in a flannel type fabric, but I'm curious what kind of fabric the other prints are? They're so cute. I always have issues finding cute snappi-able prints.
ReplyDeleteThey are all flannel prints. Cotton knit fabrics work pretty well with a snappi. I'd just take your snappi to the store and test it out while you're shopping. The flannel is OK, but I think I'll use something different next time.
ReplyDeleteFwiw...I am having the same issue with the color of the text! The text runs over onto the side, where the wood is and it's super hard to read. Awesome tutorial and thank you for it!!
ReplyDeleteThanks for letting me know. I've been thinking of doing another re-design pretty soon. I'll keep this in mind.
ReplyDeleteHow do you prep a pre-fold. Sorry if its there and I missed it.
ReplyDeleteHere is another post I have on prepping. http://adventures-in-fluff.blogspot.com/2011/08/let-prepping-begin-washing-machine.html
DeleteWhat would be the best fabric to use for the extended tabs?
ReplyDeleteI used flannel, but if I were to do it again I would probably use a knit or something like that. The flannel didn't snappi too well. I like the stretch of knit too.
DeleteI just started using cloth diapers, and the first 3 prefolds I got were already too small for my 4 month old. I wanted to change them into fitteds using one of Arfy's patterns, but I didn't think I could because they wouldn't go around her. Thank you soooo much for this! I can now get more use out of the prefolds I bought, so they're not a waste of $20!!
ReplyDelete