
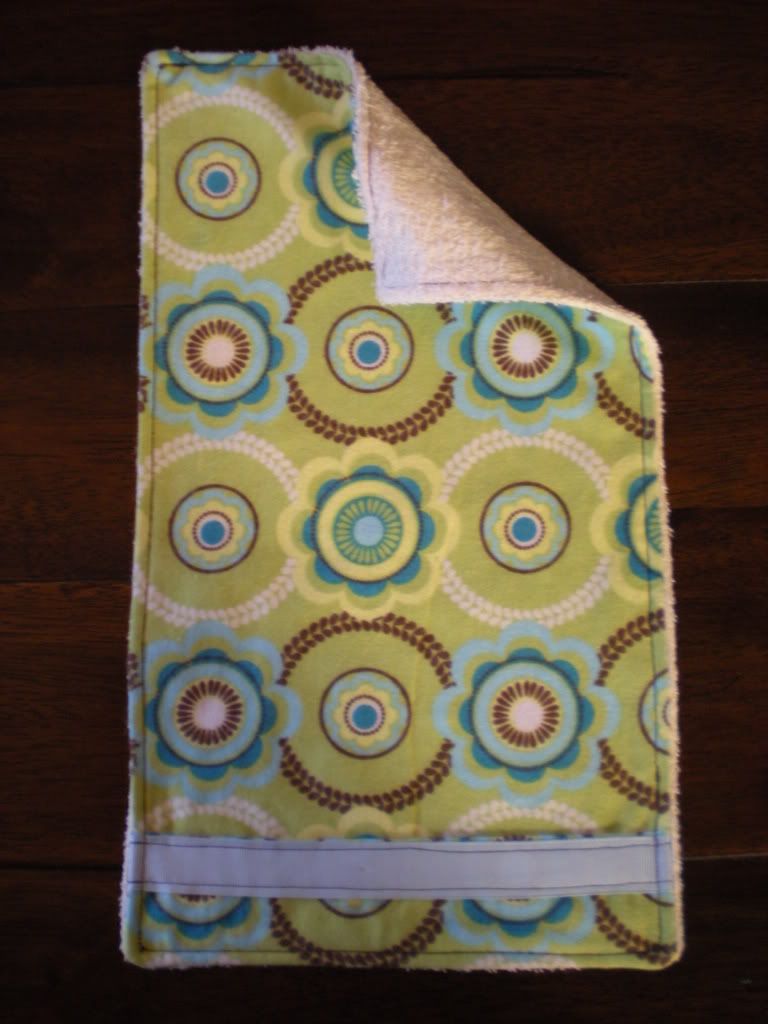
First thing we need to do is figure out what size burp cloth we want. I looked at a few that I had on hand and decided to make a 9” x 15.5” burp cloth. This seemed to be a great size to drape over my shoulder or hold in my hand. It’s also a great size in order to get the most use from my fabric cuttings. By ordering two fabric cuttings of a ¼ yard each I can make two Deluxe Pocket Burp Cloths.
The next step is to figure out what fabrics to use on my burp cloths. I like using flannel on one side and terrycloth on the other side, but you can use any absorbent fabric that you desire. Another great combination would be woven cotton on one side and cotton velour on the other side. I like the flannel / terrycloth combination since that’s what I’m using on my wipes & washcloths and I like them to match.
Now it’s time to get down to business. Here are the step by step instructions on how to sew your own Deluxe Pocket Burp Cloths.
What You Will Need (Makes 2 Burp Cloths):
1/4 Yard of Flannel Fabric
1/4 Yard of Terrycloth Fabric
9" of 1" wide Ribbon (Qty: 2)
Thread (In coordinating or contrasting color to your fabrics)
Sewing Machine
Pins
Scissors
Fabric Measuring Tape
Fabric Pencil
Iron
1/4 Yard of Terrycloth Fabric
9" of 1" wide Ribbon (Qty: 2)
Thread (In coordinating or contrasting color to your fabrics)
Sewing Machine
Pins
Scissors
Fabric Measuring Tape
Fabric Pencil
Iron
Step By Step Instructions:

- - Using your fabric measuring tape, fabric pencil, and scissors, cut the flannel fabric into two rectangles that are 9-1/2"W x 16"L and two smaller rectangles that are 9-1/2"W x 5"L. Set Aside.
- - **Note: If you have a baby that spits up A LOT, you might want a deeper pocket. This would require more fabric ... or you could make one burp cloth with a pocket using the flannel and one burp cloth with a pocket using the terrycloth.**
- - Using your fabric measuring tape, fabric pencil, and scissors, cut the terrycloth fabric into two rectangles that are 9-1/2"W x 16"L. Set Aside.
- - Take one of the smaller rectangles of flannel fabric and fold it in half length wise so that you see the pattern on both sides. Iron it flat. Pin one of the ribbon strips onto the top of the rectangle lined up with the folded edge.
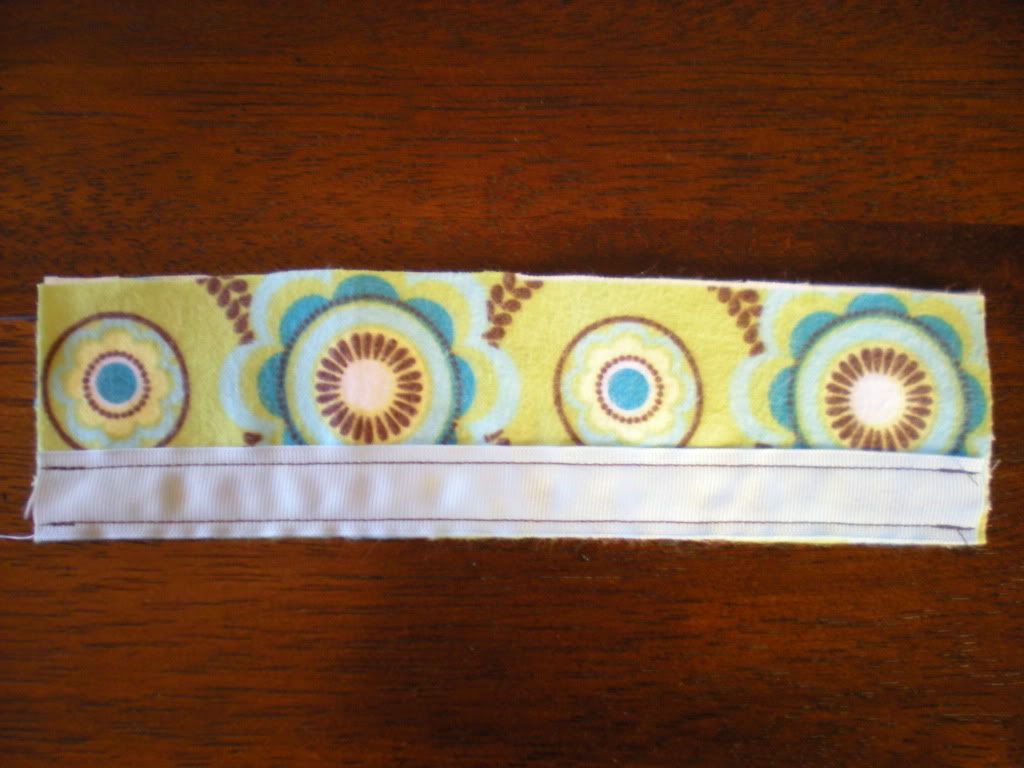 - Using a straight stitch, sew along one long edge of the ribbon making sure to back-stitch at the beginning and end of your stitching so that the thread will not pull out. Remove the pins as you go. Repeat on the other long edge of the ribbon.
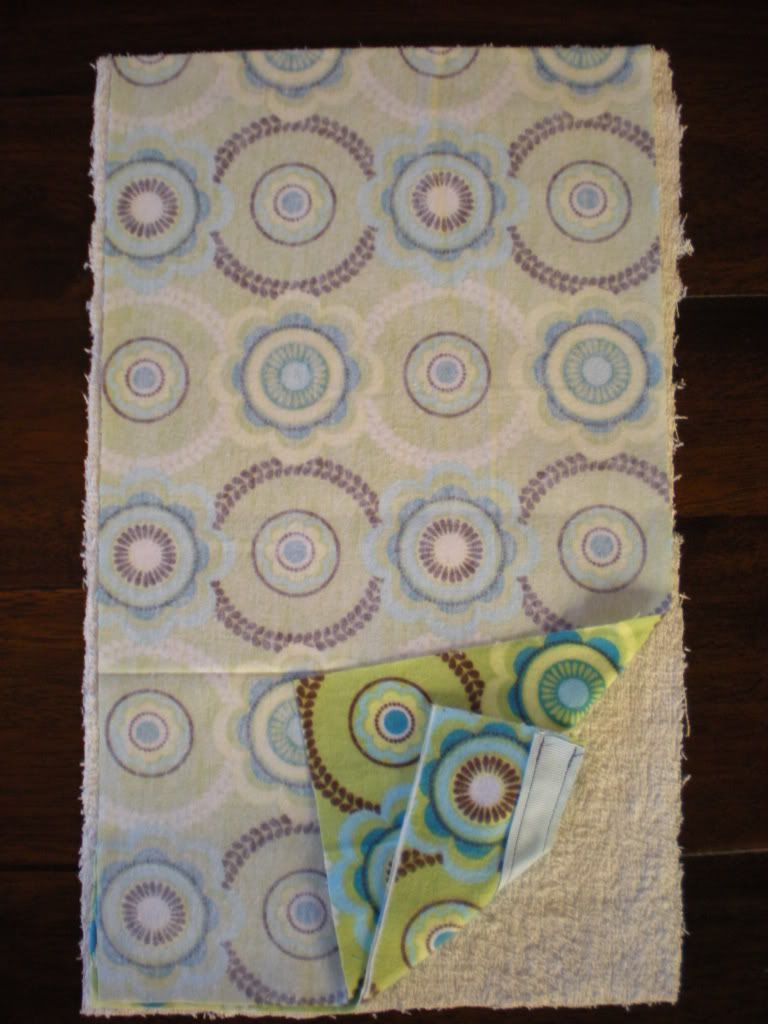
- - Lay one of your terrycloth rectangles on the table. Lay the smaller flannel fabric piece (that you just sewed the ribbon on) on top of the terrycloth rectangle lining it up to the bottom of the terrycloth. Make sure that the ribbon is facing the terrycloth (away from you so you cannot see it). Lay one of your large flannel rectangles on top of the terrycloth and smaller piece of flannel so that the edges line up with the terrycloth. Make sure that the pattern on the flannel is facing towards the terrycloth (away from you so you cannot see it).
- - Pin all the way around the burp cloth making sure to secure the smaller flannel piece that is sandwiched in between the two larger fabrics.
- - With a straight stitch, stitch almost all the way around the burp cloth, about a 1/4 of an inch away from the edge removing the pins as you go. Stop sewing about 2-3 inches from where you started to leave an opening. Make sure to back-stitch at the beginning and end of your stitching so that the thread will not pull out.
- - *Helpful Tip* ... When you come to a corner stop the machine with the needle in the down position so it's still in the fabric. Lift the sewing foot and rotate your fabric (the fabric will freely rotate without losing your sewing place). Lower the foot and then continue sewing down the other side.
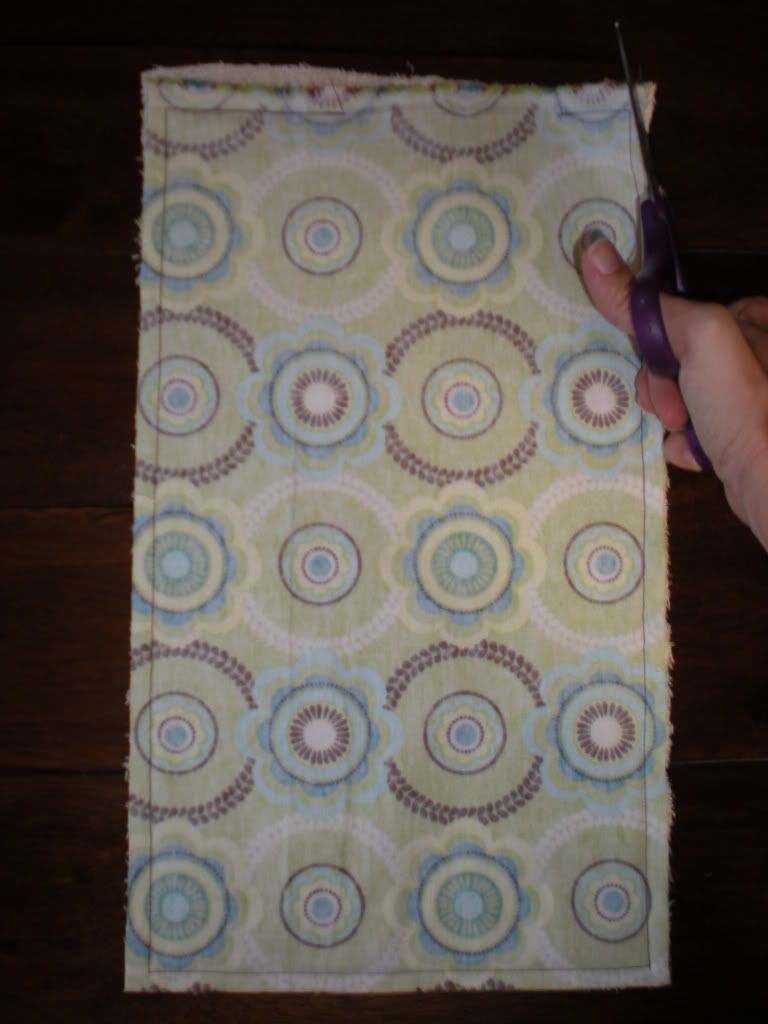
- - Carefully trim each corner near the stitching (being sure not to cut the stitching) so that it's not bulky when you turn it right side out.
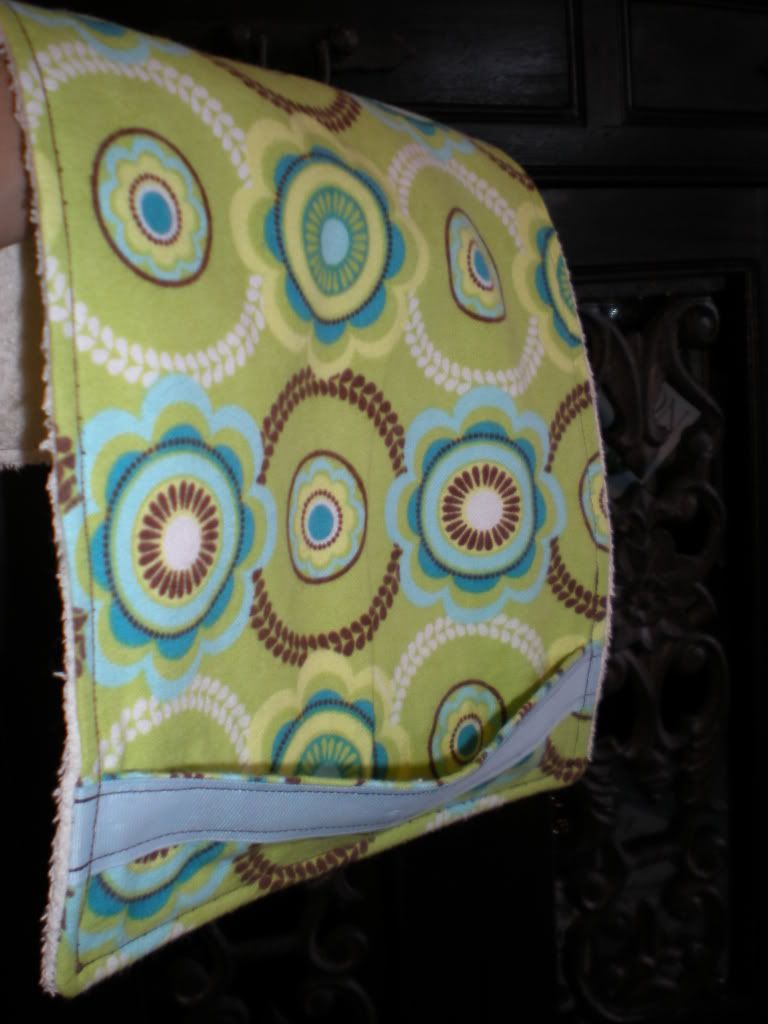
- - Turn your burp cloth right side out by carefully pushing each corner through the opening and then turning it fully right side out. Your pocket with the ribbon trim may be turned on the wrong side. Just flip it to the correct side if needed. It should be on the same side as the flannel.
- - Smooth the burp cloth out making sure that all edges and corners have been completely pushed out and turn the edges of the opening in so that it looks the same as the rest of the edges.
- - Iron the burp cloth flat.
- - Straight stitch all the way around the burp cloth LESS THAN a 1/4 inch away from the edge making sure to seal the opening of the wipe. Also make sure to back-stitch at the beginning and end of your stitch so that the thread does not pull out. (*You can have fun with this stitching by using a contrasting thread color or using a decorative stitch instead of the straight stitch)
- - Trim the threads close the the fabric and you're done!
*Repeat this process to make the other burp cloth**


Your talent amazes me, Chana! Go you go!
ReplyDeleteThanks Selina! I'm getting better over time with each project that I do. I think Brian's going to kill me with all my projects though. Always starting a new one. : )
ReplyDeletehey! Iam jb2rn on FF and a fellow Nov '11 Mom.
ReplyDeleteI am considering cloth diapers but really overwhelmed - your blog is helpful in outlining all the options.
You are very creative and talented, I love seeing what you have created!
Hey Jen! Glad to be sharing this experience with you. I was really overwhelmed at first too, and still get that way at times. Talking with others that are going or have gone through the same thing really helps me. : )
ReplyDeleteI've never seen or even thought of a pocket on a burp cloth, that's a great idea!
ReplyDeleteMrs. Smitty - Thanks! I hope that you try out the project and make some for yourself. I know I can't wait to use mine. : )
ReplyDeleteSuper cute, Chana!! My sister is having a baby this winter and I'm definitely going to be making some of these for her!!
ReplyDeleteThanks Tristen! I'm sewing them for all my pregnant friends too. It's a nice personal gift that I hope they'll love.
ReplyDeleteWhat a great idea. Love it!
ReplyDeleteSo I had made flannel burp cloths 2 layers thick for my little one and have never liked them (they don't absorb fast enough) other than their pretty prints. I promised my bff a set of burp cloths for her bun (still in the oven). I love the pocket idea. Can't wait to get to work on these.
ReplyDelete