
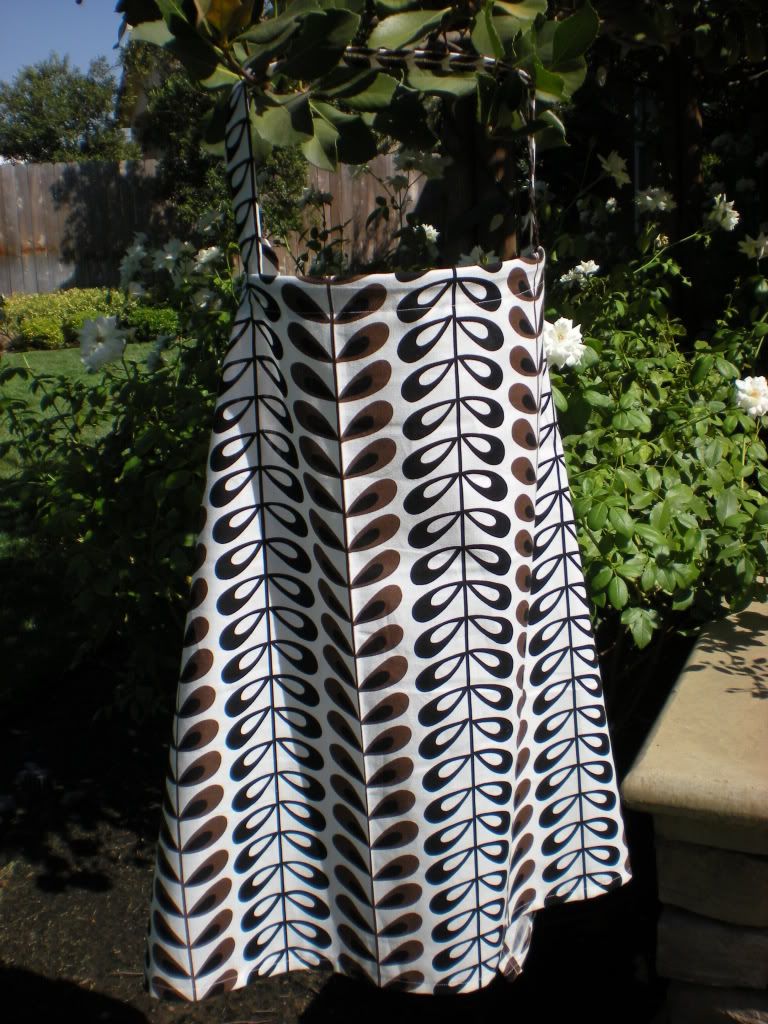
As soon as my sister left for home I got to work on our nursing covers. I chose a modern neutral looking print of black, brown, and white, in a light cotton fabric. I thought it fit my personality the best and would casually fit in while nursing in public. My sister picked out a fun owl print in a light corduroy fabric. I ended up sewing mine first so that if I made any mistakes on the test run then I would have them all figured out by the time I got to her cover. I did find one flaw in the pattern I was using regarding placement of the neck straps, but I've made those changes on the tutorial listed below. Are you excited?!?! I am! Let's get started.
What You Will Need:
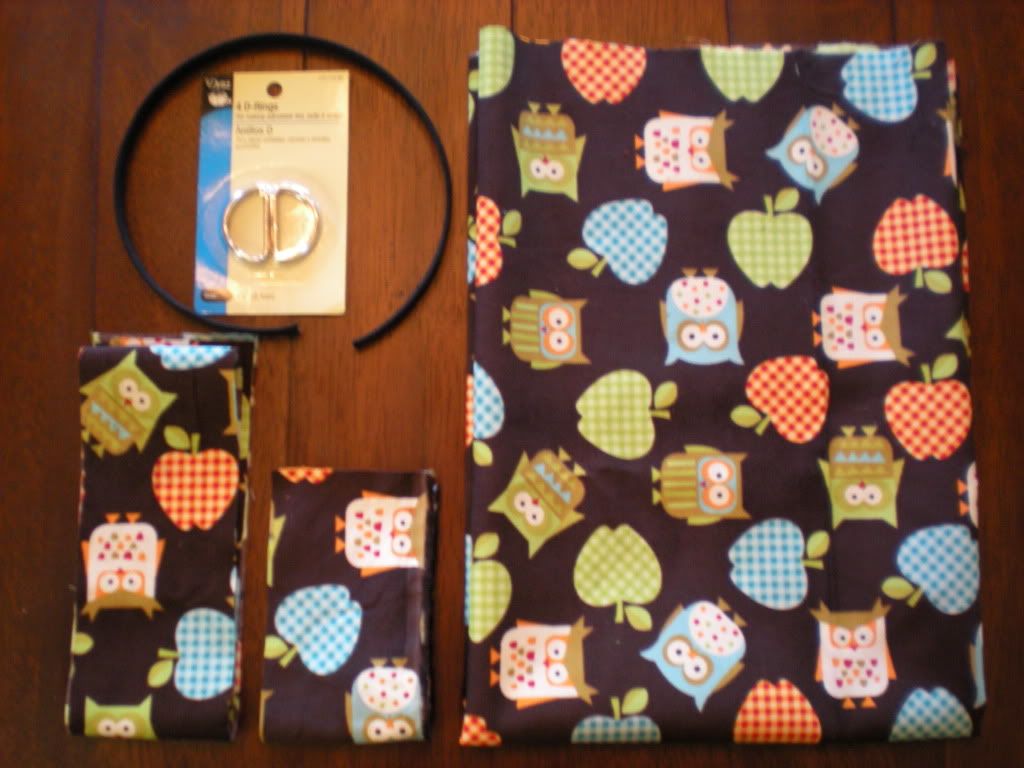
(Qty: 2) D-Rings (1-1/4")
14" of Boning (This comes in white or black. Get the stiffest boning they have)
Thread in a Coordinating or Contrasting Color
Pins
Scissors
Iron
Sewing Machine
Washable Fabric Pen
Step By Step Instructions:
- Wash and Iron your fabric.
- Cut your fabric into three different pieces.
* 26"H x 38"L (This is for the main body of the cover. Think about the direction of your print)
* 30"L x 3"W (This is the long side of the strap)
* 10"L x 3"W (This is the short side of the strap)
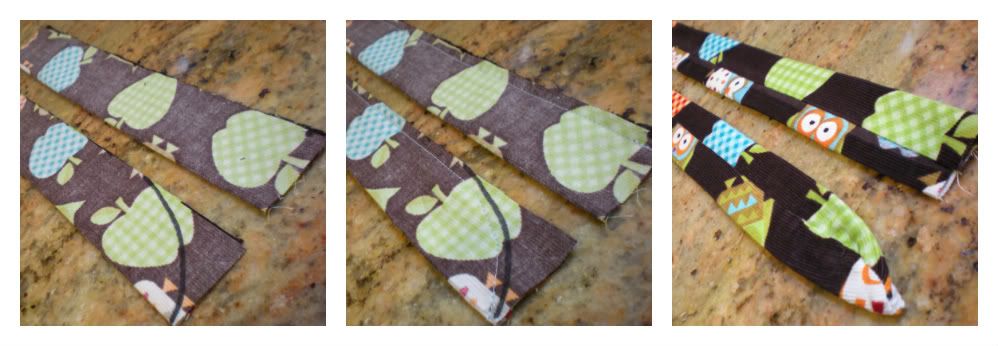
- Mark on one end of the longer strap a slight curve.
- Sew a 1/4" in along the open edge of each strap. Make sure to follow the curve on the end on the longer strap. Make sure to back-stitch at the beginning and end of each stitch so that your stitching will not pull out.
- Turn both straps right side out.
- Iron both straps so that the seam is in the middle of the strap.
- Sew the fold closed with a zig zag stitch. Be sure to back-stitch at the beginning and end of your stitch. Set the straps aside.
- Repeat this sequence with each of the two sides (the short sides) of the nursing cover fabric.
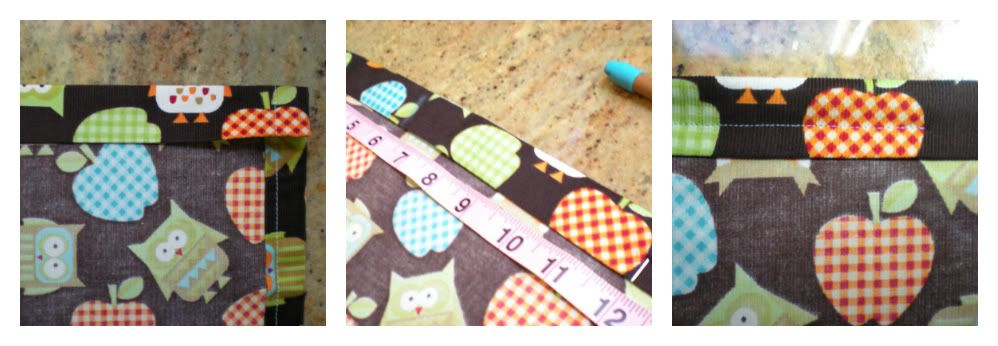
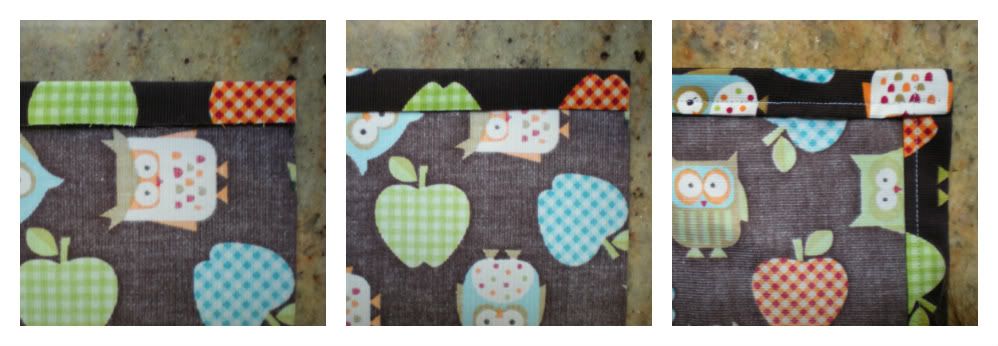
- Find the center of the top edge of the cover by folding the whole cover in half. Mark this point at the top of the cover with a pin. Now measure 6" out from that pin on both sides and mark those two points with pins.
- Sew a straight stitch with a 3/4" seam allowance, between the two pins. This will be 12" long. Make sure to back-stitch at the beginning and end of your stitch.
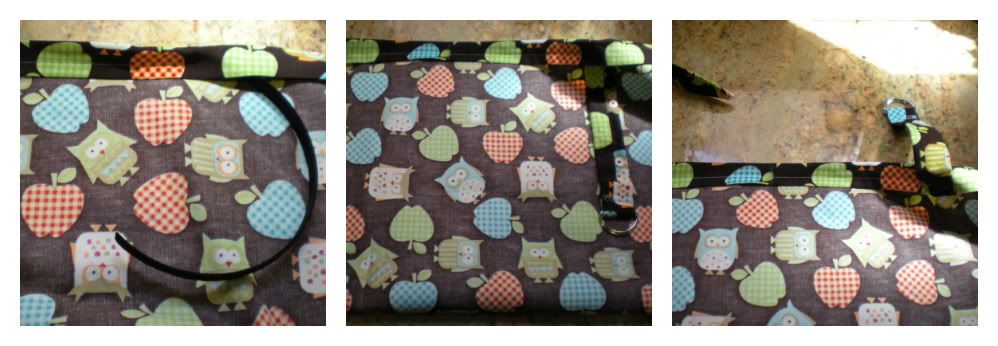
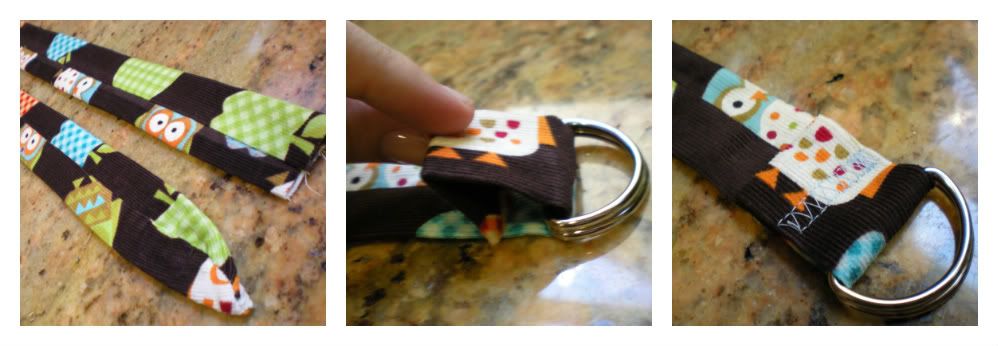
- Now it's time to add the straps to your nursing cover. First add the short strap. Slide the end of the strap under the top fold of the nursing cover so that it overlaps the end of the boning. It does not need to fully overlap the boning, but about halfway is good. Just overlap as much as you can. Make sure that the seam of the strap is facing away from you. (Note: My photo shows this incorrectly. My seam should not be showing).
- Now while keeping the end of the strap tucked under the top fold, flip the strap up over the fold so that the rings are now above the nursing cover. Pin your strap in place.
- Repeat the last two steps with the longer strap on the other side of your boning.
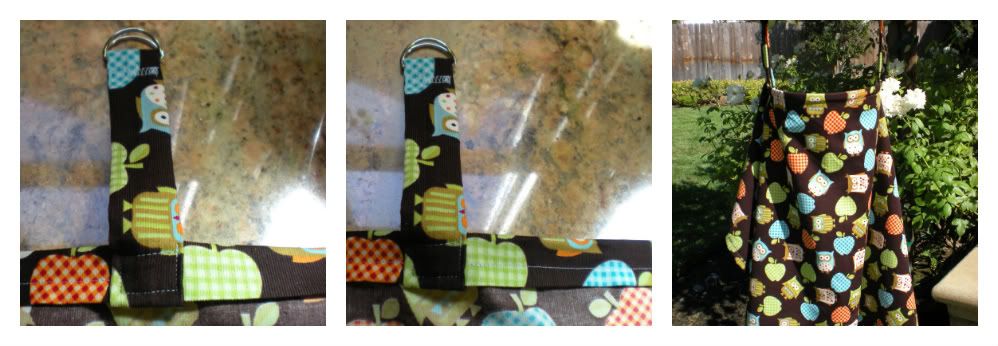
- Your final step is to sew the two sides of the top hem closed using a straight stitch. Try to line up your stitch with the one you did in the center for the boning.
Voila!!!! You have a nursing cover that looks awesome and cost you less than half of what you would have paid for one in a retail store.
Hope you enjoyed this tutorial and it inspires you to make your own nursing cover. If you do sew your own cover, be sure to post a picture of it on my Facebook Page so I can see how great it came out. Thanks for sticking with me through my journey and I hope you'll continue to stick with me through more of my Adventures In Fluff.


I bought some of that corduoroy owl fabric from the fabric store the other day. I planned to use it to make a travel wet bag. It looks awfully cute as a nursing cover too...Good thing I bought lots of it.
ReplyDeleteHi, I just want to say THANKS for sharing your wonderful ideas! Something I will add to my own DIY nursing cover is a piece of terry cloth or flanel on the inner side so that I have a burp cloth integrated. :)
ReplyDeleteI did see that a women like to add the pockets to their covers as well. I should have mentioned this in the post. I was going to put one on mine to hold my breast pads, but then decided not to at the last minute. Might add one next time. Thanks for reminding me. : )
ReplyDeletewow. thanks for this! very indepth and informative. i'll have to try it.
ReplyDeleteI've thought about making nursing covers, too, and I keep wondering if a strip of plastic cut from a 2- or 3-liter soda bottle would work instead of boning. Any thoughts?
ReplyDeleteThat's a great idea! I've never tried it myself, but I'd be interested in hearing how it works out. I wonder if it would curl too much? Not sure.
Delete