
So far I've bought a couple brands of breast pads to test out. Each are made of different materials and the DIY girl in me couldn't resist making my own breast pads made of yet even more different materials to test out. Of the purchased breast pads I have a wool set, a hemp set, a flannel / velour / hemp set, a PUL / fleece / hemp set, and a wool / bamboo set. I noticed that most DIY breast pads are made from flannel and fleece so I've decided to do a set made with those materials. The flannel is great for absorption and a great way to express your personality with a fun print. The fleece is a great moisture resistant material to keep the breast milk from leaking through while still allowing great air flow. I've also decided to do a flannel / microfiber / fleece set, and a flannel / terrycloth / fleece set. I'm curious to see which ones work the best. Now let's get started on our next DIY project... breast pads.
What You Will Need:
- Anti-Pill Fleece
- Flannel
- Inner Fabric (Flannel - 3 layers, Microfiber - 1 layer, or terrycloth - 1 layer)
- 5" Circle Template
- Washable Fabric Marker
- Scissors
- Coordinating or Contrasting Thread
- Sewing Machine or Serger Machine
Step By Step (Flat Breast Pads - 1 pair):

-Repeat with the second breast pad.

Step By Step (Shaped Breast Pads - 1 Pair):
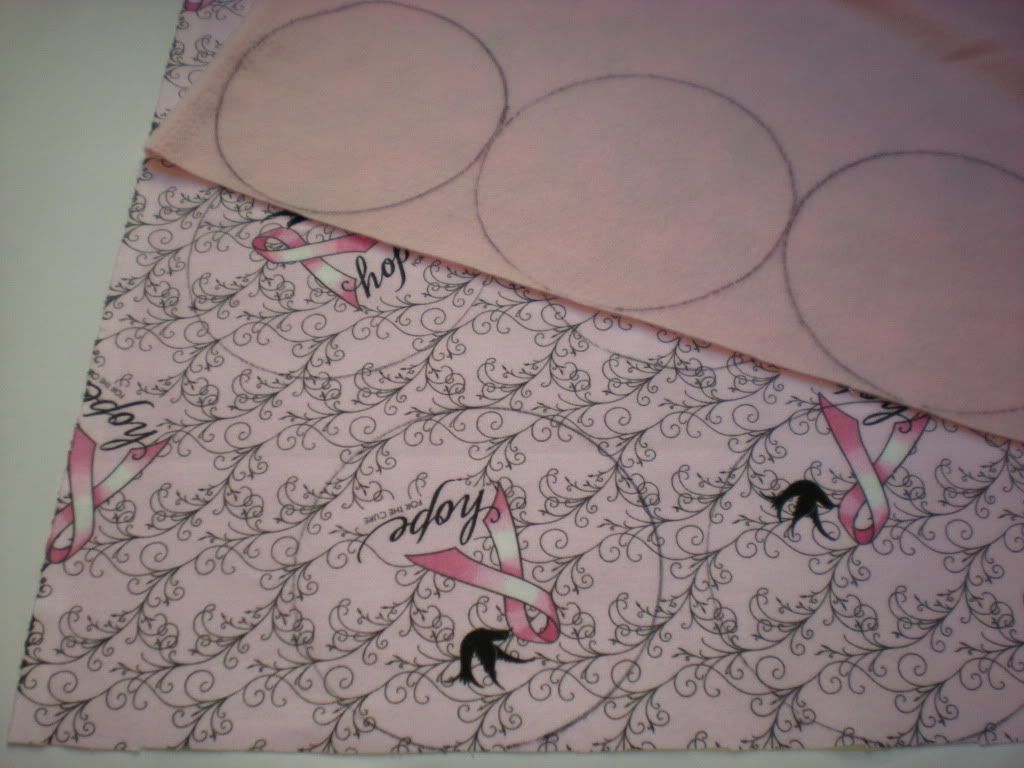
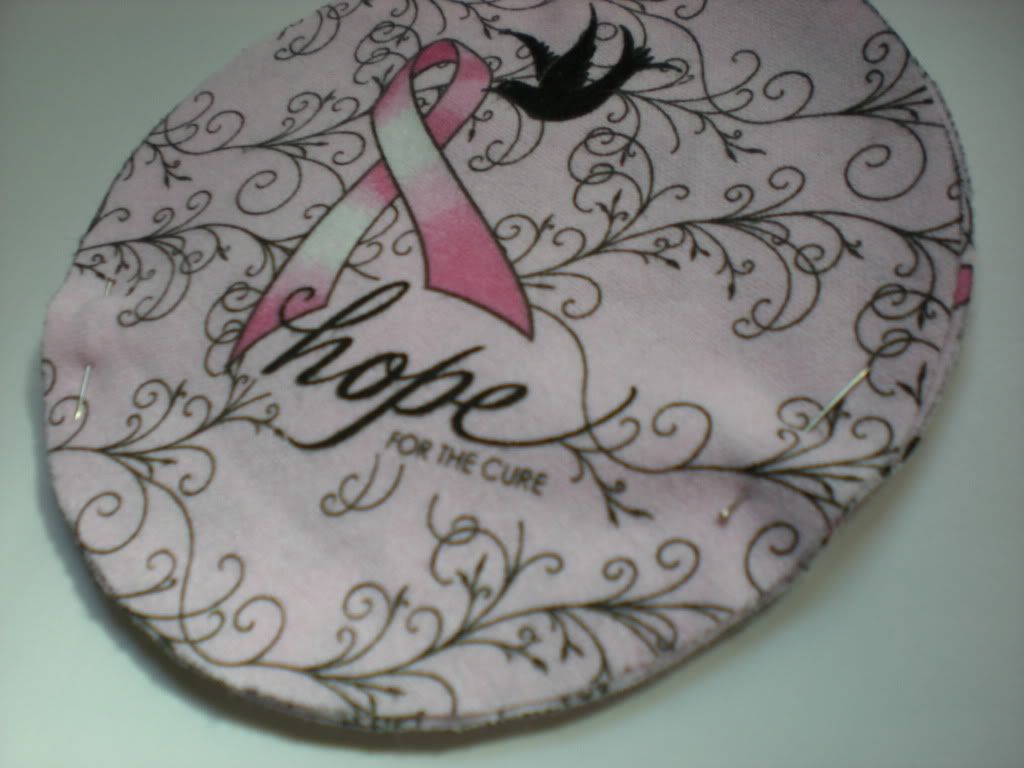
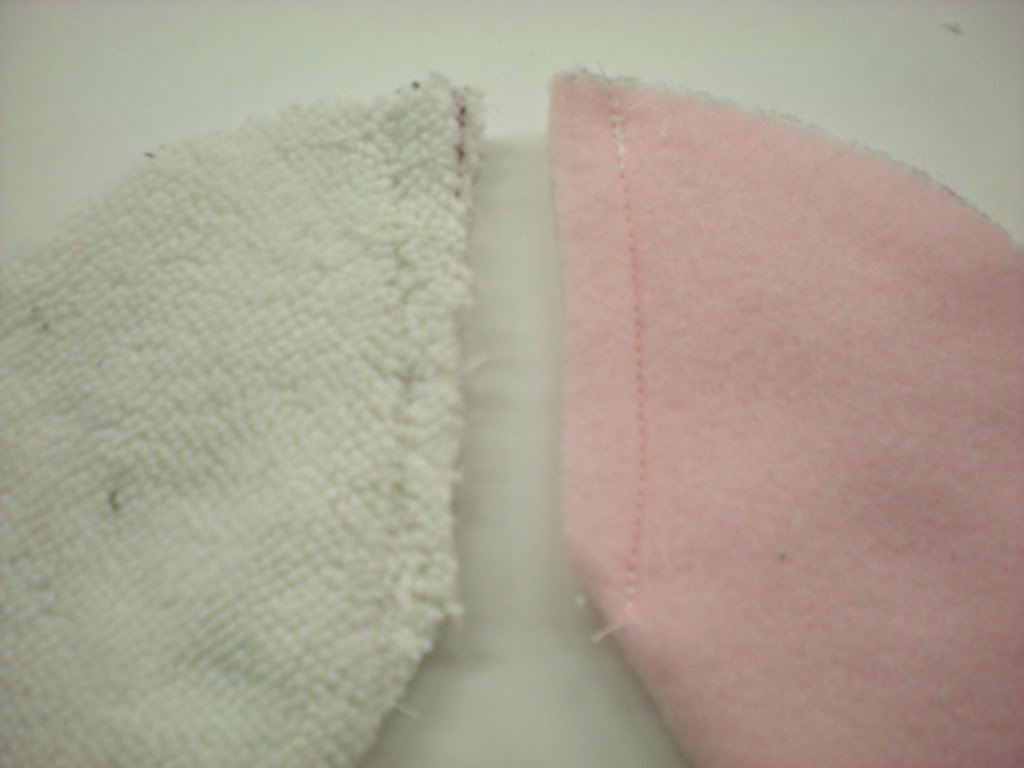
- Using your 5" circle template trace out two circles on your flannel and your fleece. If you're using flannel for the inner layers then trace out six more circles of flannel. If you're using microfiber or terrycloth then cut out two more circles of the inner fabric that you've chosen. (See pic above)
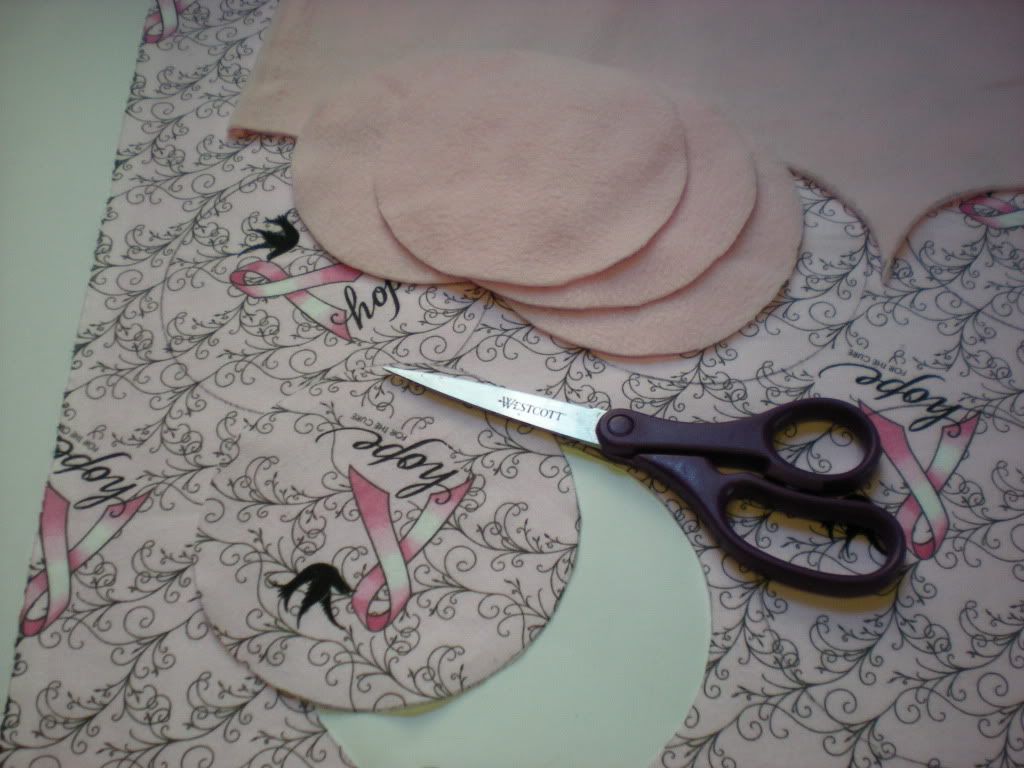
- Cut out all of your circles. (See pic above)
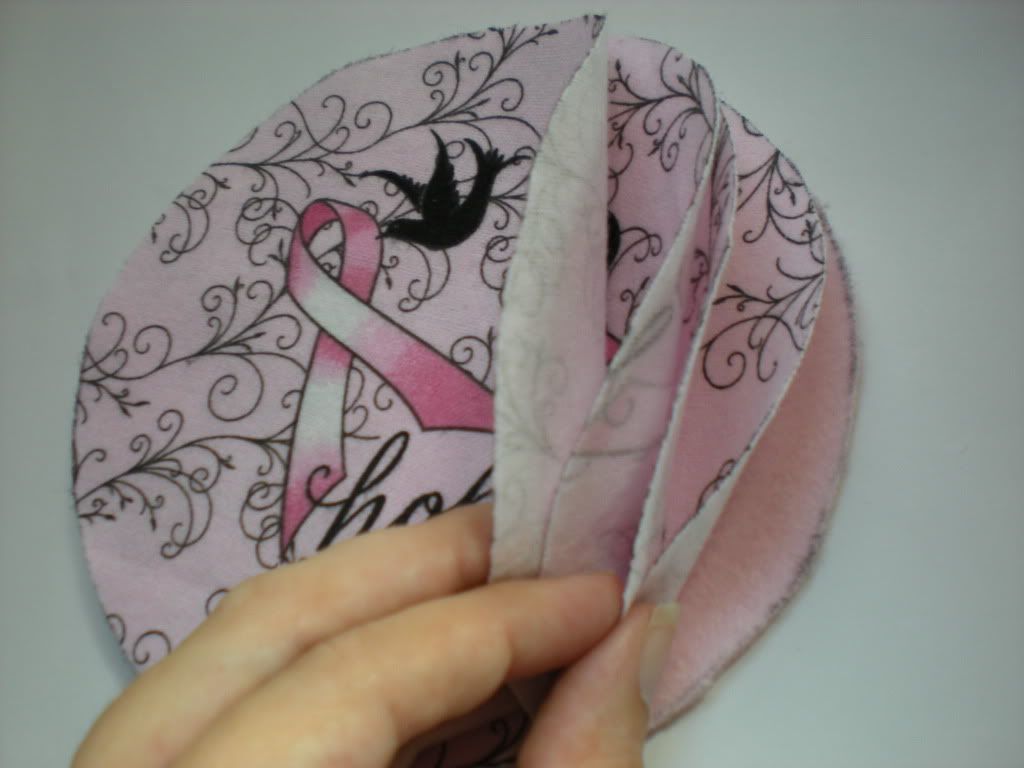
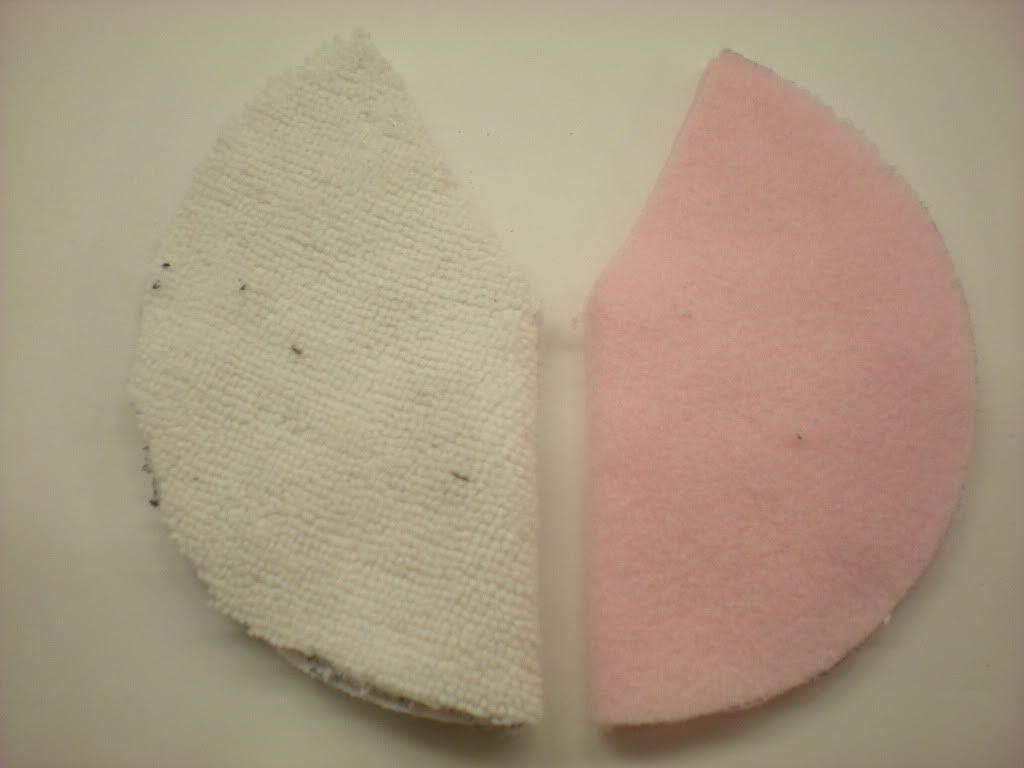
- Stack your layers on top of each other. Fleece goes on the bottom. The wrong side of the fabric should be facing you. Place your inner layer next. If it's microfiber or terrycloth just put one layer. If it's flannel then put three layers. Next put your top flannel layer. The good side of the fabric should be facing you. (See pic above)


- Pin all layers together.
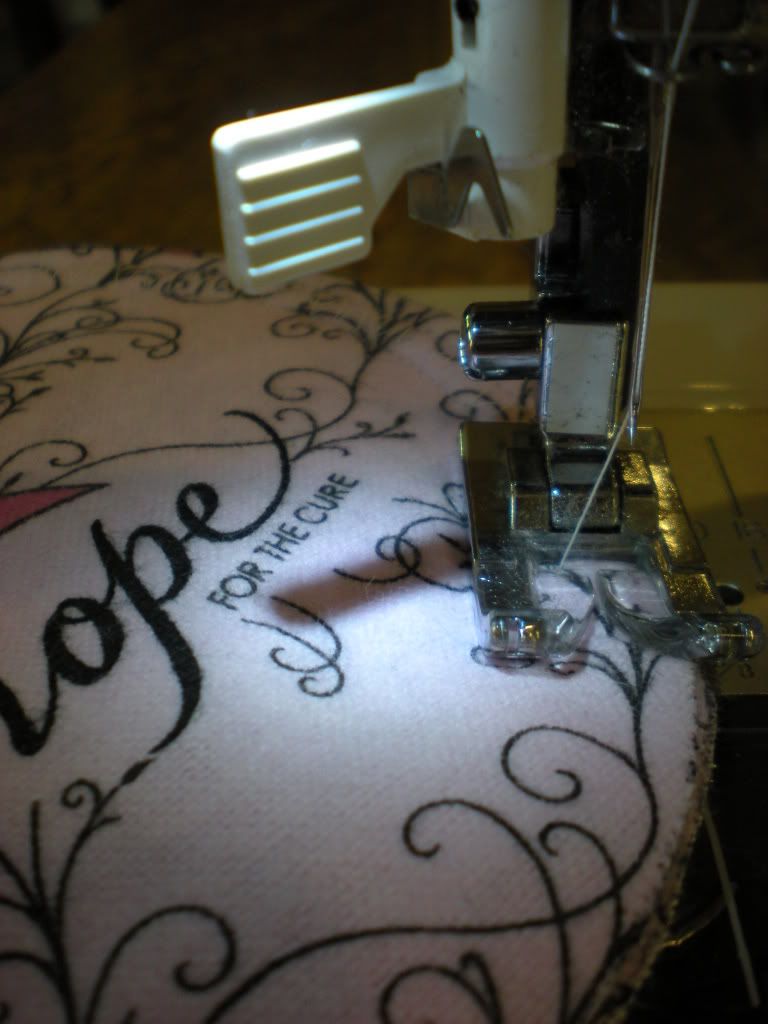
- Sew all layers together. I like to use a double overlock stitch, but you can use something as simple as a straight stitch if you want or a serger if you have one available to you. Make sure to back stitch at the beginning and end of your stitch so your stitch won't pull out. (See pic above)
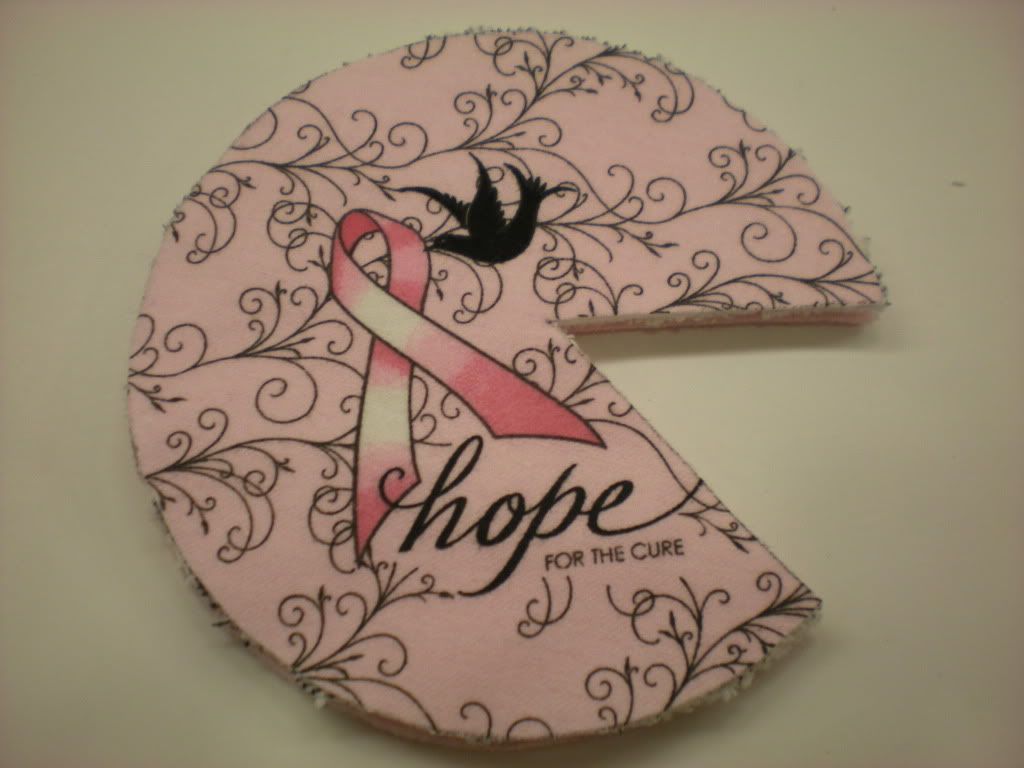
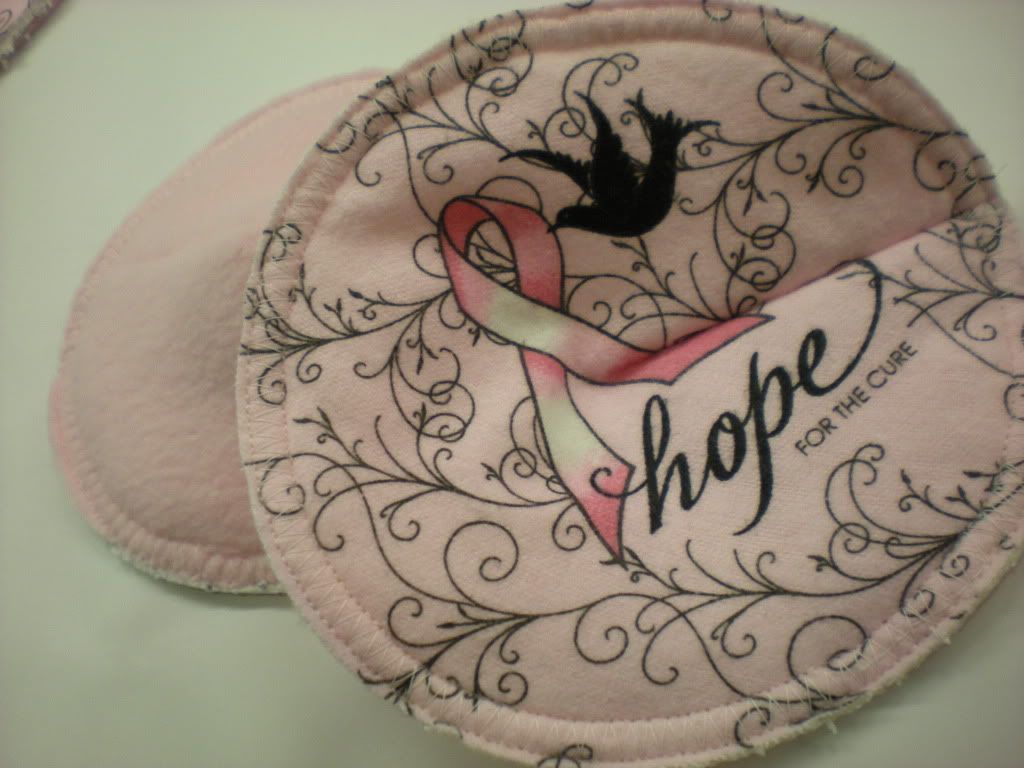
- Trim around the perimeter of the breast pad close to the stitching to clean up the edges. (See pic above)
-Repeat with the second breast pad.
**Make sure you're wearing your breast pads with the flannel next to your breast and the fleece next to your bra**
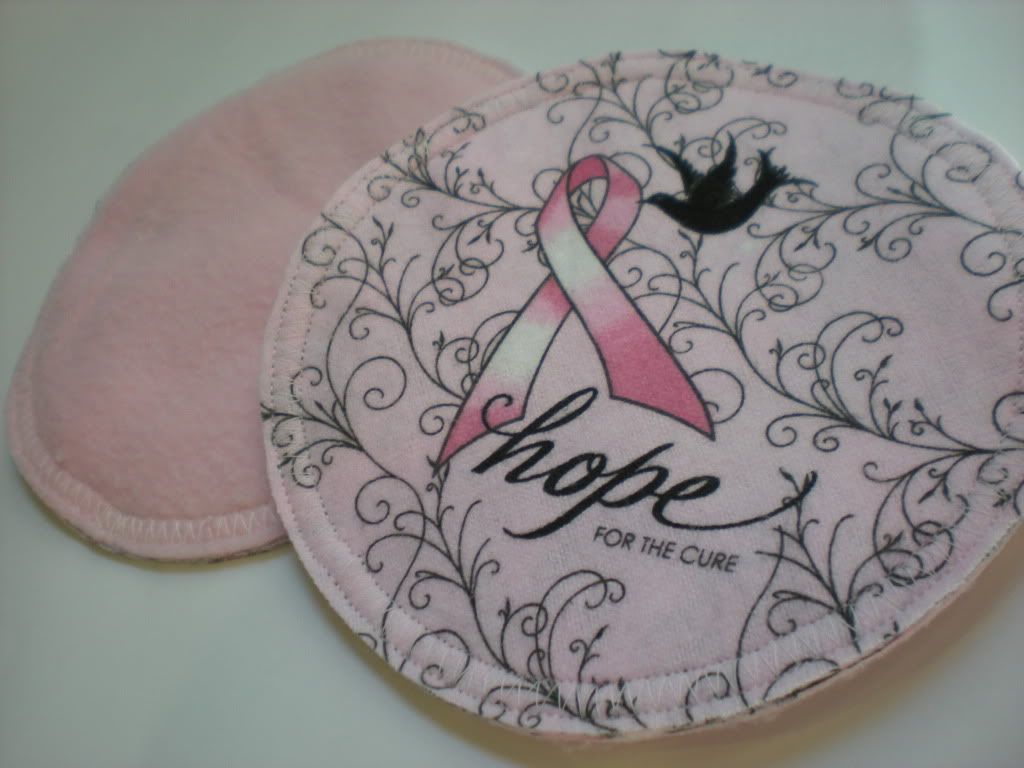
I hope your breast pads came out great and they make you smile each time you wear them knowing you made them all by yourself. I did mine in a breast cancer awareness flannel to honor my mom who had breast cancer and fought it. Be sure to post pictures of your breast pads on my Facebook page so I can see what cute fabrics you picked out too. Till then check back to see what I've got in store for you next on my Adventures In Fluff.


I can't wait to make some! I have tons of anti-pill fleece and flannel.
ReplyDeleteHave you made any with microfleece on the side that goes against you? I'm thinking a stay dry surface might help prevent thrush.
I haven't tried any with the microfleece. The stores near me don't sell it. I really need to order some online because I've got a couple other project that I'd like to use it on too.
ReplyDeleteThanks for the tutorial! I will be coming back to this for the next baby.
ReplyDeleteI had some that I purchased with microfleece, but they were itchy. I think I'll try wicking jersey.
So after trying all these kinds, which did you like best? Which ones held up the best over time?
ReplyDeleteI never got to use them because my breasts never leaked. I was bummed because I seriously made a bought a lot of these to test out, but I guess I should be happy I didn't have a leaking problem.
Deletethank you very much for sharing this! made four pair just in time for my third baby due on 9/29/13.
ReplyDeletehere's what mine look like ... http://white-pumpkin.blogspot.com/2013/08/diy-breast-pads.html
thanks again!