Ok, I know you're thinking the same thing I am ... Why don't they label all of those inserts, doublers, and liners that come with our cloth diapers? Do they just want to drive us crazy?!?!?! Ok, I haven't even prepped my pocket diapers and extra inserts, liners, and doublers yet, but to tell you the truth I'm a bit scared to because once those babies go in the wash and get all mixed up there's no telling which diaper each one went with. It doesn't help that I have a ton of different brands of diapers either.
 |
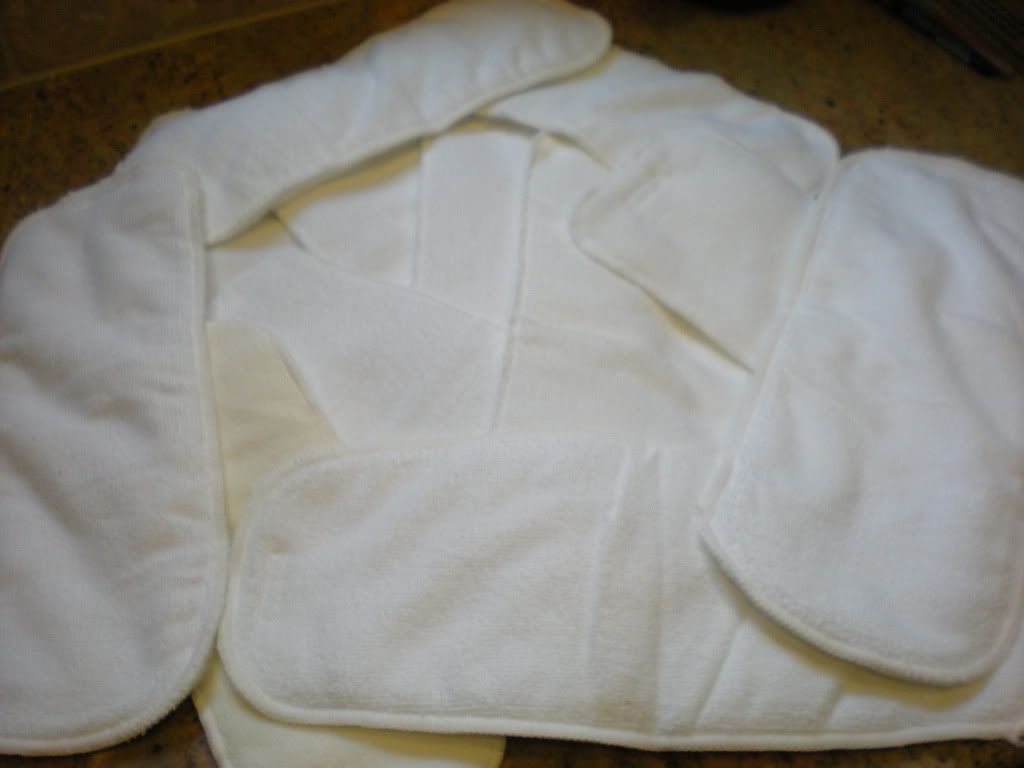
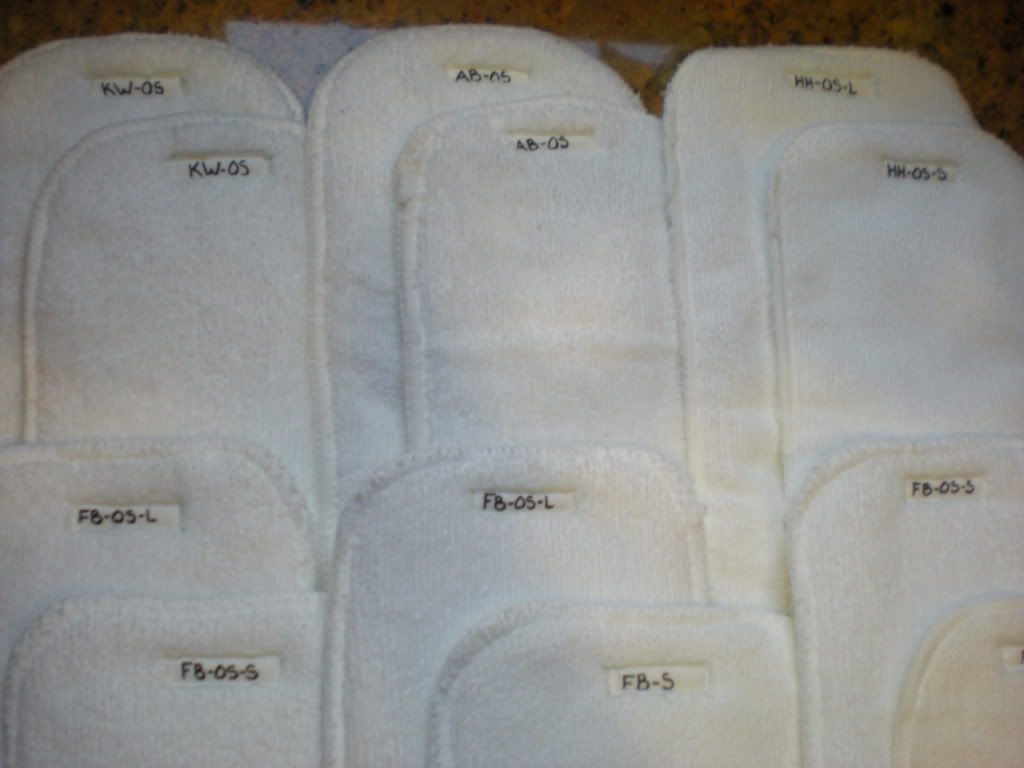
| Inserts BEFORE |
This got me thinking. How can I label all of these accessories so that I know where they go when they come out of the dryer? I've heard of people sewing a colored dot on each insert in order to distinguish which diaper they go with. Sounds like a good idea ... only I have soooooo many types of diapers that I'd need to pick a lot of different colors and then remember what color meant what. I've heard of other people just writing right on the insert, doubler, or liner. I'm not sure how they do this with microfiber though. It's pretty fuzzy stuff. I also wanted whatever I did to look nice or easily removeable in case I decided to sell the items in the future.
What I finalized on doing was adding a label to each insert with a shorthand description of what the insert, doubler, or liner is. The information I list can include brand, size, type, etc. Whatever will help me remember what it is and where it goes. Listed below is how you too can go about adding labels to your diaper accessories.
What You Will Need:
White Cotton Woven Fabric (any smooth white cotton scraps will do)
Thin Tipped Permanent Fabric Marker
White Thread
Washable Fabric Pencil / Marker / Chalk
Scissors
Sewing Machine
Step By Step:
- Wash and iron your fabric
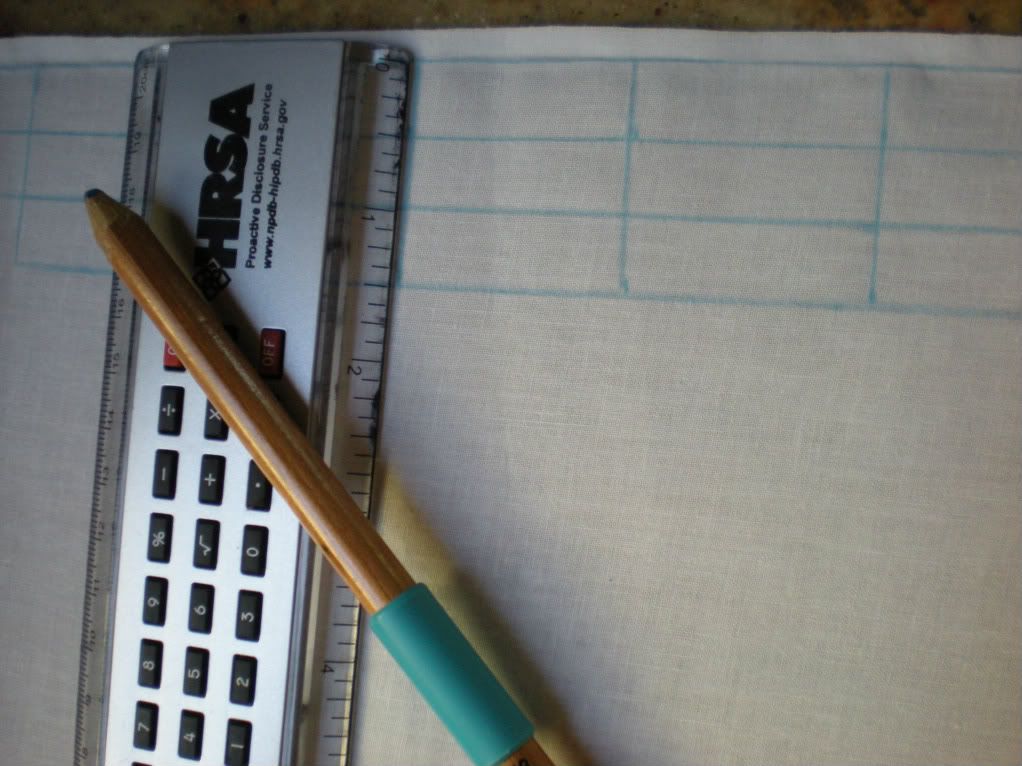
- Measure and mark out 1/2" x 1" rectangles on your fabric using a ruler and a washable pencil, marker, or chalk. Using a fabric cutting board would make this really easy. Unfortunately I don't own one.
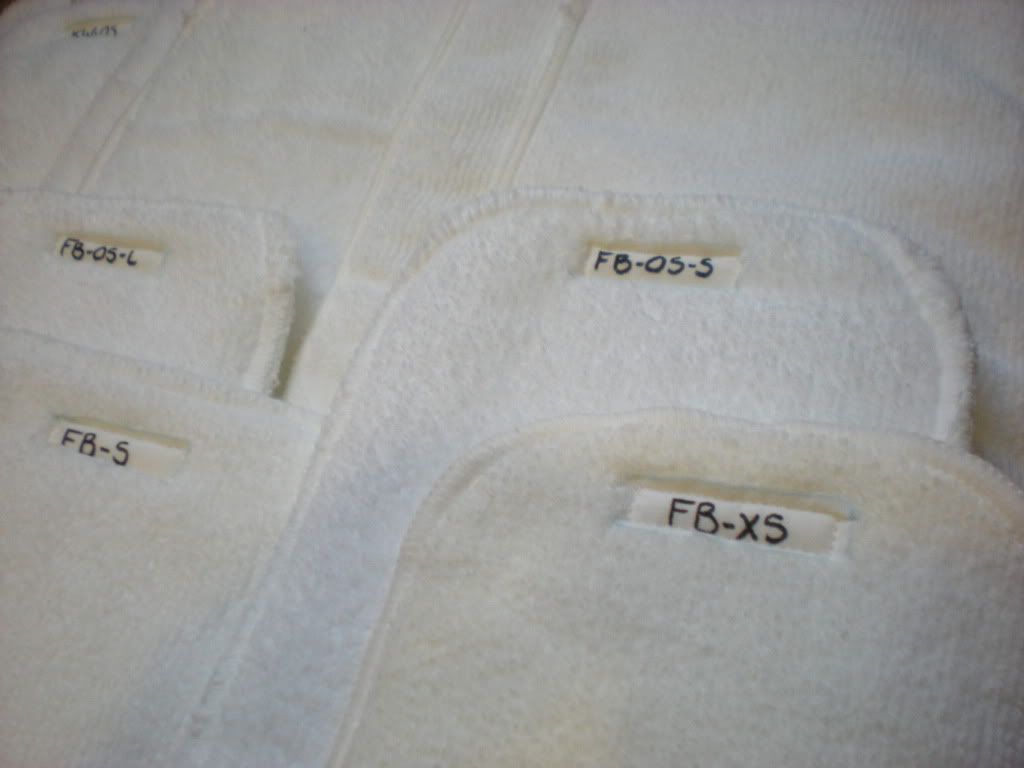
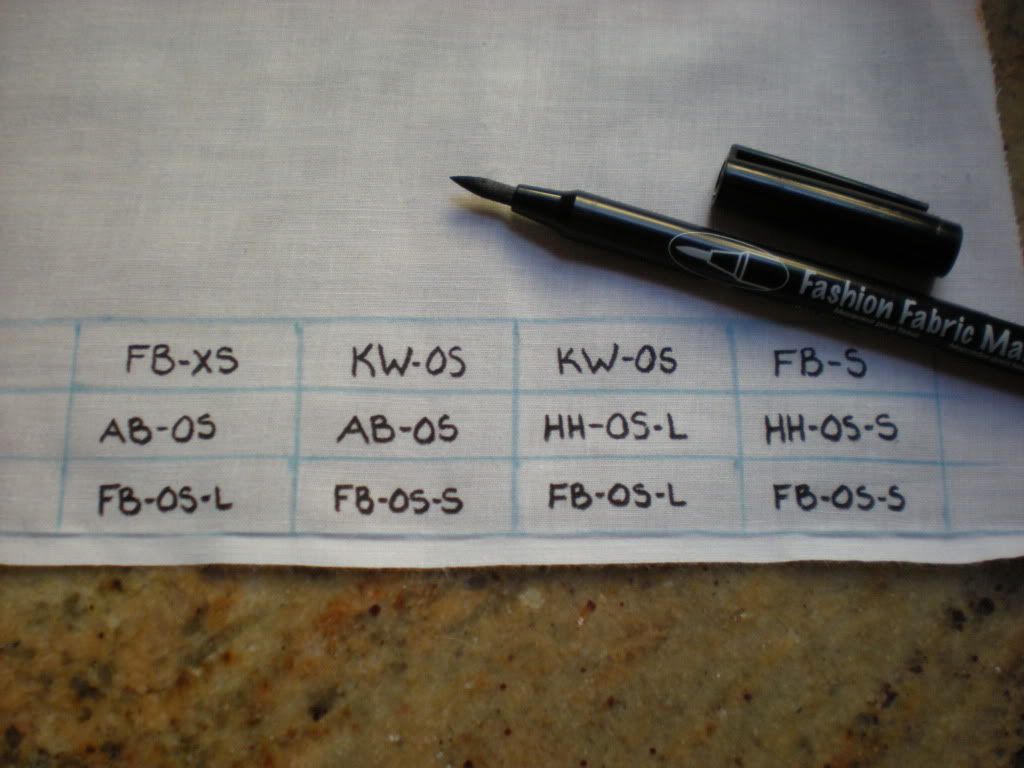
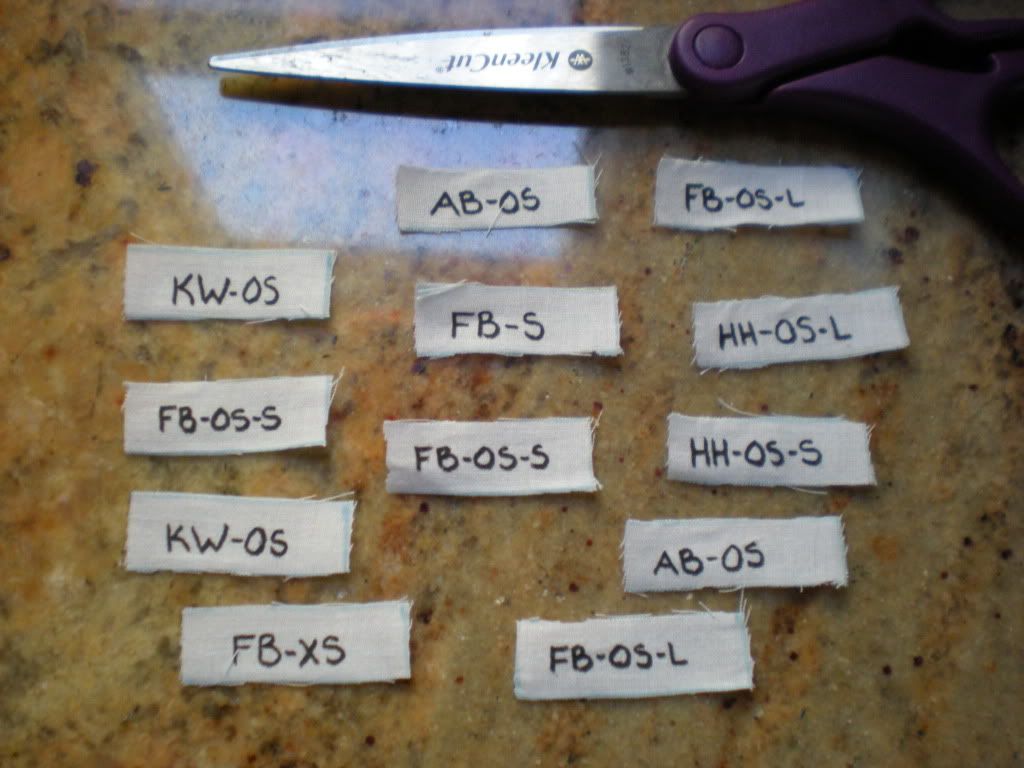
- Using your thin tipped permanent fabric marker, label each rectangle with your shorthand description of your insert, doubler, or liner. Make sure not to take up the whole label with your writing. You want to leave room for your sewing seam that will go around the entire label. So far I've only done my inserts. Here are some examples of shorthand descriptions I've done.
HH-OS-L (Happy Heiny's - One Size - Large Insert)
HH-OS-S (Happy Heiny's - One Size - Small Insert)
FB-XS (FuzziBunz - Perfect Size Extra Small)
FB-S (FuzziBunz - Perfect Size Small)
FB-OS-L (FuzziBunz - One Size - Large Insert)
FB-OS-S (FuzziBunz - One Size - Small Insert)
KW-OS (KaWaii - One Size)
AB-OS (AlvaBaby - One Size)
- Cut out your labels
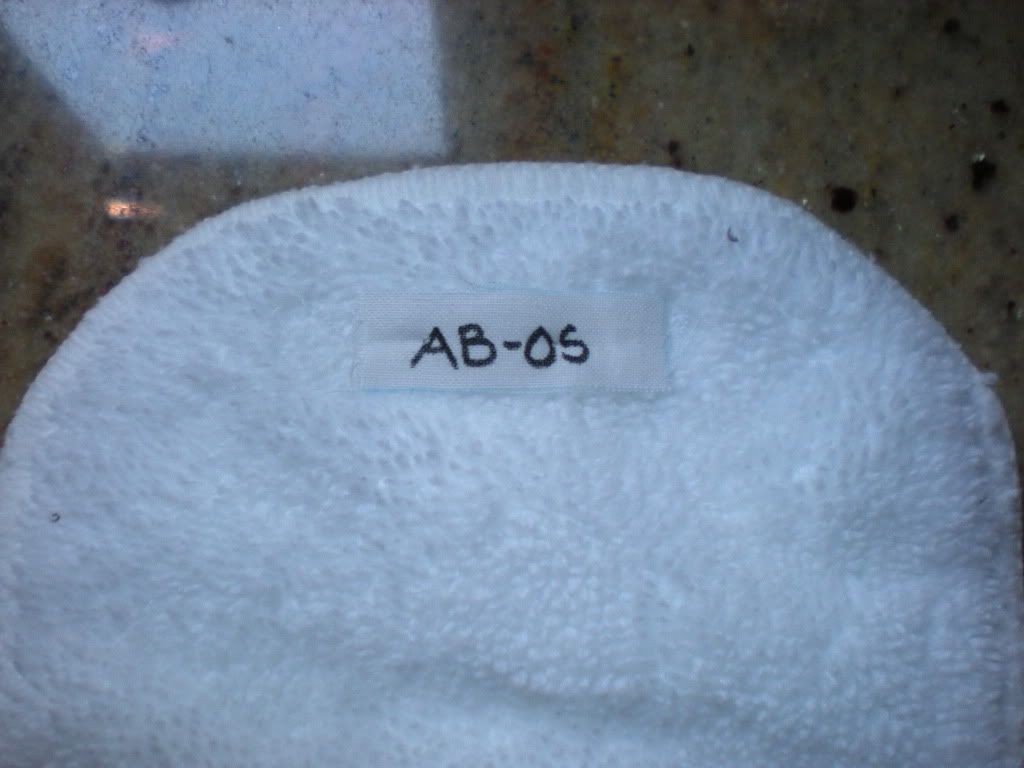
- Place your label where you want it on the insert, doubler, or liner. I found that using a pin made it harder to sew, so I did not use a pin to hold my label in place. I just held it down with my finger.
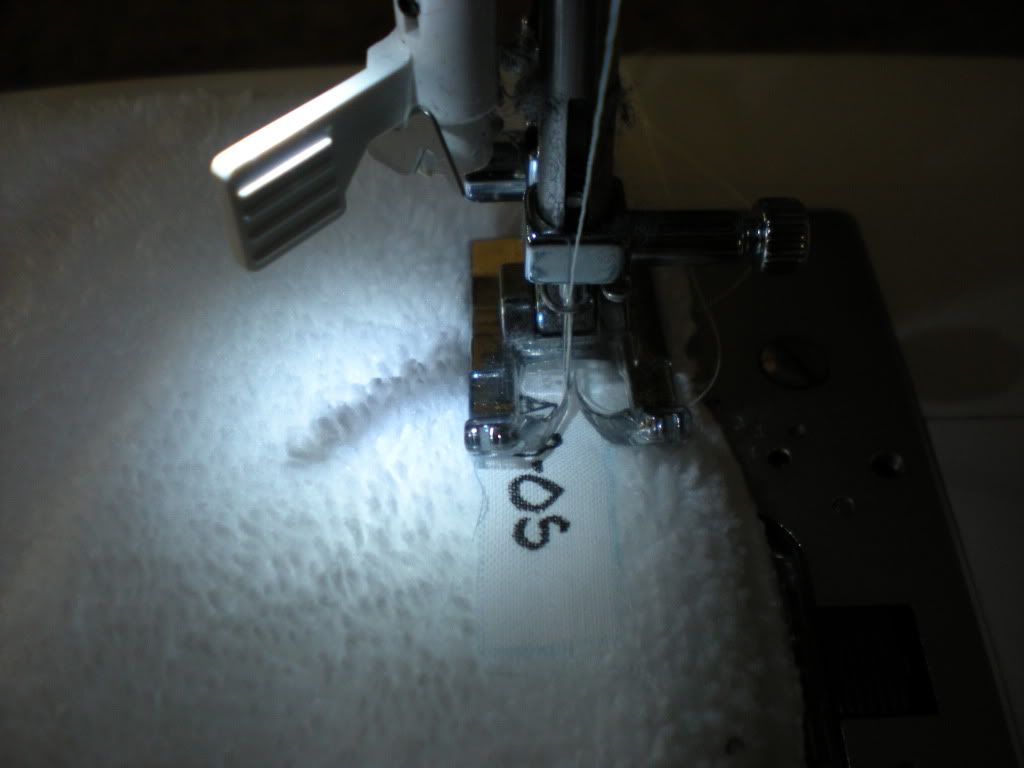
- Using a straight stitch, stitch as close to the edge as possible around the entire label. Going around corners is a lot easier if you stop at the corner, lower the needle into your fabric, raise the foot, rotate your fabric, lower the foot, and then continue sewing. This will give you clean corners. Remember to back-stitch at the beginning and end of each stitch so that your stitching does not pull out.
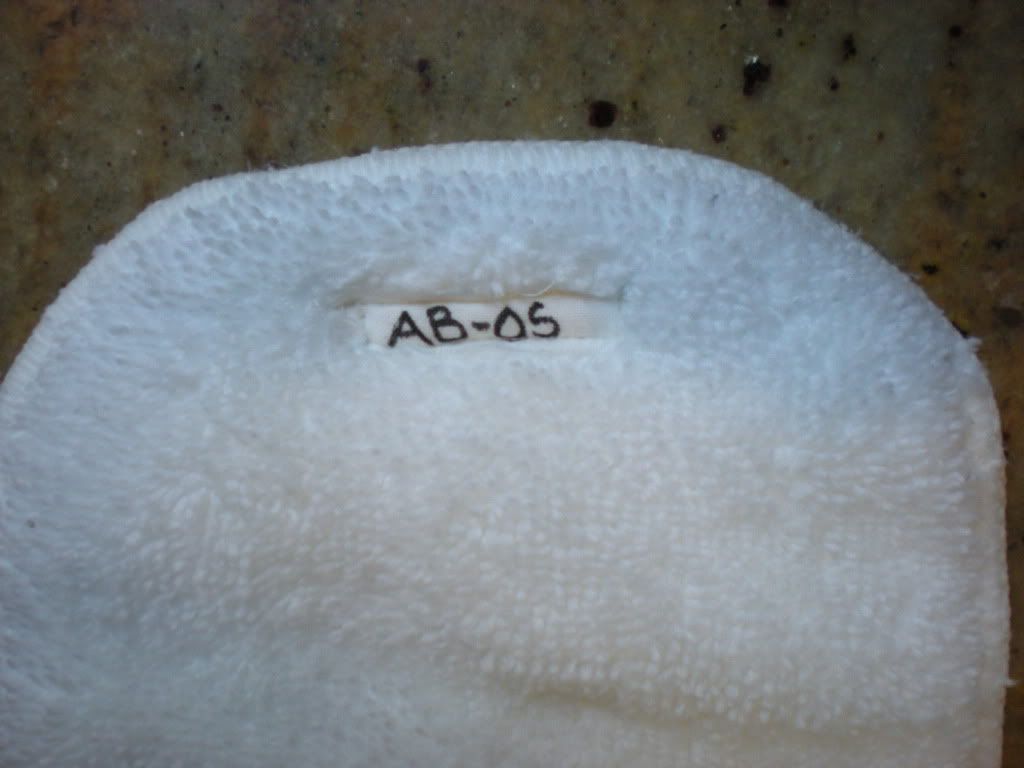
- Cut your threads close to the fabric.
Voila! You've just labeled your first insert, doubler, or liner! Just think how much easier this will make laundry day!!! Not to mention how much easier it will be to match up your accessories with your diapers when it comes time to sell them. Another great reason to know what insert is what ... When someone asks you what your favorite insert, doubler, or liner is, you will know exactly what you are using at all times. I've heard of some parents falling in love with a certain insert or doubler and not knowing what it is or where it came from so they can't buy anymore. So many problems solved with such an easy remedy.
I hope this tutorial has helped you in your quest for organization. I know it's helped me out tons! Now if I could only figure out how to organize my changing station before Lincoln gets here. I guess that's next on my list of things to do. Join me again soon for more tips, tutorials, reviews, and giveaways on
Adventures In Fluff ... and other mommy stuff.


Pure. Genius.
ReplyDeleteWanna come label all of mine?! ;)
Haha! It's not that bad once you get started ... but I'm sure you have a million of them with your stash. : )
ReplyDeleteThis is an amazing idea! I'm sewing some diapers and I was totally at a loss when it came to labeling. I love your wipes tutorial, too. I used it to make all of mine!
ReplyDeleteThis comment has been removed by the author.
ReplyDeleteGreat idea! I was wondering how to keep all the inserts organized.
ReplyDeleteGuess I´m telling my hubby that I want a sewing machine for my birthday :-)